

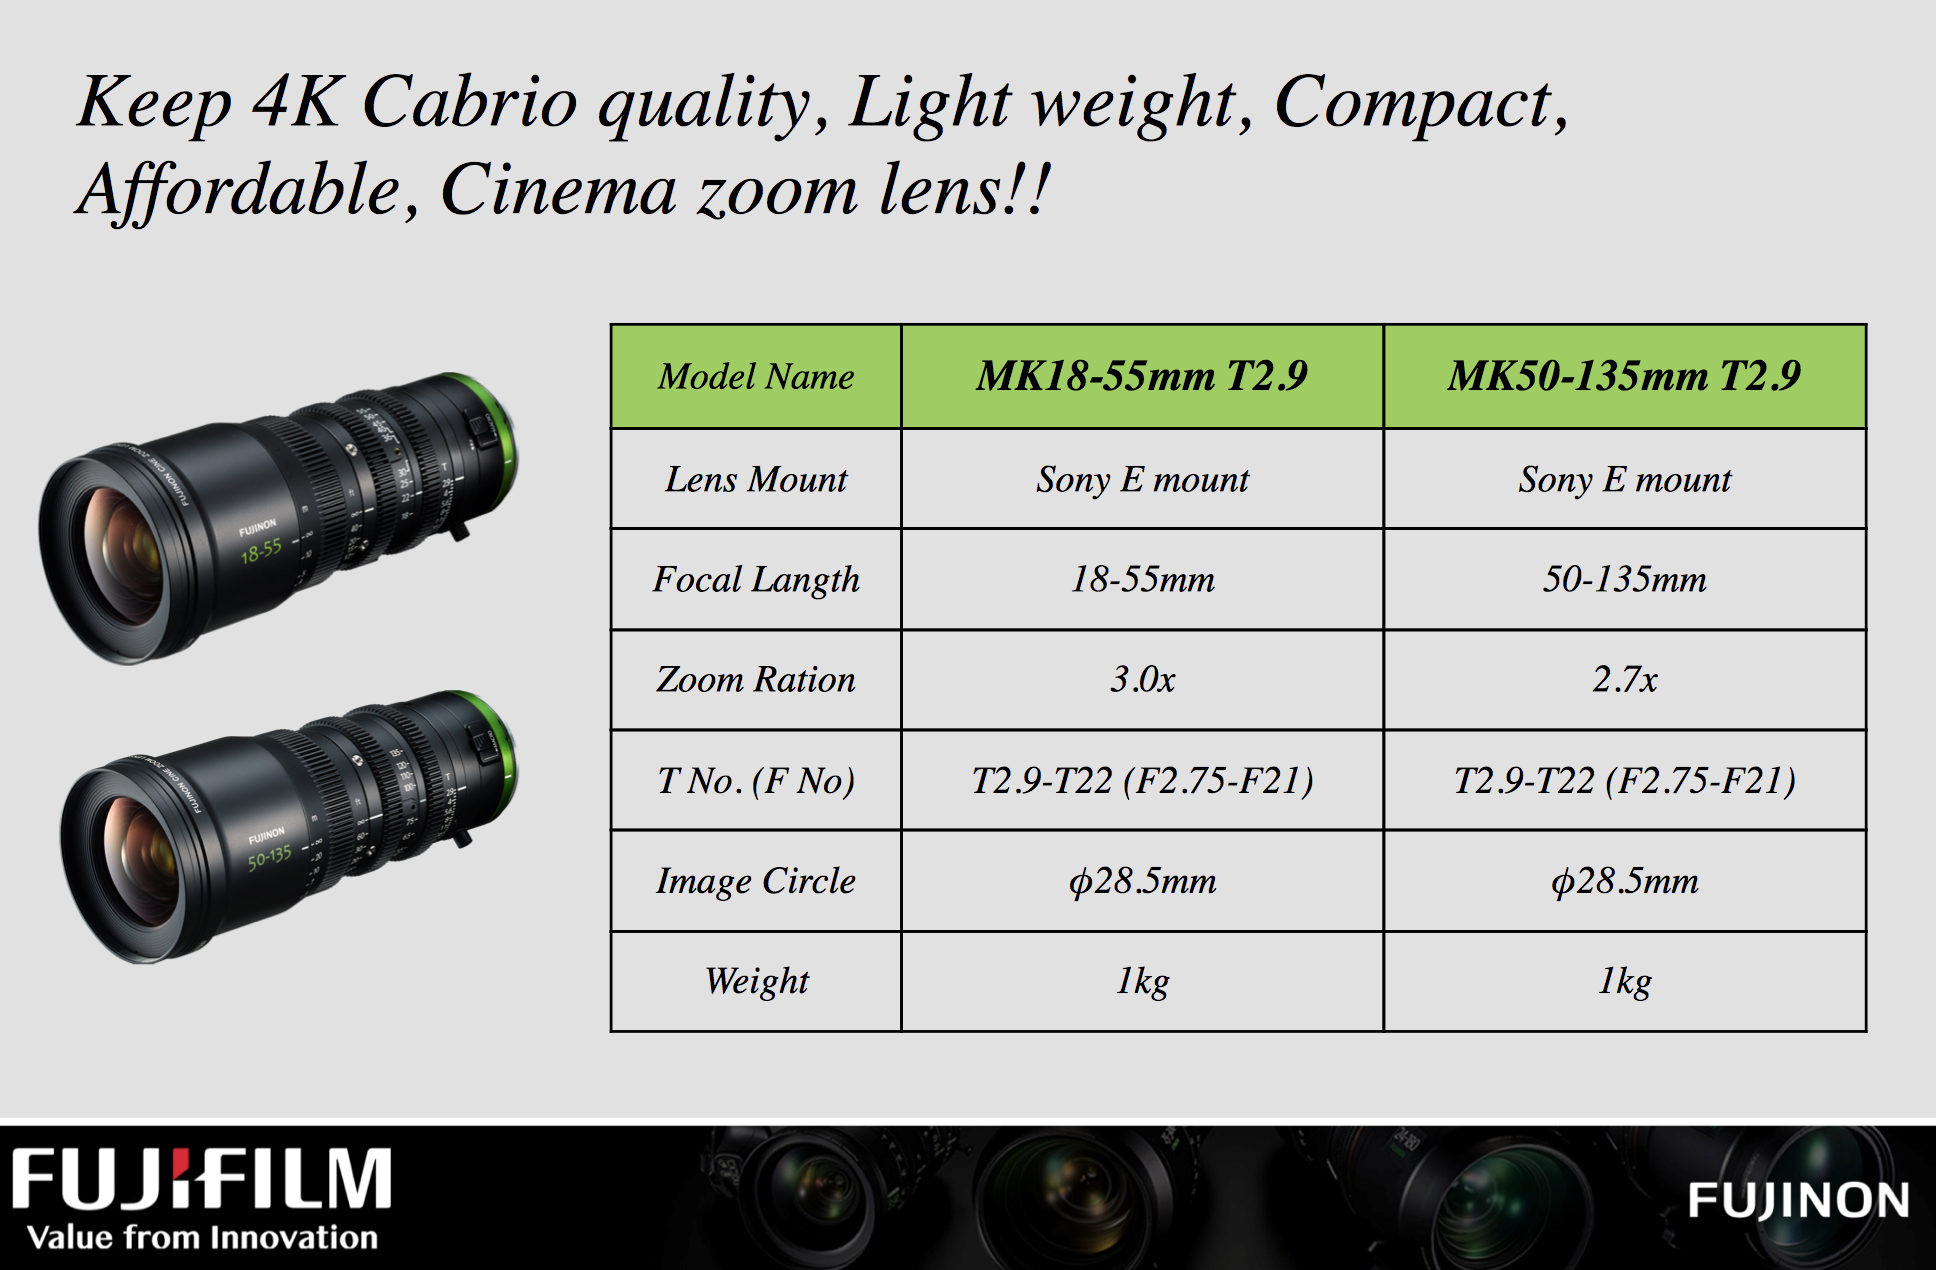
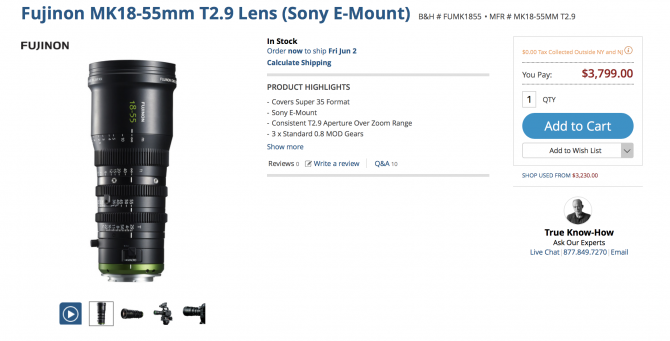
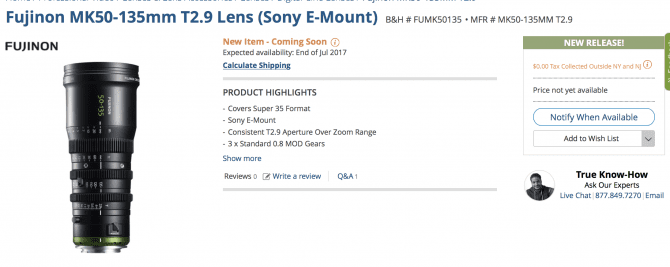
ETHICS STATEMENT: Earlier this year I was hired by Fuji to make a video using their new E mount cinema lens the MK 18-55mm T2.9 I was hired again to shoot footage for the second lens in the set, the 50-135mm, which you can see and read about on this blog post.
All photos taken by Sarah Seal with the magnificent Fuji GFX 50S

If you have never shot with a Cinema lens, then you are in for a treat. They generally don’t have the issues that plague DSLR lenses; focus breathing, non parfocal, short focus throws, stepped apertures, focus barrels with no hard stops. The bit that isn’t a treat is that they generally cost an arm and a leg and almost weigh as much as that too!
To be honest, all those issues with DSLR lenses were new to me because, before the DSLR revolution, I used nice big B4 broadcast lenses. They are similar in many ways mechanically to a cine lens, but have a much larger range because they only need to cover the comparatively tiny 2/3” sensors. So when I started using the Canon 5D MKII, the issues with stills glass came as a bit of a shock. I was used to nice mechanics for smooth and easy operation. Suddenly, I no longer had hard focus stops. The focus barrel rotation went from close to infinity with a tiny movement of the wrist, making it really hard to pull focus following someone, and my zooms didn’t hold the focus through the range. All of these were very problematic for my documentary filming, but I coped.
That is why when Fuji first asked me to test out their new MK native E-mount cinema lenses, I was extremely excited. For the first time in 8 years, I was going to be able to use high quality optics on my large format video cameras with the mechanical operation I was so used to from my B4 days…and not break the bank!
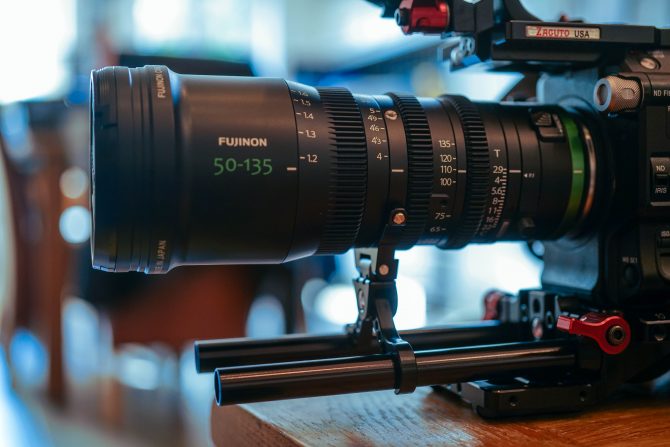
I have been using the MK 18-55 T2.9 since December, and it has been a joy ever since. I took it to Gran Canaria the following month to shoot some promotional footage for Fuji, and I have also used it on many projects since. The range on that lens gives you a rough full-frame field of view equivalent to a 24-70mm zoom. Whilst this is great for close-up filming and handheld work, my most common lens for shooting B-Roll and interviews is actually the telephoto full frame 70-200mm. That was why I have been excitedly anticipating the second lens in the MK line, the 50-135mm. This focal length gives me that full frame equivalent of 70-200mm.
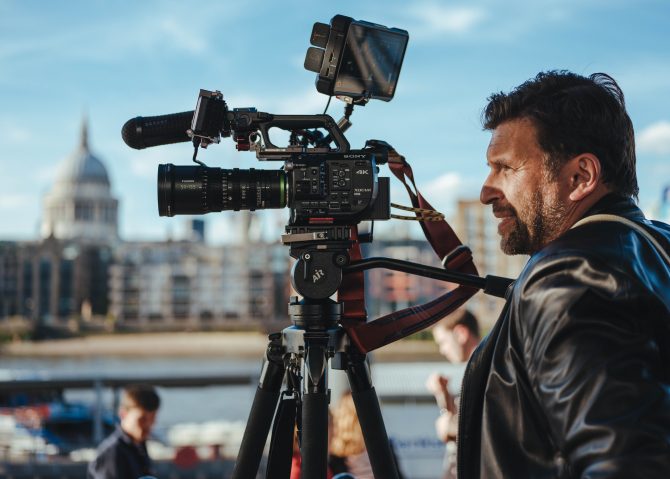
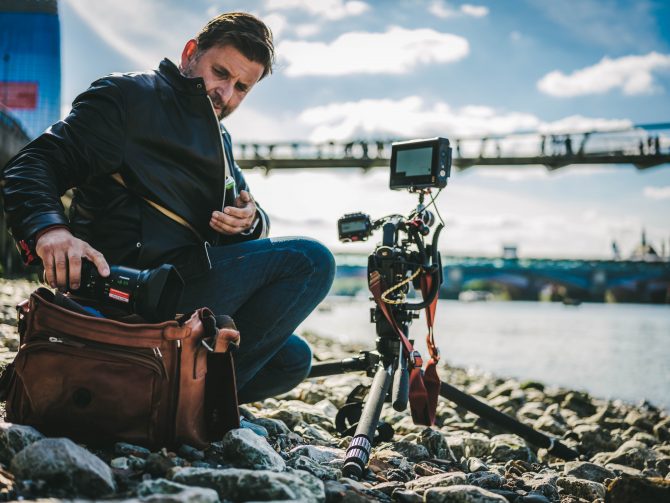
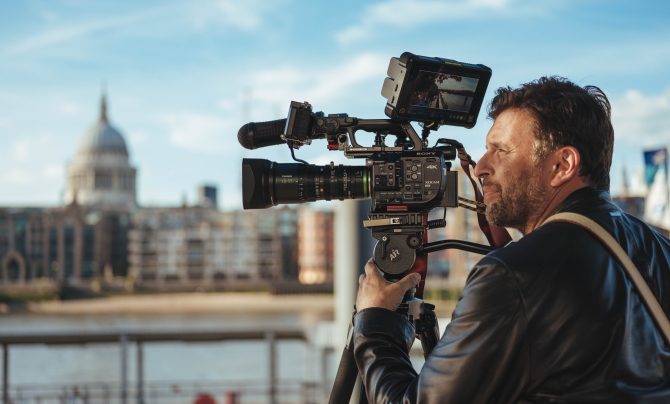
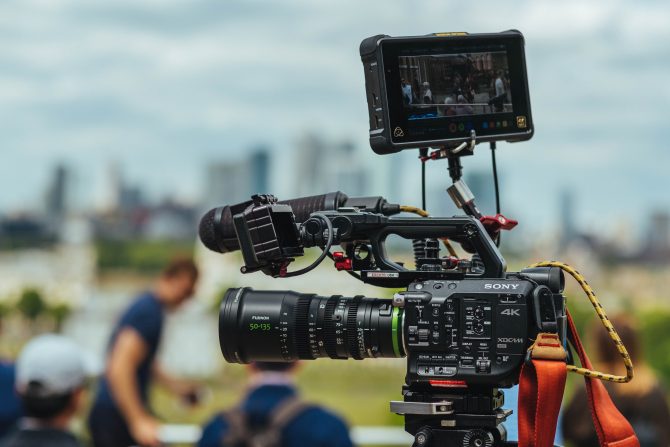
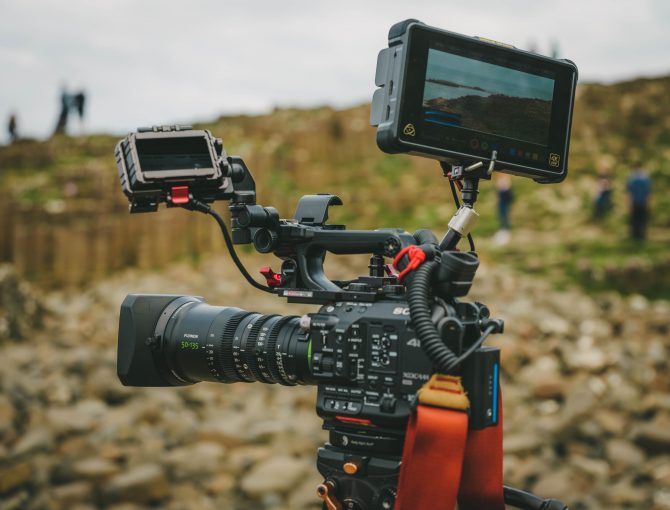
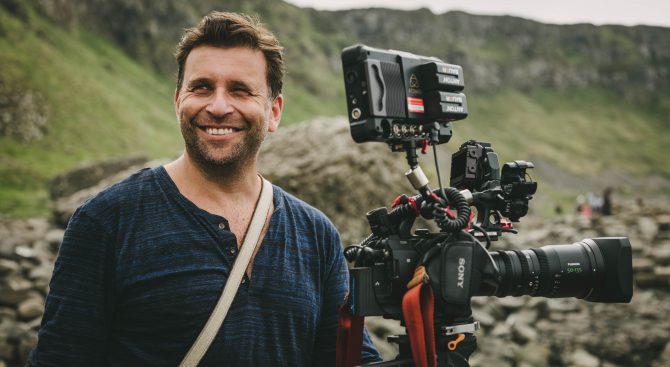
Again, Fuji hired me to shoot some promotional footage with the lens, so the day after receiving it, I was filming in London with it for the first time alongside the 18-135mm. The first video I made was much more landscape-based as it was wider, so with the second video I needed a subject to make the most of the telephone lens. Oo I took my shooting assistant Sarah Seal (she also filmed the BTS video) around the city and filmed her using the wonderful medium format GFX 50s. I wanted to make a video that showed the entire range of the optics from 18mm to 135mm, a video that took in magnificent wides and beautiful close ups.


The camera I used was the Sony FS5, although my main camera is actually the Sony FS7, both of which are perfect for these lenses. The reasons I went with the FS5 was so that it would be directly comparable to the previous video I made using the 18-55mm in the Canary Island, and also so I could record 4K 120p and 2K 240fps via the raw upgrade of the camera into the excellent Atomos Inferno external recorder.
The lenses are designed to for Super 35mm cameras, but you can use them on the Sony E mount stills cameras. With the APS-C sensors they are perfect. With the full frame sensors you either have to go to Super 35mm mode, or if your camera doesn’t have that (like the Sony A7SII) then activate clear image zoom on it and set it to around 1.5x
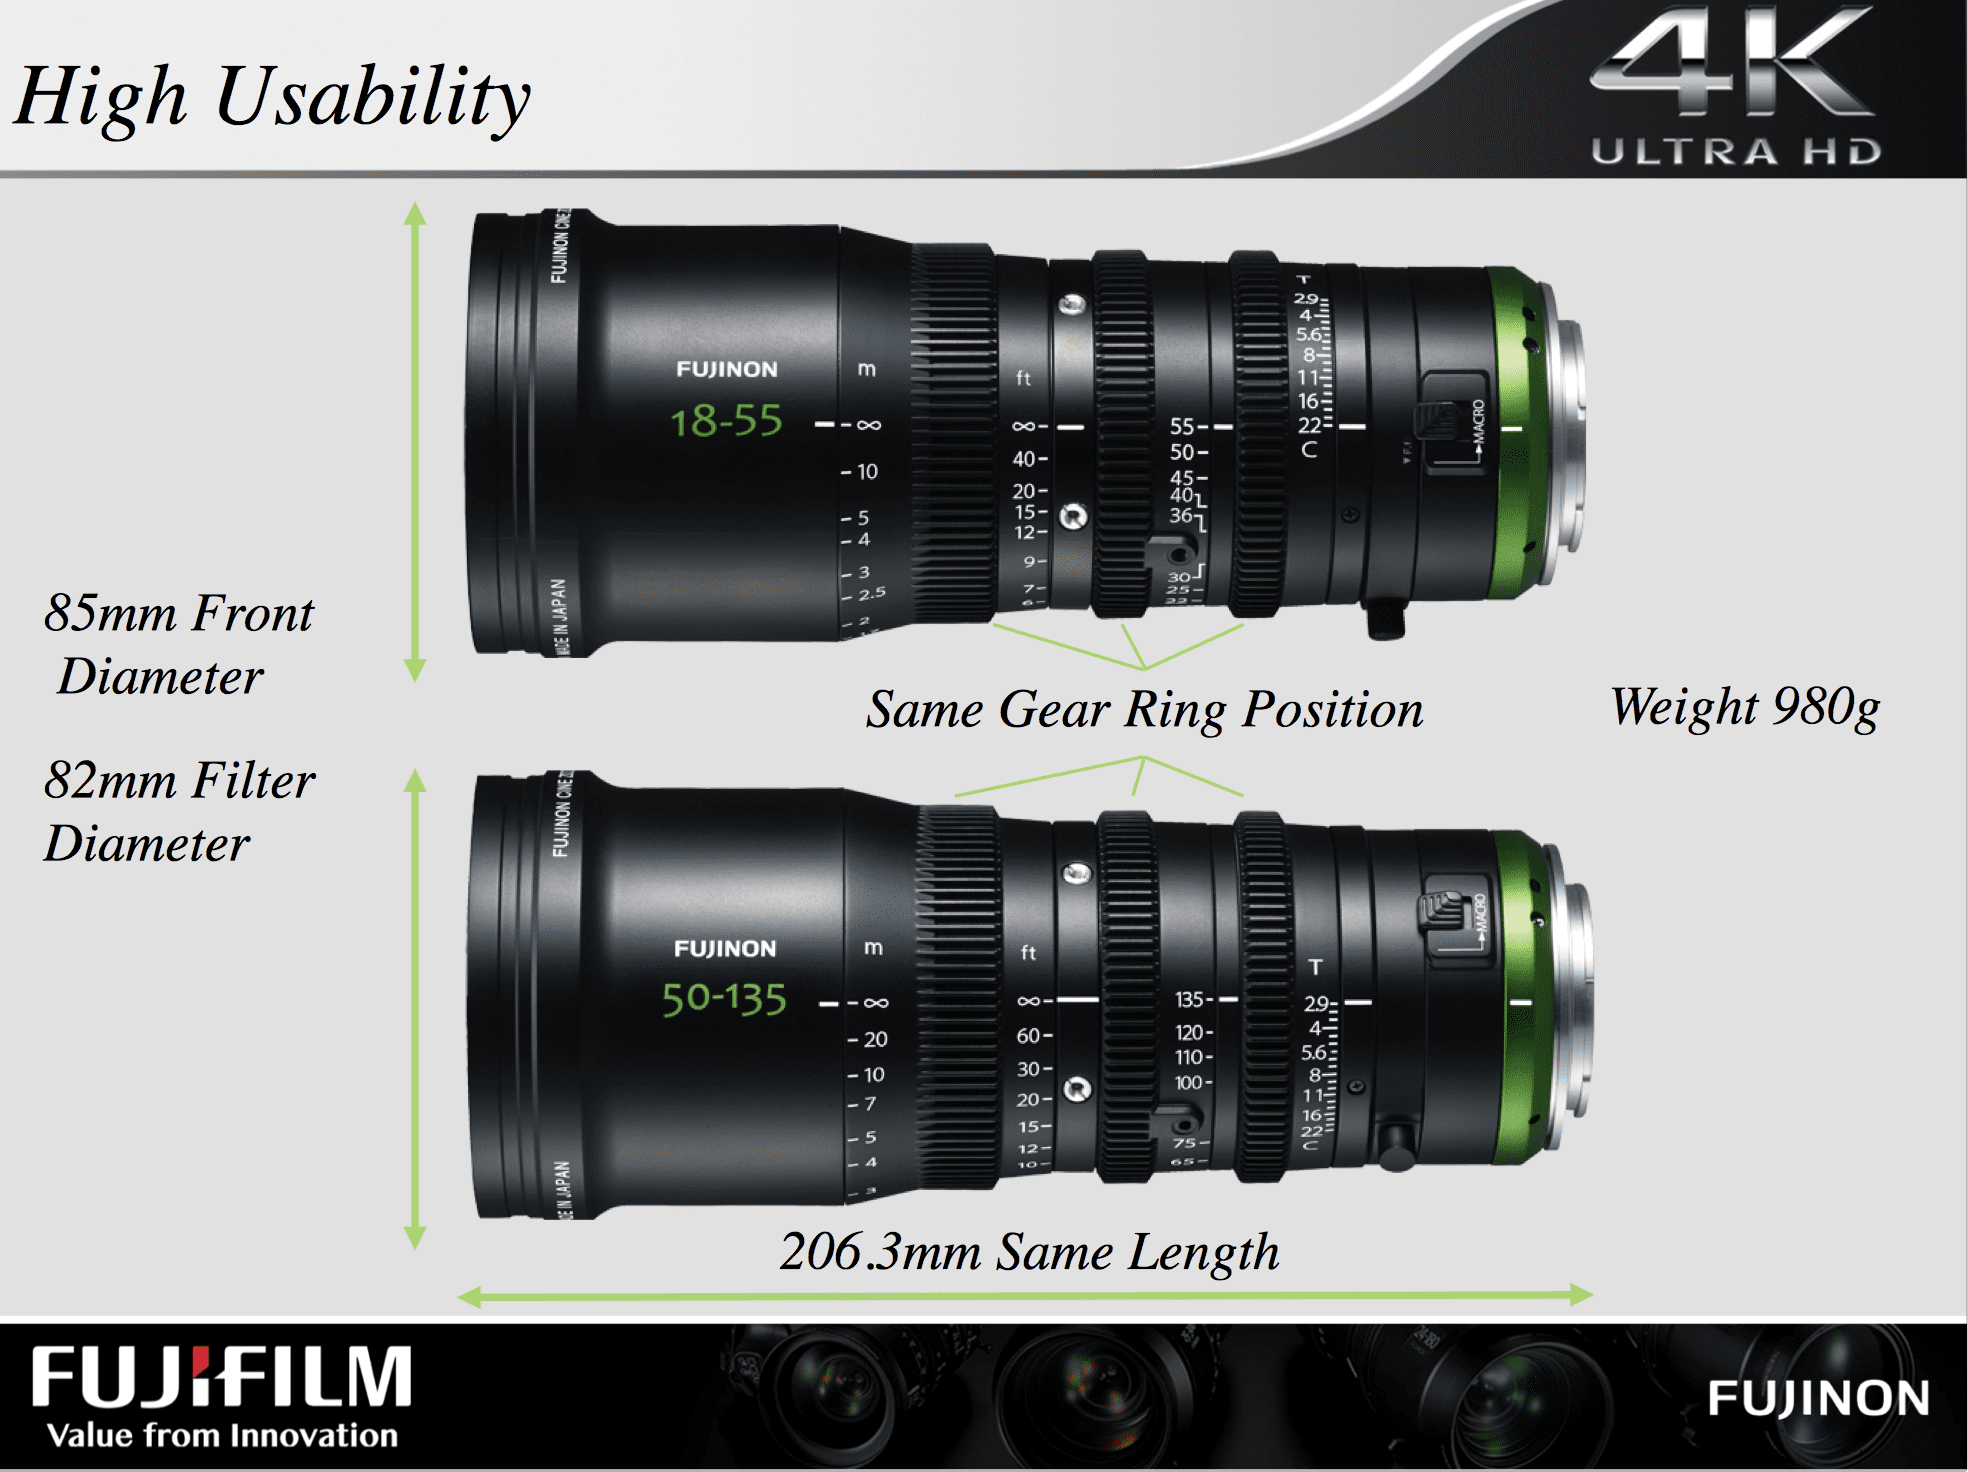
The lens was, as expected, an utter joy to use. It is the same weight (just under 1kg), size and length as the 18-35mm. It also has identical mechanics. Smooth 200-degree focus rotation, par focal so it maintains the focus that you have set when you zoom, constant aperture so the light transmission is the identical from 50-135mm, a smooth aperture, back focus to do fine adjustments to the flange, and the macro dial on the camera end of the lens.


Both videos graded as always using FilmConvert. Discount code above!!
Image-wise it is exceptional, of course. It matches the colour and contrast of the 18-55mm, and it is pin-sharp edge to edge, too. The bokeh from the lens is also beautiful – those long lens/ shallow depth of field shots look incredible.
To be able to go out with just two lenses to cover my entire range, and which together weigh less that 2KG, is a joy. The ability to pull focus on a moving subject is so much easier with a lens that has a 200 degree rotation and smooth mechanics. Changing frame size and not having to adjust focus is something I need to get used to doing again. I have become so used to the flaws in DSLR optics that I have to get back to how I used to operate lenses!
 These two lenses are now without question my favourite lenses to shoot video with on my Sony cameras. They are an absolute joy to use. Do I mind that they are two lenses and not one? Not really, no. This keeps the cost and weight down, making owning cinema zoom lenses finally possible for me.
I wanted to talk about the Atomos Inferno in this post, too. This is by far the best recorder Atomos have made, and combining it with the raw-upgraded Sony FS5 makes this camera into a beast. The FS7 doesn’t need an external recorder, as it does excellent 10bit 4K up to 60p internally. The FS5 doesn’t. Whilst the HD is excellent 10-bit internally, the 4K is a low 100mbps 8-bit 4:2:0, and the external out only makes an uncompressed 8-bit 4:2:2. You also max out at 30p. To get 10-bit (or higher) you need to buy the FS5 raw upgrade. You then connect it via the SDI out into the Inferno and set it to record the ProRes of your choice.
You can record 12-bit raw with the Inferno in Cinema DNG from this camera’ but it is really is too data-heavy and impractical. I love raw, but it is still impractical for shooting as your main format (see my post on the Canon C200). Maybe for the odd shot. For this shoot, I recorded everything as ProRes. With this upgrade, I now have 4k up to 60p, a burst 4K at 120p of 4 seconds (which I used a lot in this edit), and I also now have 2K high frame rate continuous up to 240fps instead of the 8 second internal buffer. The FS5 is a totally new camera with the upgrade and the inferno.
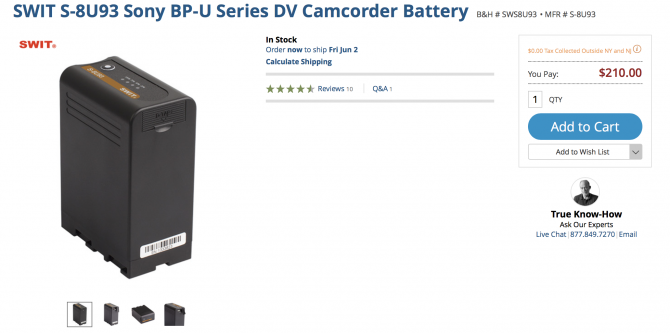
The screen on the inferno is still reflective, but with 1500 nits brightness you can see the screen clearly in daylight. The downside is that the battery consumption is quite strong. There is no power out of the FS5, so I either used Sony NP batteries on the back of the Inferno or my Swit BP batteries with D-Tap out. The latter is a better option, as it makes the set up much more streamlined instead of having 2 big batteries on the back of the recorder. With these Swit batteries, I was getting up to 2 hours of record time per battery. Still quite strong. If you are using a nice big V-Mount you won’t have this issue, but I like to keep my FS5 relatively small.
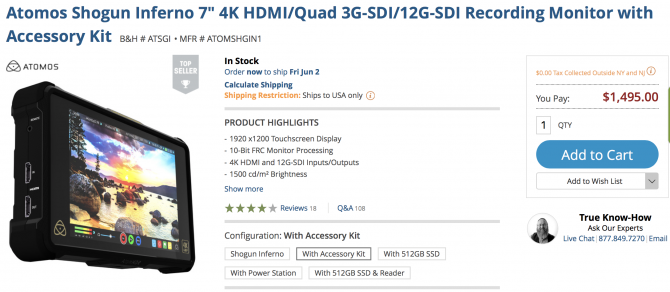

That is my biggest issue with the Inferno – it makes my camera un-ergonomic and too big for handheld. I wish they would bring out a recorder of this spec, but with a 5″ screen like their old recorders. I would also like a Ninja star sized recorder too! I like to use monitors a lot when filming, and really 5″ is big enough for me for most uses other than sit down interviews as they don’t get in the way. The Inferno dominates the FS5 due to its size, and you can imagine what it is like on a GH5 or A7SII! They need to make smaller recorders really. 7″ is great for some stuff, it is just too big for general use for me.
The operation of the inferno was seamless. It’s a fast machine and mode switching for recording is automatic. There is about a 7 second or so delay for the Inferno to recognise the changing camera modes, which isn’t bad at all.
Media wise I used two SSDs, both of which are recommended of the Inferno, both of which are excellent. The Anglebird raw 500gb and the G-Tech Atomos mastercaddy 4K. Both of which are pretty affordable as on-camera media goes.
All in all, these lenses, this camera (with the upgrade) and the recorder create an incredibly powerful filmmaking combo.
I often get asked “FS7 or FS5 with Inferno and raw upgrade?” That is tough. The FS7 is such a slick camera with great internal recording which makes ergonomics way better for me, and that is important. I do love the 4K 120p and 240fps 2k from the FS5/ inferno combo though!
The FS5 has that variable ND (like the FS7 II) and is so small. It just becomes a bit awkward for handheld with the Inferno on it. I would always choose a camera with high quality internal over a camera that needed a recorder to get high quality recording. Having a big screen is great sometimes, sometimes it isn’t!
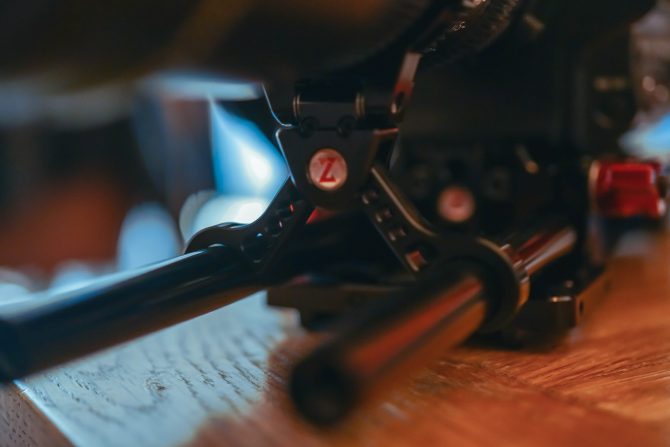
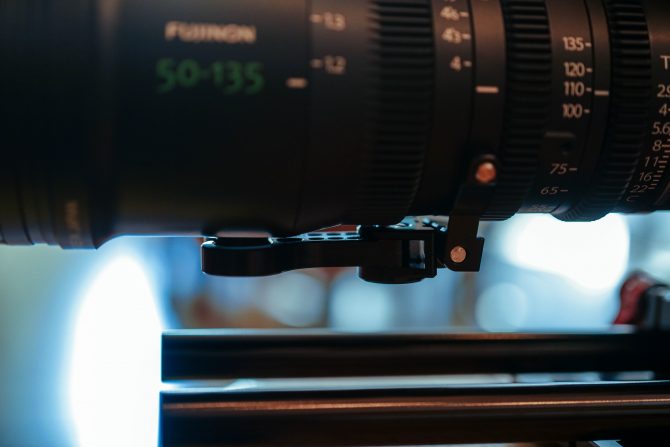
One last thing I wanted to share with you is the new “Scissor support” specifically for these two lenses. Whilst the lens itself doesn’t really need any support as it is so light, if you will start using matte boxes and other stuff then is is sensible to add a lens support. This is a really clever little design from Zacuto. It screws onto the lens and folds back when not mounted. Then when you put it on the camera, simply unfold it and clip it onto the rods of your rig. You can pre-order it now for $200
Scissor Lens Support for Fujinon MK Lenses from Zacuto on Vimeo.
Below is the footage and BTS from the first video from Gran Canaria with the Fuji MK 18-55mm
2 comments