


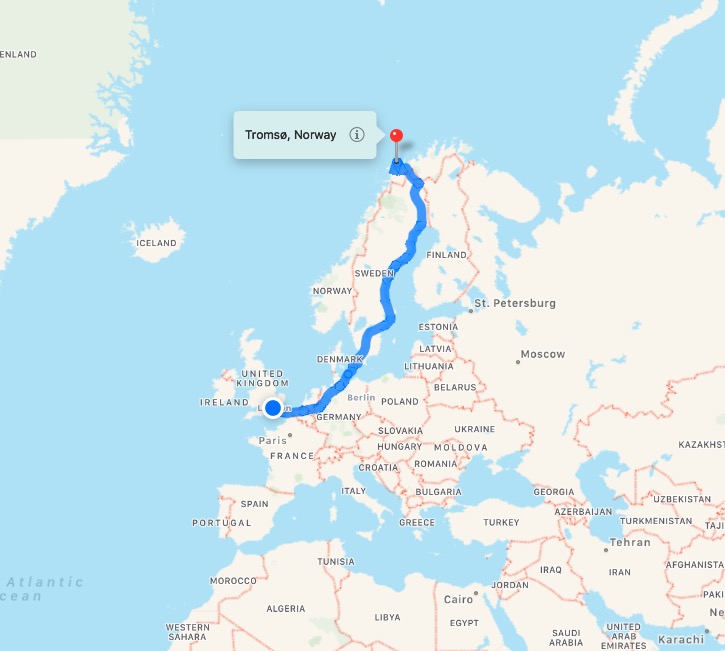
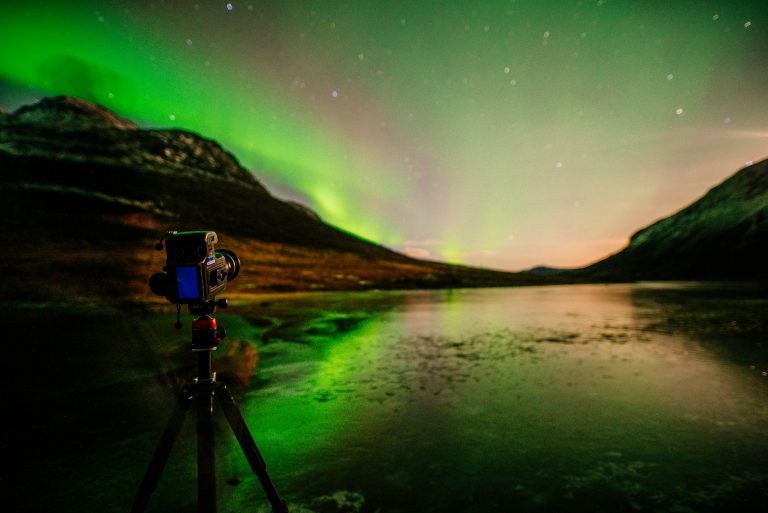
After doing a couple of short talks for Sony in Oslo, I flew up to Tromsø in the far North of mainland Norway to see and film something I have had on my bucket list for many years: the Aurora Borealis (aka the Northern Lights).
I only had 3 nights there. I would have liked to have stayed longer to have more of a chance of seeing the Aurora Borealis, but I had to get back to London for a shoot. Plus, this was all out of my own pocket, and it is pretty expensive up there! I have a friend, Ole Salomonsen, who lives up there filming and photographing the Aurora full-time, so I took him up on his open invite to show me around – this would also help maximise my too-brief time there!
Here is the “vlogumentary” first, graded with FilmConvert, but do carry on reading after though as I talk about the shooting of it.

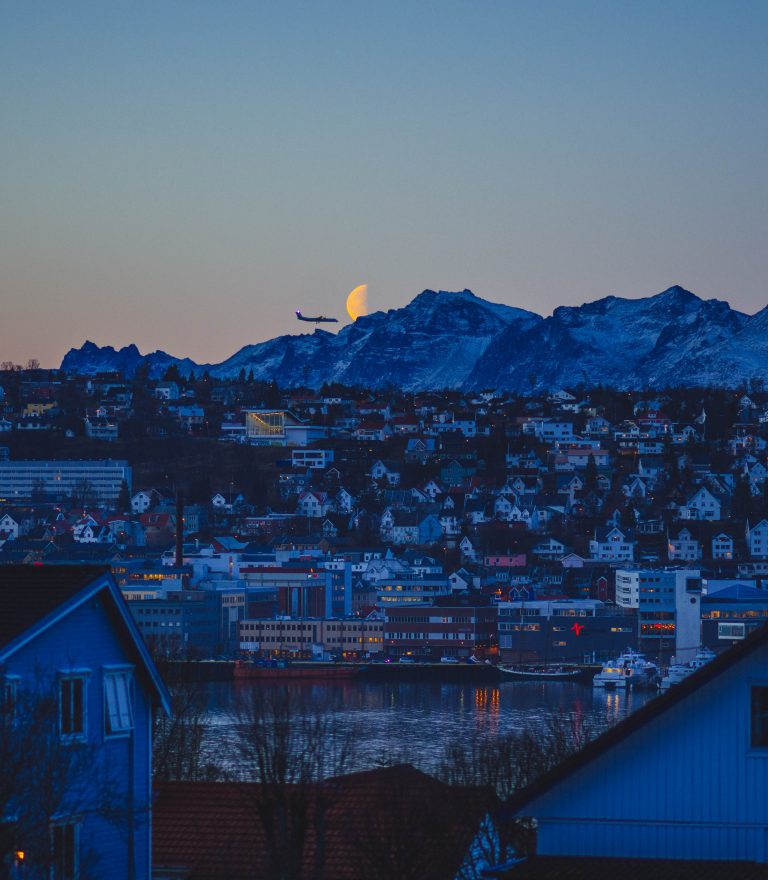
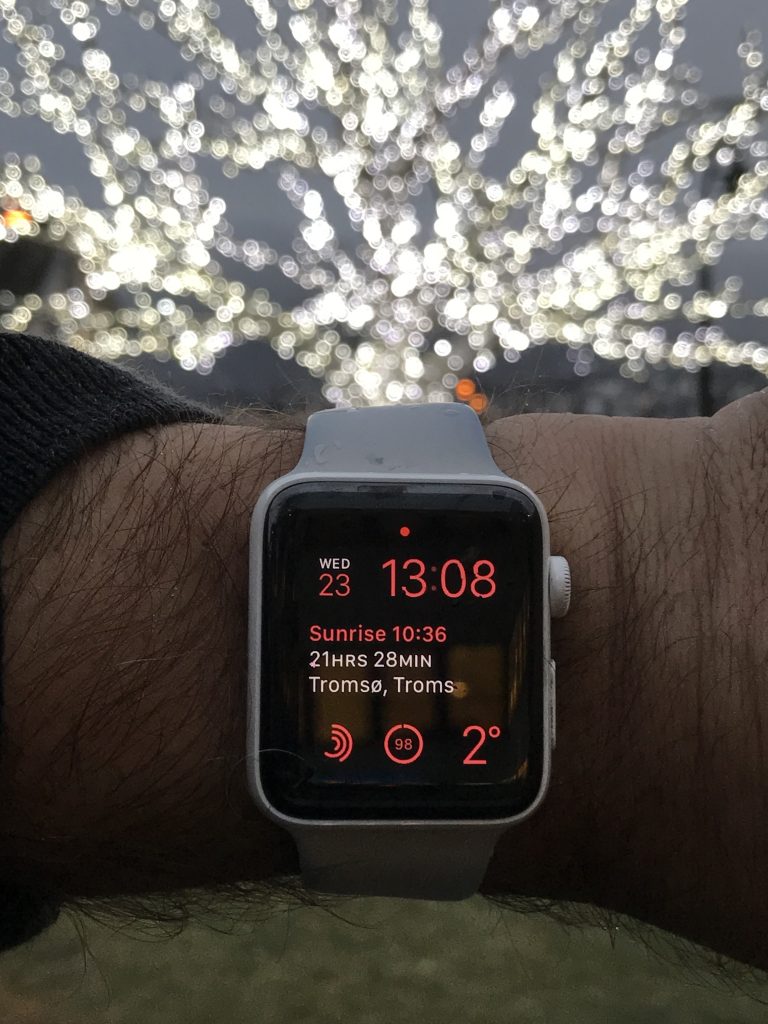
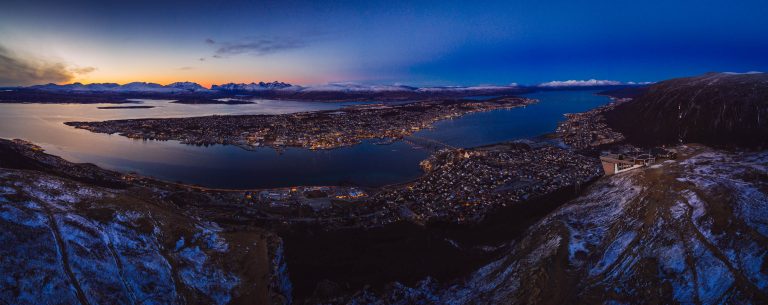
Tromsø is in the Arctic Circle, and the light there is very limited. When I was there the sun was never seen – it barely poked its head over the horizon which was hidden by the mountains anyway.
I have seen many timelapses of the Aurora online, but ever since the Sony A7s came out, I knew I wanted to shoot the Aurora in real-time with it. Living in London means the chance of that is zero, so for me to see it would be either as part of a gig or on my own time. I am a very realistic person, so I knew the chances of me seeing it were not high because you need clear weather and activity. Whilst it happens frequently, the odds were against me, being there for just 3 days. You really need to spend a long time up there to capture it properly or live there to really film its majesty. Ole lives there, and he has captured it better than anyone else I have seen. Here are a couple of his videos. You can see more on his Vimeo channel or his website.
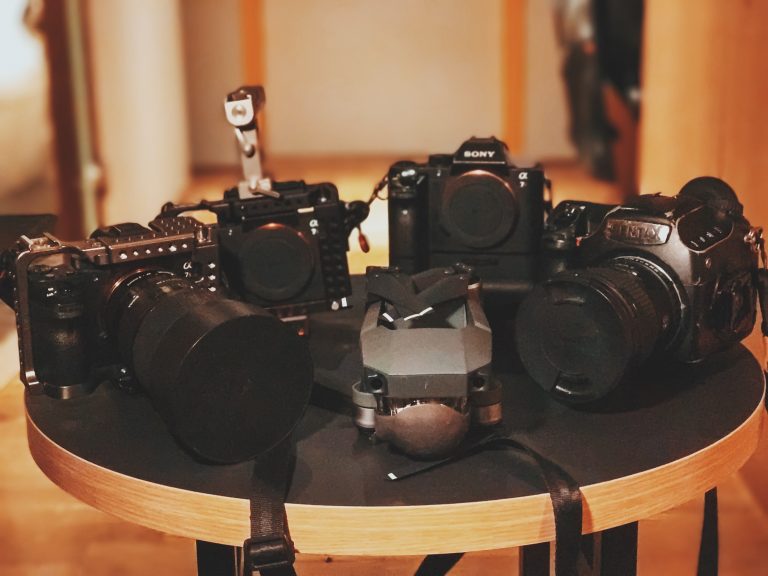
The gear I used
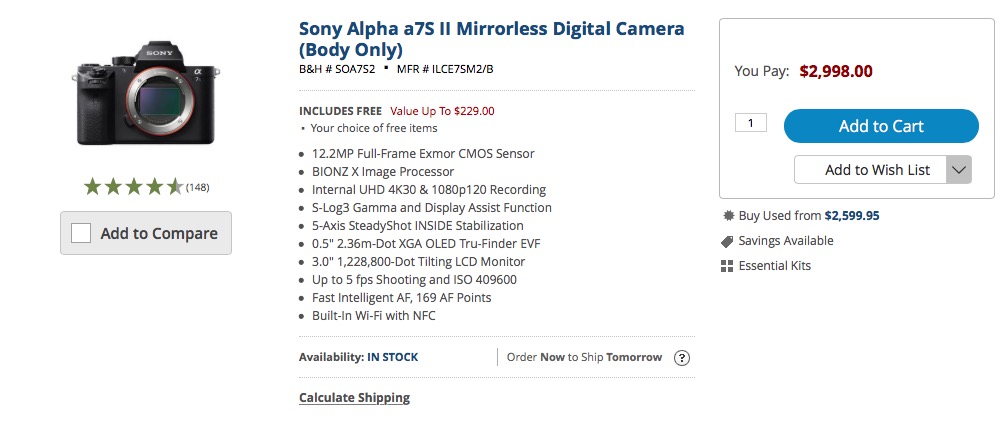
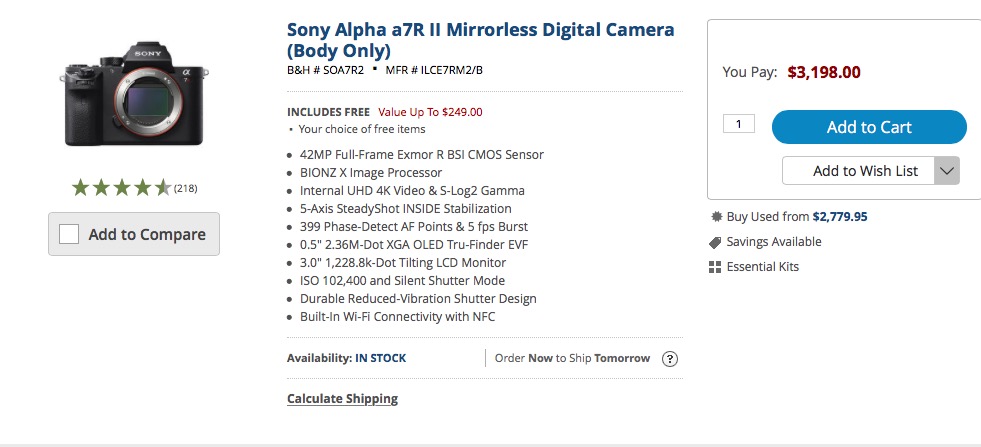
I was armed with two Sony A7siis, the main cameras for filming due to their extraordinary low-light capability and 4K recording, the Sony A7RII for mostly filming myself with its excellent autofocus ability, and the Sony RX100 V for bits and pieces. I also brought my DJI Mavic Pro. Not for the Aurora but for any daytime filming I could get. The camera is not good past 200-400 ISO really, it needs light! Finally, no trip would be complete without my Pentax 645z, which is without doubt my favourite stills camera in the world!
You can see all my photos in full resolution in my Flickr album here.
In addition, I had a Rode Video Mic Pro and Video Micro for on-camera sound, a Sony UWP wireless mic pack (which I didn’t use but should have), two wonderful Photo Clam stills tripods and a mediocre E-Image fluid head one for video. It is relatively light, and I didn’t have the space or weight available in my luggage for a better one.

The lenses were my three Zeiss Batis lenses for FE mount, 18mm F2.8, 24mm F2 and the 85mm F1.8, which are all great for autofocus and were really for my A7RII. For the A7s II the main lens for the Aurora was the Sigma ART 20mm F1.4 – wide and fast, which I really needed. It isn’t sharp edge to edge at F1.4 unfortunately. It is at F2, but I still shot with it a lot at F1.4 as I needed those extra stops of light. I also used my Canon 70-200 F2.8 L IS II. The shots I used it for in the video were those tight shots of the city from the high spot and the tight shot of the seagulls later on in the video. I used the Metabones V4 EF to E mount adaptor for both these lenses. I also brought with me but didn’t use my Canon 16-35mm F2.8, Sigma ART 24mm, 35mm and 50mm all F1.4 and the Canon 135mm F2 L. I always bring too many lenses with me, but I know the time I don’t bring them is when I need them!
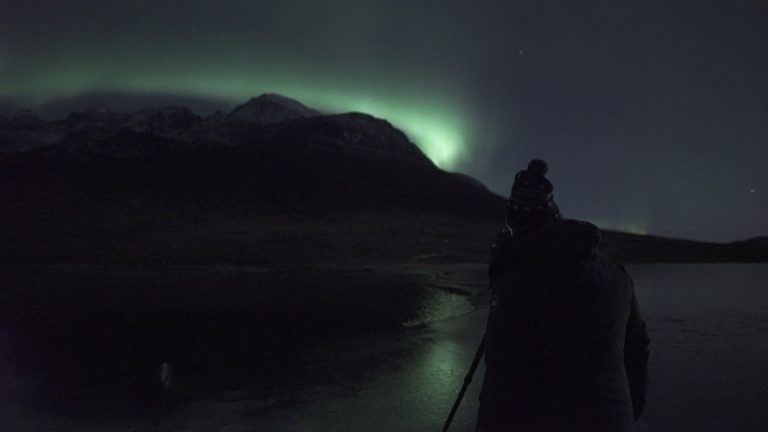
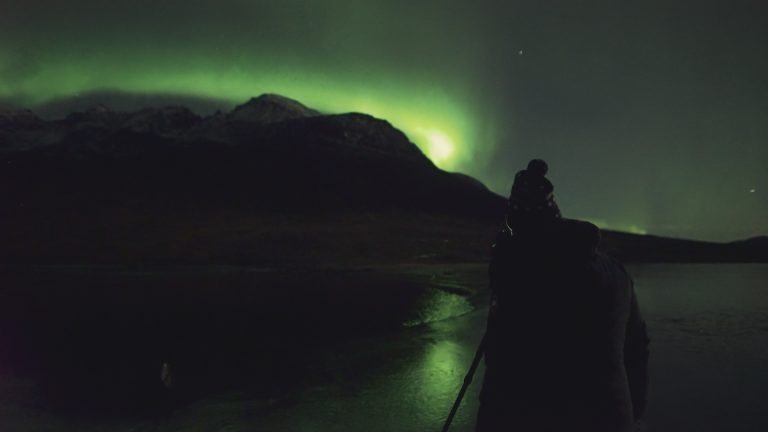
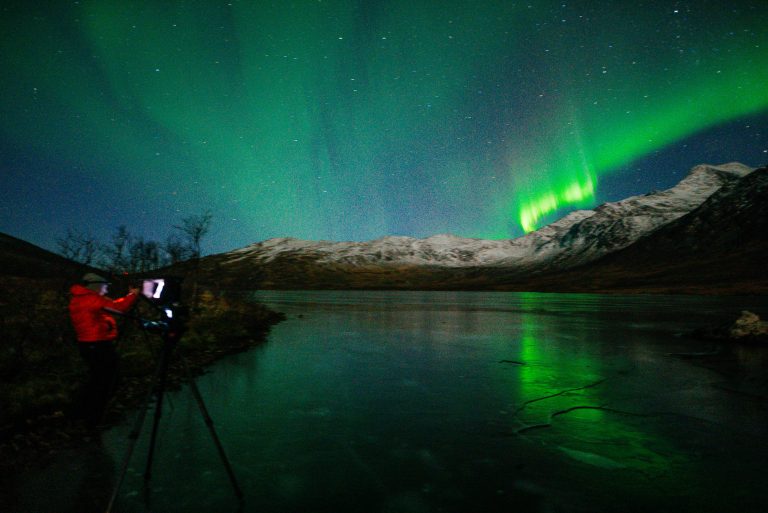
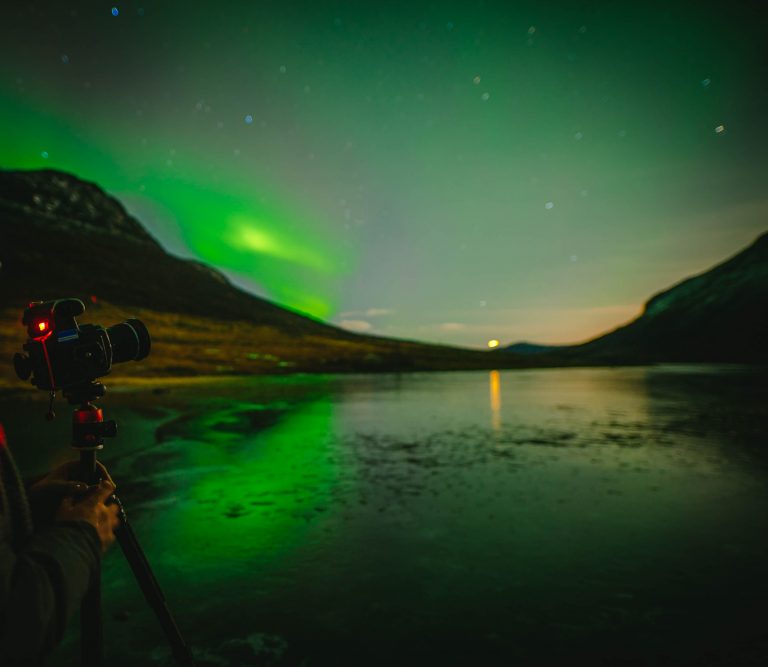
It was incredibly challenging shooting the Aurora. It wasn’t super bright when I was there, so the shots of the Aurora over the city were tricky due to not wanting to over expose the city in my attempt to see the Aurora. I filmed that chunk at ISO 10,000 as a compromise. Later on that evening when we went to the frozen lake, I shot mostly at 51,200 or 80,000. A couple of times at 25,600 ISO, but it wasn’t bright enough. To get more light onto the sensor, I dropped my shutter speed to 1/25th of a second from the standard 1/50th, the lowest I could have it for real-time, as I was shooting 25p. This gave me an extra stop of light, which is the difference between shooting at 51,200 and 102,400. You don’t normally do this as a rule, as it affects the motion blur of the image, but as the only motion was the Aurora you couldn’t really tell apart from those BTS shots of me filming. You can see there is a little too much blur as I move, but you have to make decisions and compromises when filming in these challenging situations.
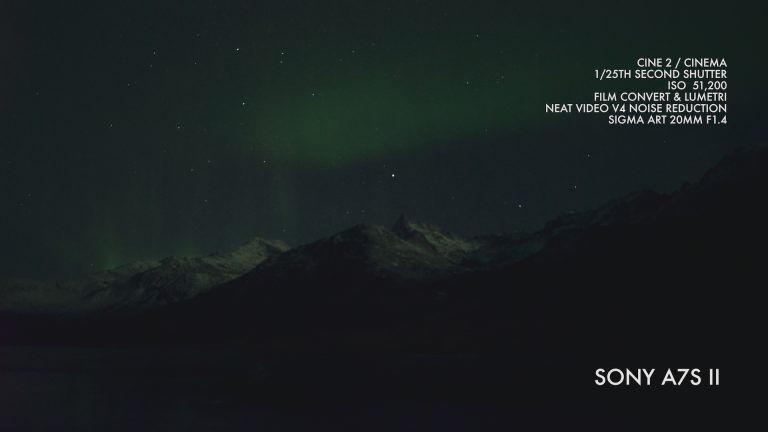
In post I used Neat Video 4 noise reduction on the lake shots. It is the most processor-intensive piece of software I have used, and it took hours to render the denoised clips I used, but it was worthwhile. You just need to be cautious on your settings, don’t have it too aggressive!
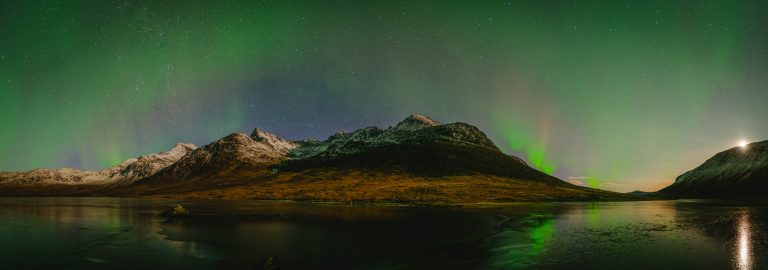
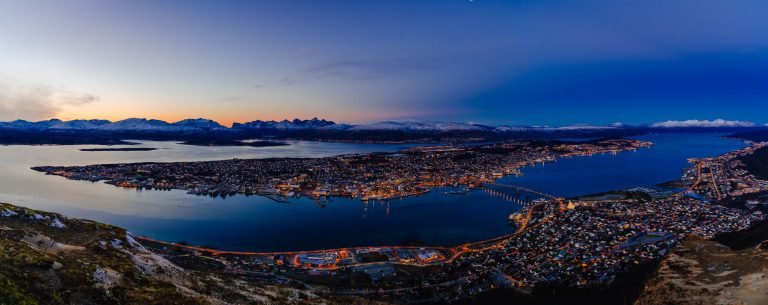
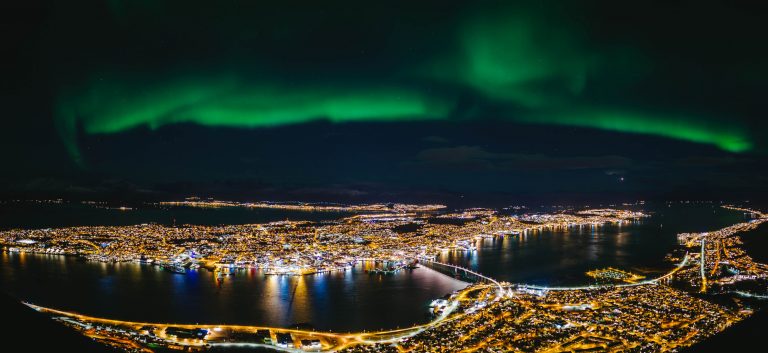
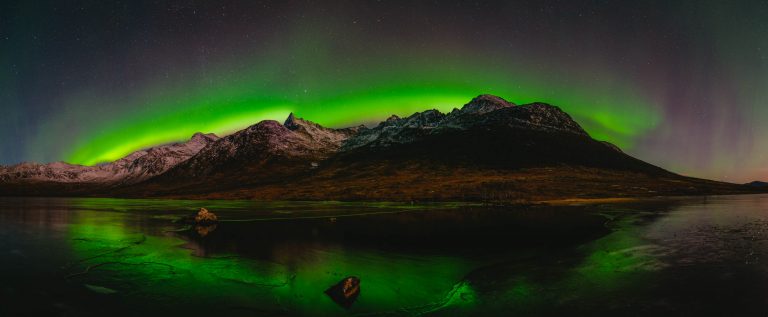
Two Panoramas with the Pentax 645z
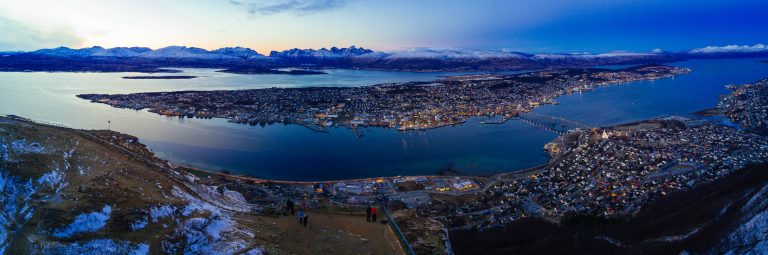
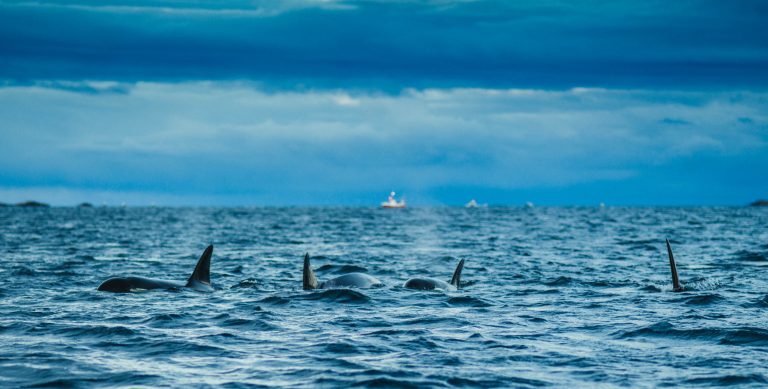
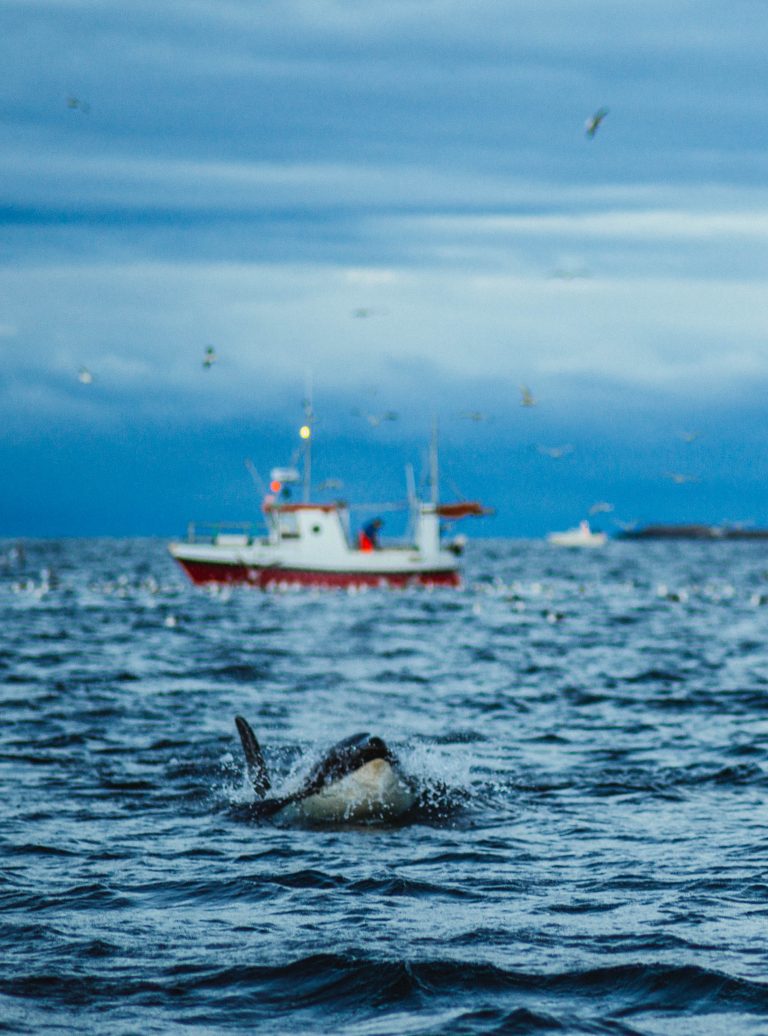
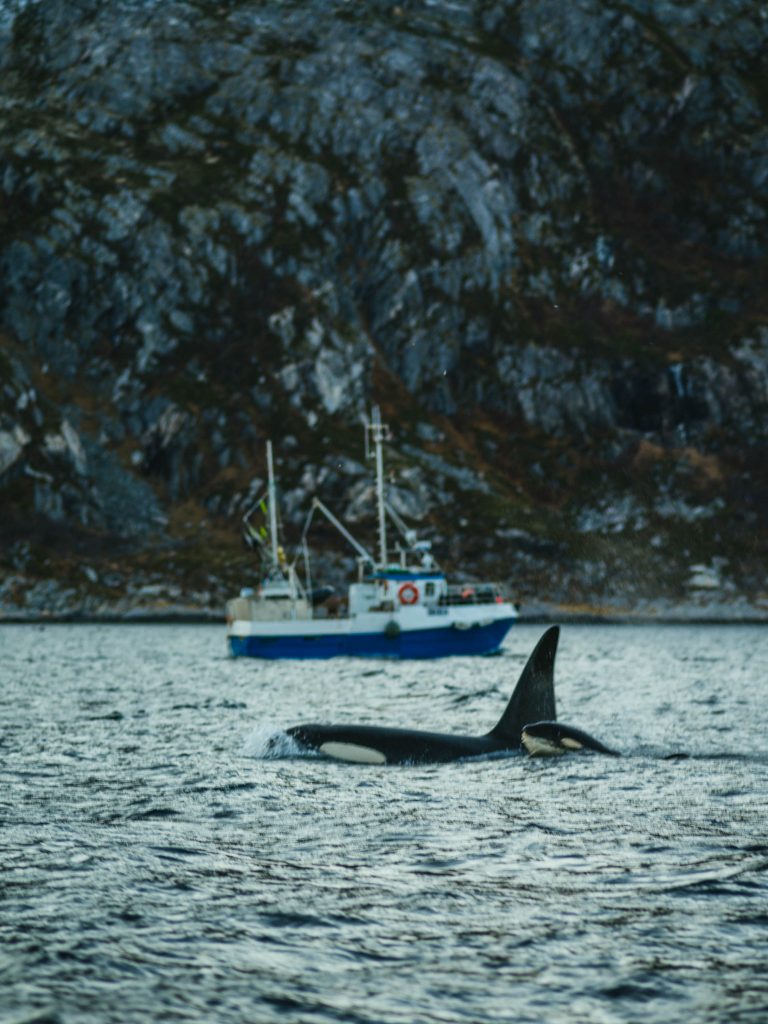
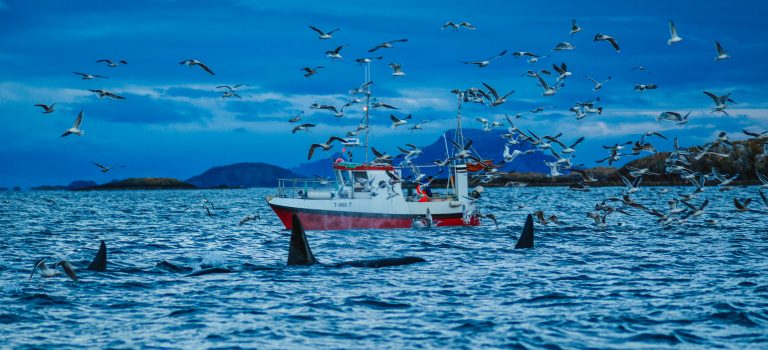
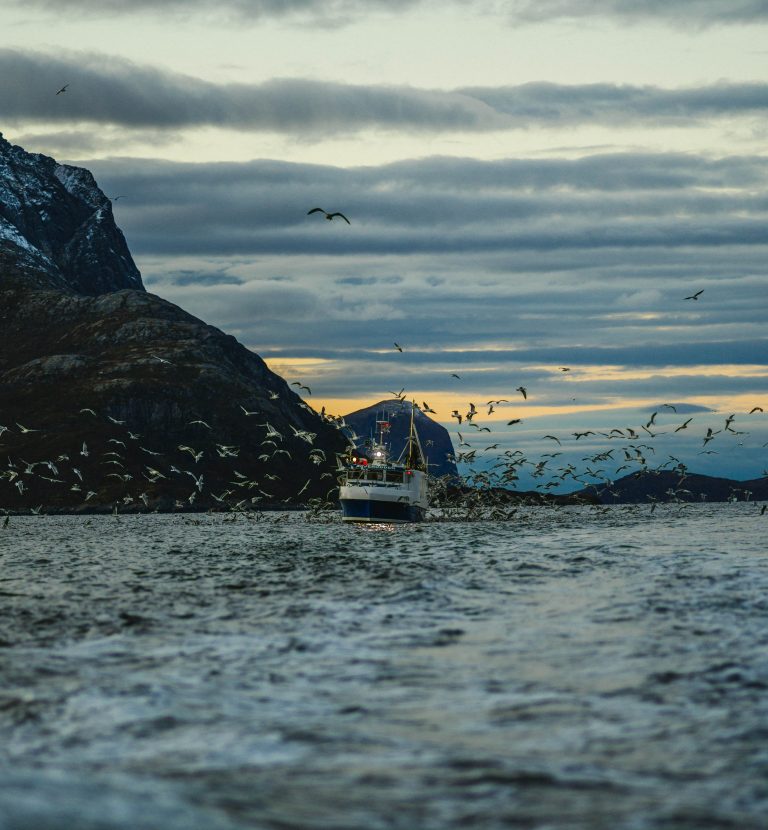
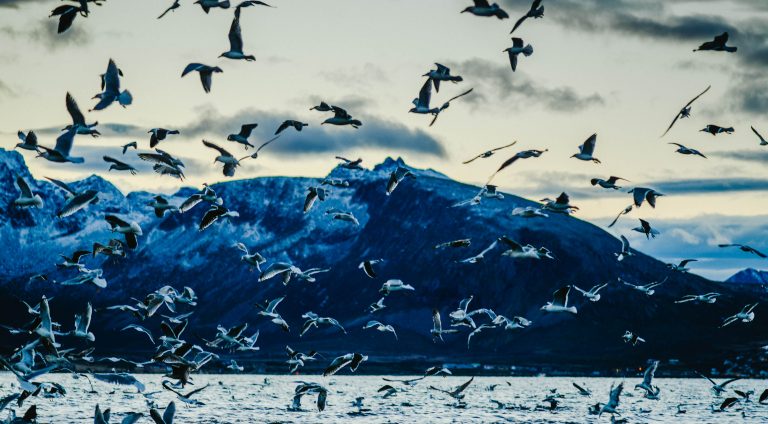
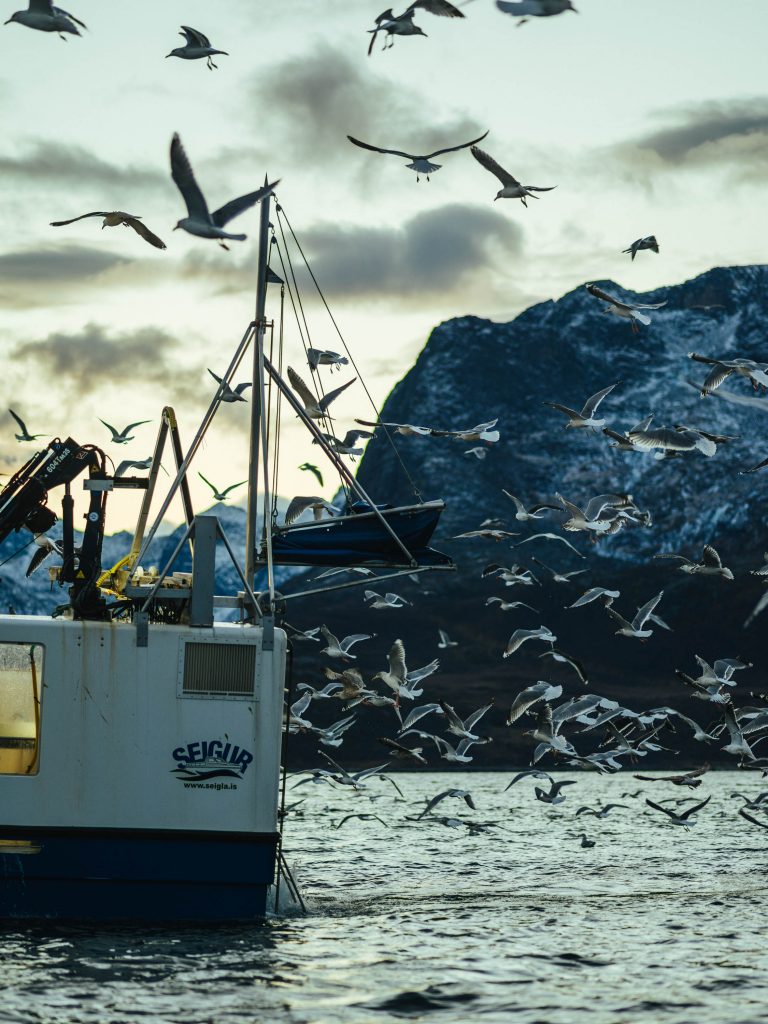
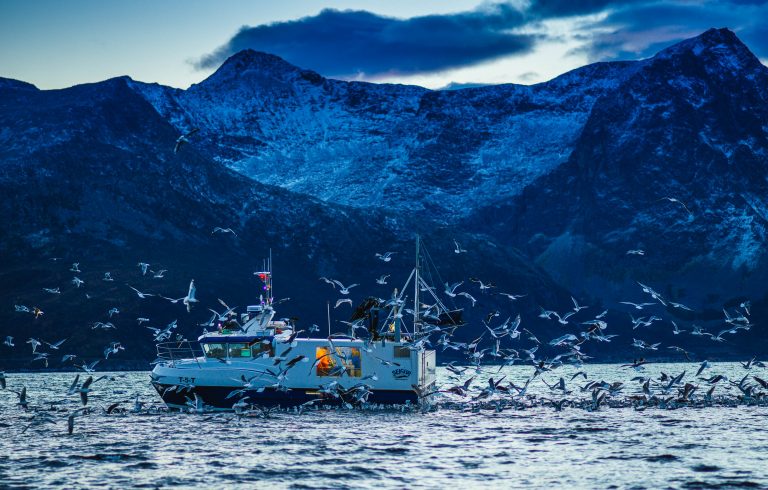
On the 3rd day, we went out on Ole’s boat to film whales. I mostly just took stills, it was too bouncy to film much from the boat, I really wished I had brought one my gimbals, I have enough of them too! Oh well, next time! I did grab a few shots, but the video that did work really well was the stuff with the DJI Mavic Pro. I had filmed a little bit with it at the City overlook but the light was pretty poor at that stage. You can see those shots in my video. The stills panoramas taken manually in portrait mode came out very well though! You can see my video review of the DJI Mavic Pro here.
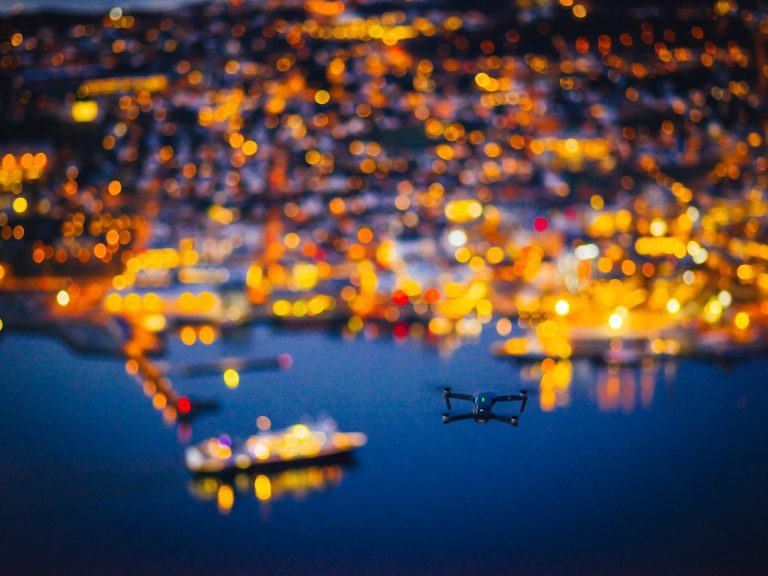

When you start up the drone, it won’t fly until its Inertial Measurement Unit (IMU) is calibrated. The drone does it itself, but it needs to be on a flat surface and not moving. This was not possible on the boat. I have managed to get my bigger drones to start-up on boats easily enough in the past, but they were much bigger boats. This little one bounced a lot. The IMU needs to measures the drone’s velocity, orientation and gravitational forces, by using accelerometers and gyroscopes. When this is done, you can take off and have a nice stable flight. Until it has completed this it cannot take off, and you cannot override it. It took around 10 minutes of me holding it up and trying to absorb as much of the bounce as possible to get it to start-up. I almost gave up, but then it suddenly it was ready to go. Take off from the front of the boat was fine, but I had to set return to home to be based on the controller, not where it took off from obviously because we were constantly moving. I rarely use RTH but it is a safety feature and can be useful. I always knew I would have to manually fly it back and have to catch it, which is harder than with the Phantoms are there are no landing struts to grab!
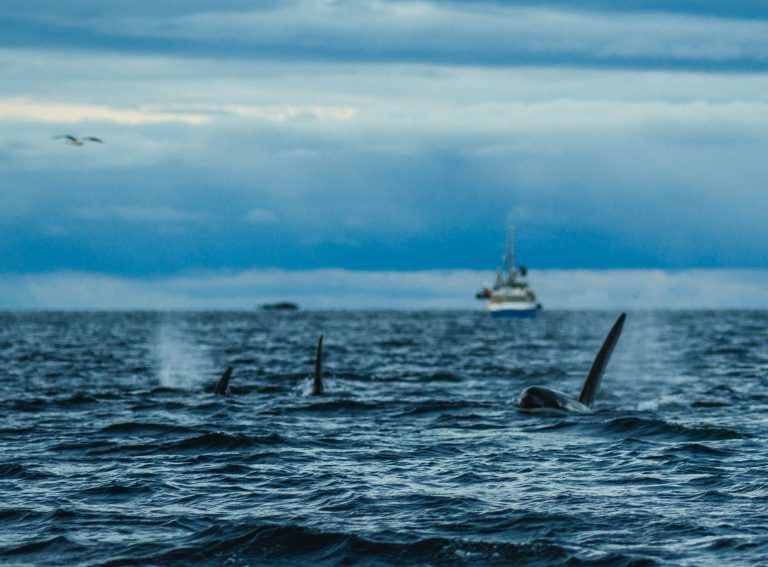
I do love the Mavic Pro; it’s size, features, and flying ability are incredible. I still don’t love the image though. I don’t think it is as good as the Phantom 4. It does have a narrower field of view, which only bothers me when I am trying to get bird’s-eye views and I have to go higher than I am used to get everything in. My issue is with how the Mavic deals with edges, especially back-lit ones (they can get halos and look very video like) and the compression of the recorded video. My experimentations with picture profiles hasn’t led me to any big-breakthroughs as to what is best. Please do share your preferred profiles in the comments. I would love to see how others deal with it. Weirdly, the image kept vanishing on my iPhone in flight, even when it was quite close. I had to keep restarting the app and this was happening with both my phones. It hasn’t done this since, but it made the flying unnecessarily more stressful…after all I am flying over the sea filming these amazing creatures so I needed to be 100% focused!
Just one battery was used, although I had 3 more spares. I got some pretty decent shots and the issues I had with the image disappearing from my phone and of course the additional risk of being at sea meant I played it safe.
Here is the standalone edit of the Orca whales filmed with the Magic.
This truly was an amazing trip, and I wished I could have stayed longer. I will go back, as I want to film the Aurora more and try to get a whole piece from it. The film I made documenting my trip came out well though. I have called it a vlogumentary, as it does straddle both genres. Hopefully you enjoyed it, and there will be future ones. It took about 4 days to edit. What helped a lot with the speed was the amount I shot wasn’t huge, and the music I got from my subscription to Audio Network inspired me enormously.
Patreon
I premiered it early for my Patreon backers. I will do the same for my video autofocus test video part 2. Patreon is a way of supporting my personal videos like this and the reviews. You simply become a patron of me with a small monthly donation, and in exchange you get the various perks which are listed on the site. For those who have already backed me, thank you and for those who are going to, thank you too!

Liked it? Take a second to support Philip Bloom on Patreon!
