
4K Experimentations: Blackmagic Infrared from Philip Bloom on Vimeo.
Experimentations: Infrared Sony RX100 II 590nm filter from Philip Bloom on Vimeo.
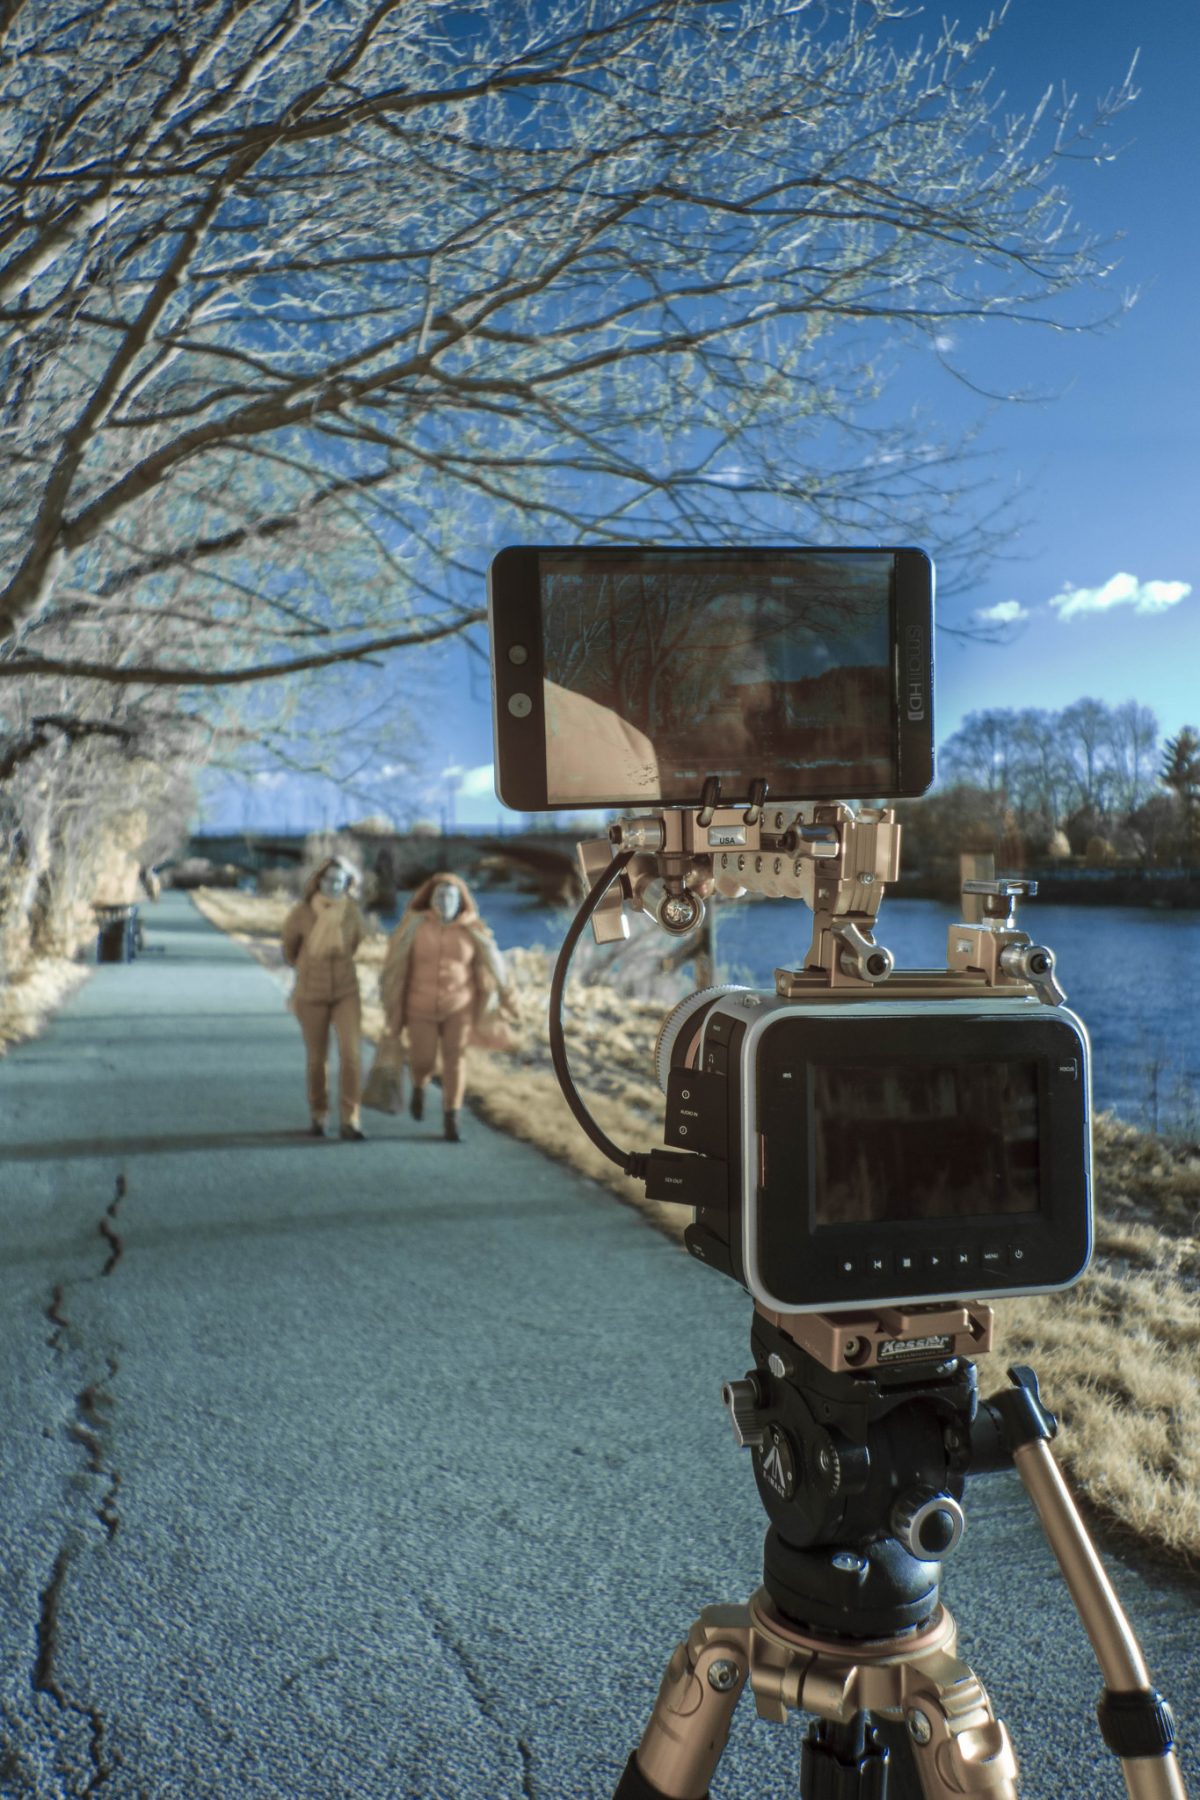
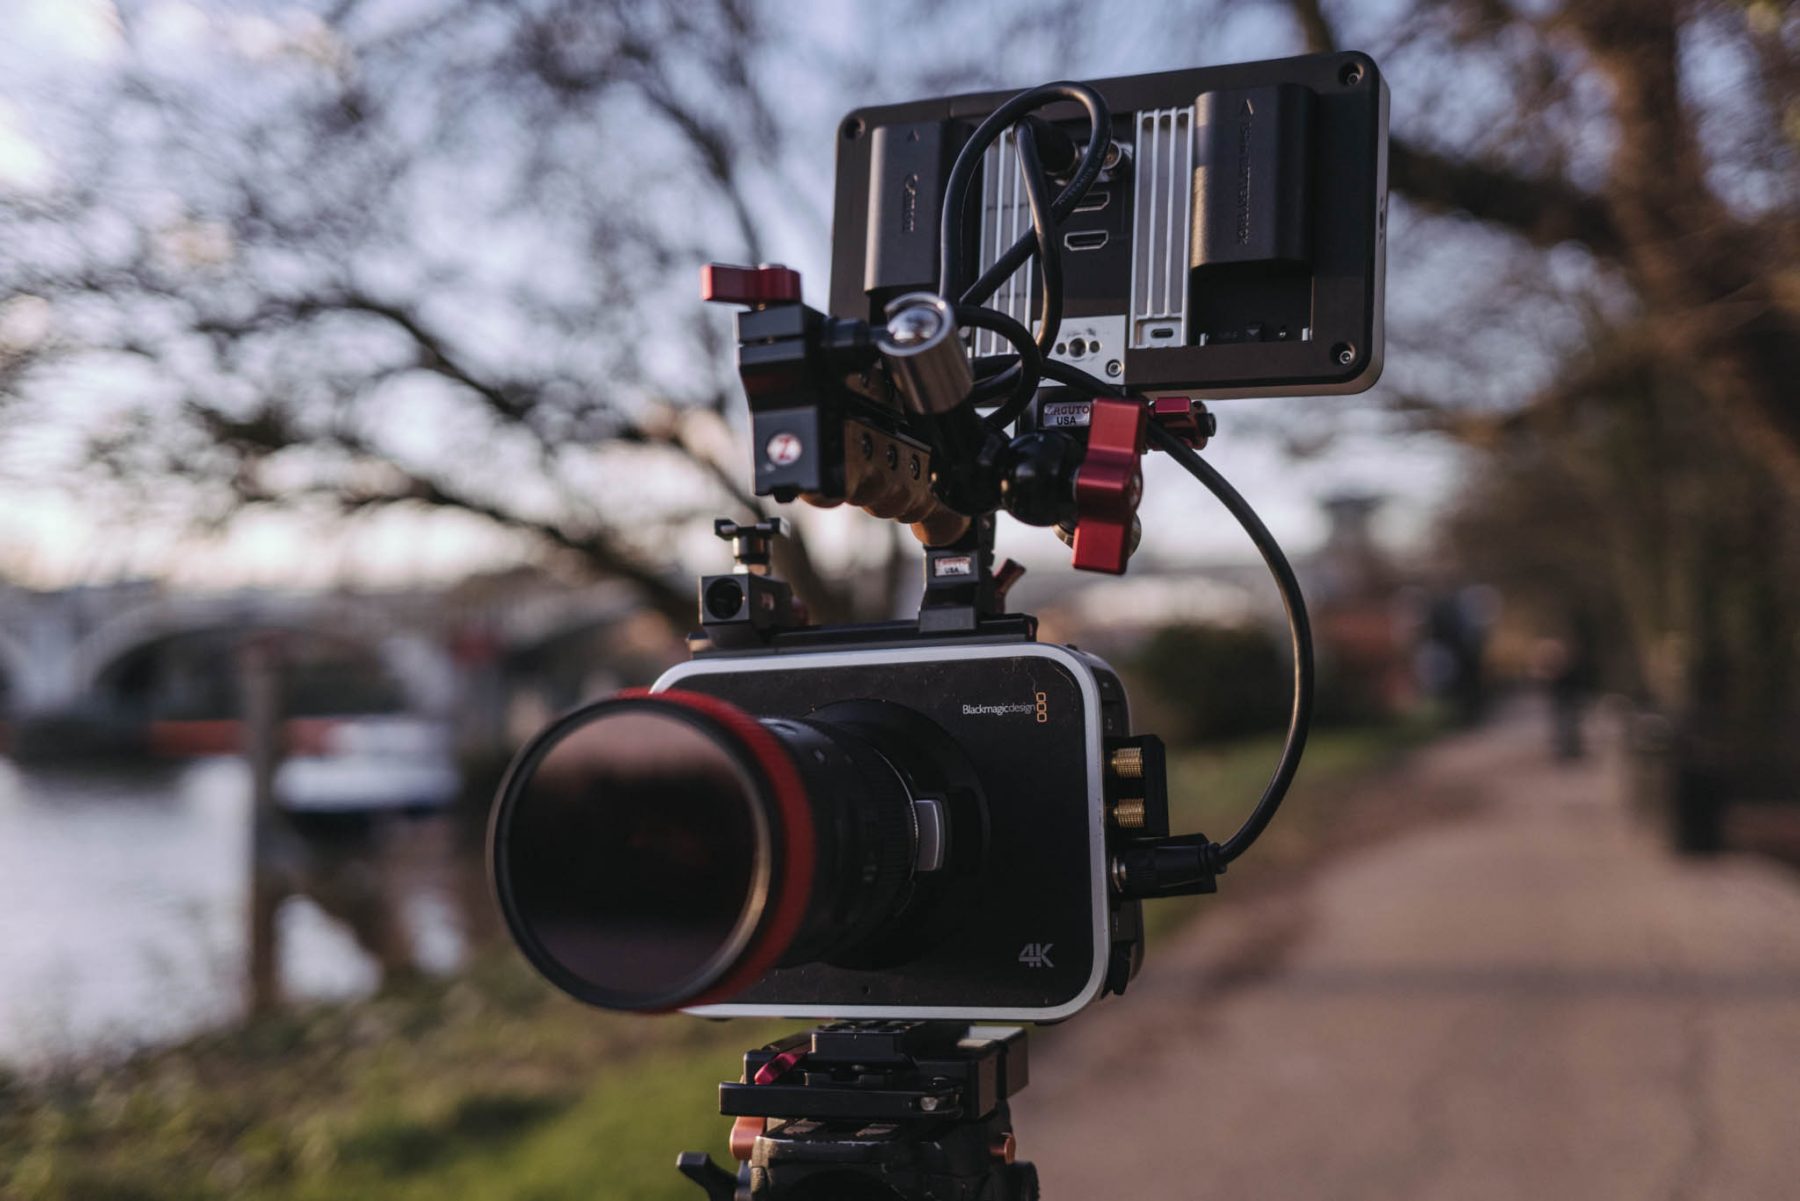
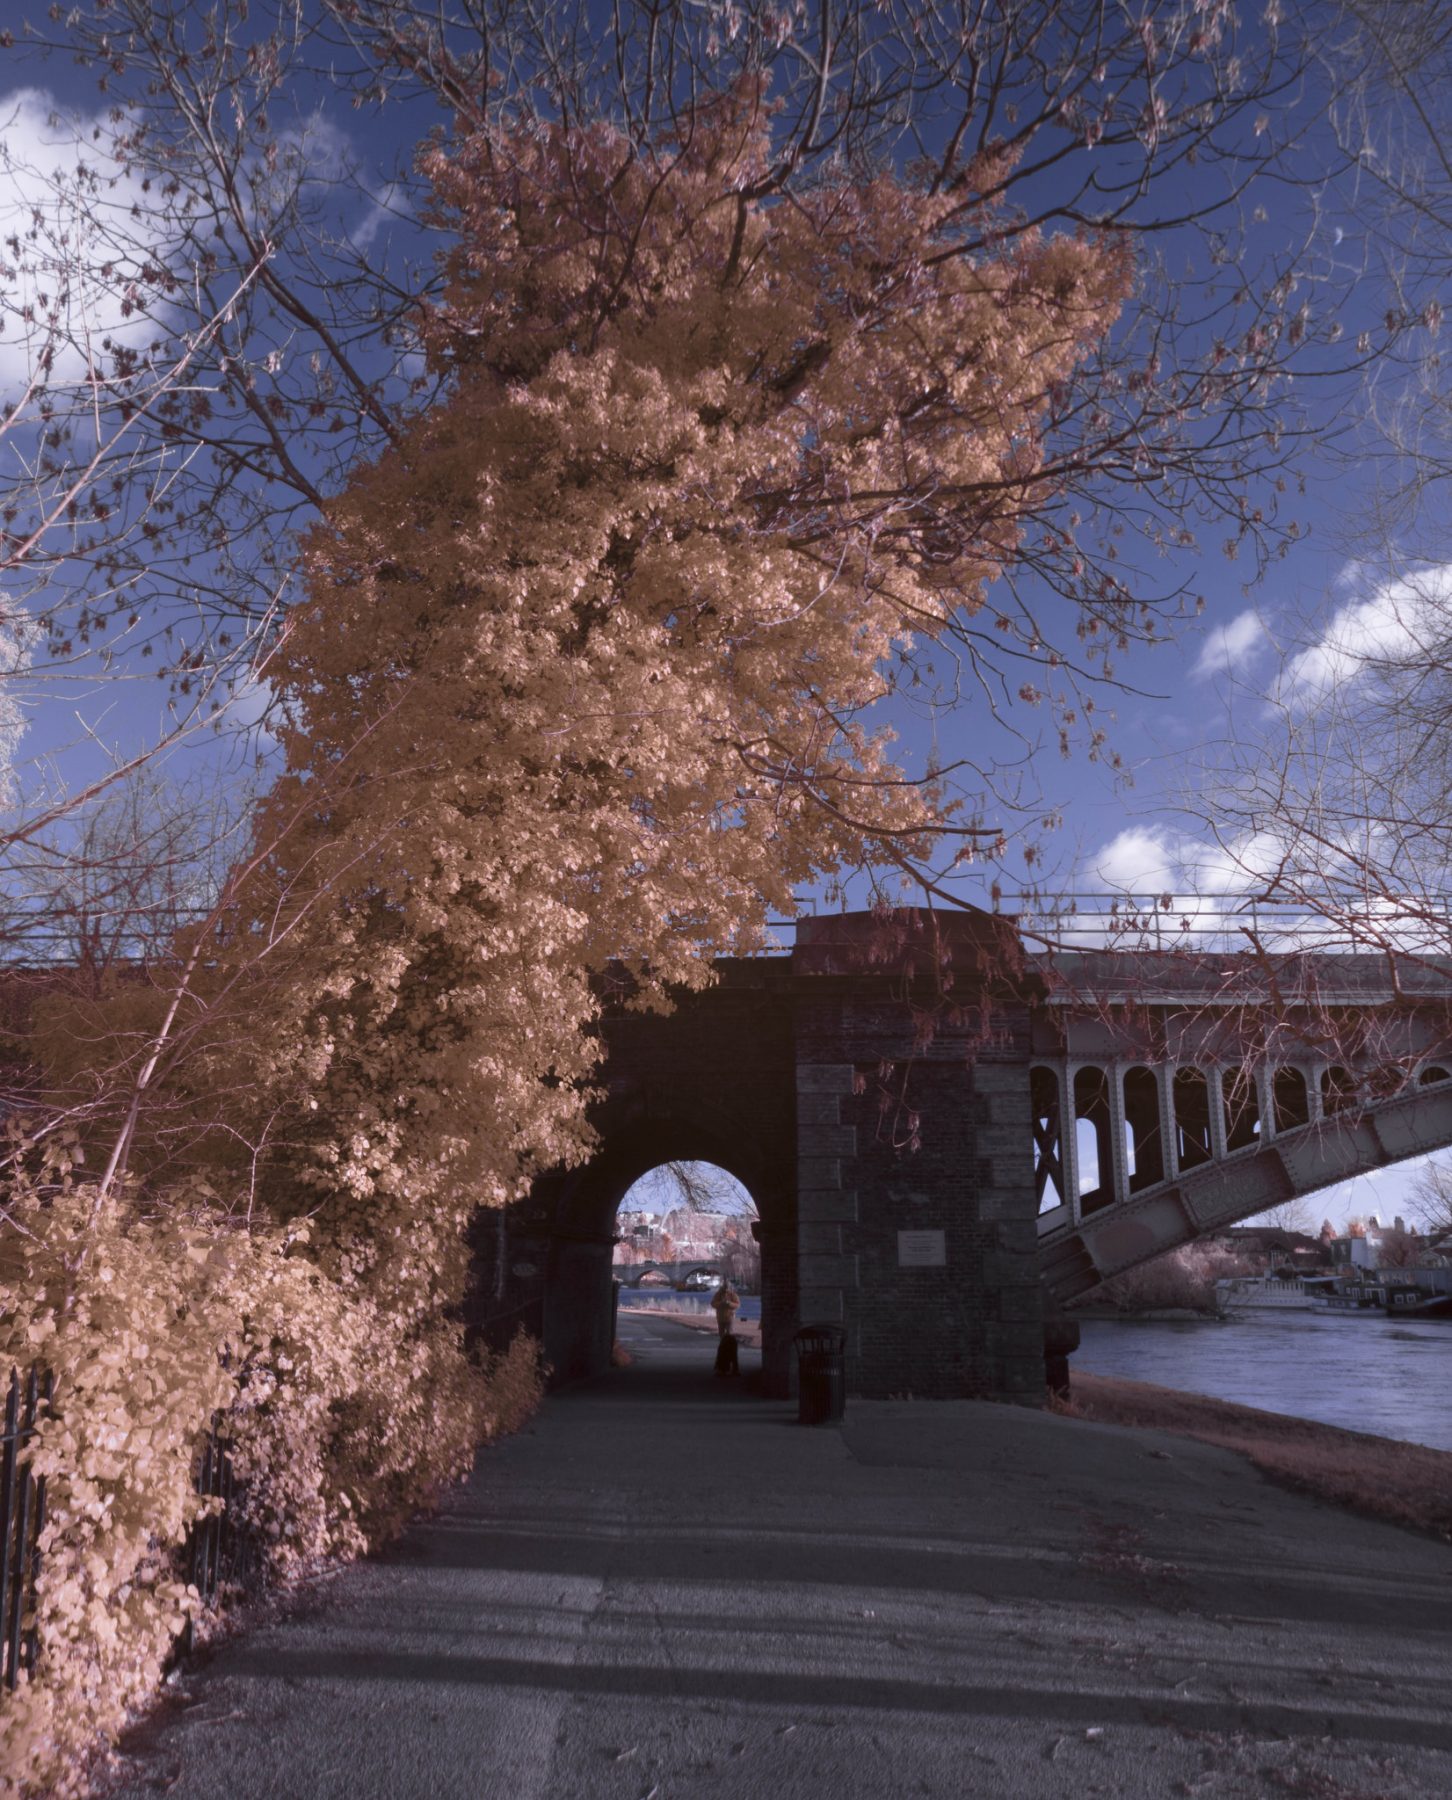
Shooting Infrared with the Blackmagic Production Camera, Small HD 702, 40mm Canon Pancake lens and 650nm filter.

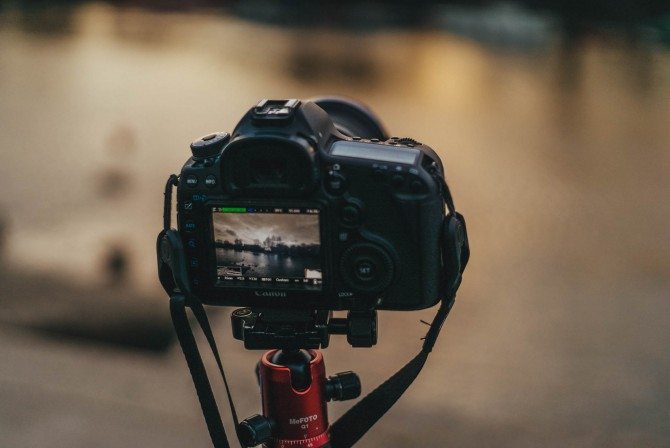
Photo of the Blackmagic taken with my Sony RX100 II with 590nm filter in it.
and the same photo with blue/ red channels reversed
Experimenting with cameras is fun – the last batch of experimenting I did was with film stills cameras in 35mm and medium format. It didn’t really have much of an impact on my work other than making me think harder before taking a photo or a video shot, as the limitations film gives you is a great discipline. My latest experimentation project is with infrared photography and video. I did start the project over 2 years ago, but in the past month I have taken it up a notch after it lay dormant for what must be close to 20 months. Prior to this, many of you will know, I have been playing around with 360 stills and video. I will do a blog post on those experiments next as that tech is incredibly exciting.
Whilst I doubt there is much that I have done in the past 5 weeks with this that I feel could be integrated into my work, it has been fun and really got my creative juices flowing. The look you get from shooting this way is very stylistic. No it is INCREDIBLY stylistic, and when anything is that stylistic the uses will be a lot more limited.
Here is a bit of science that is essential in order to understand what this is all about. Now I am the first to admit my understanding of this all is not complete as it is still very new to me and I’m still getting my head around it. So if you are interested in this, do make sure that you check out other webpages for super technical explanations. I will try to explain it in a way that I understand it. I am not a science guy, my dad is, I am not. I do pictures 🙂
I have had some people say they don’t understand why I am doing this as it could “easily be done in post”…it can’t. Infrared shooting is more than just funky colours, it is capturing light that we cannot see, and the way the camera interprets it is utterly unique. Perhaps with a huge amount of work you could copy the colours and luminance, but we are talking a massive amount of work and you would need the reference of a real IR captured image to directly copy it, as the subtleties of the look can change drastically with different lighting conditions.
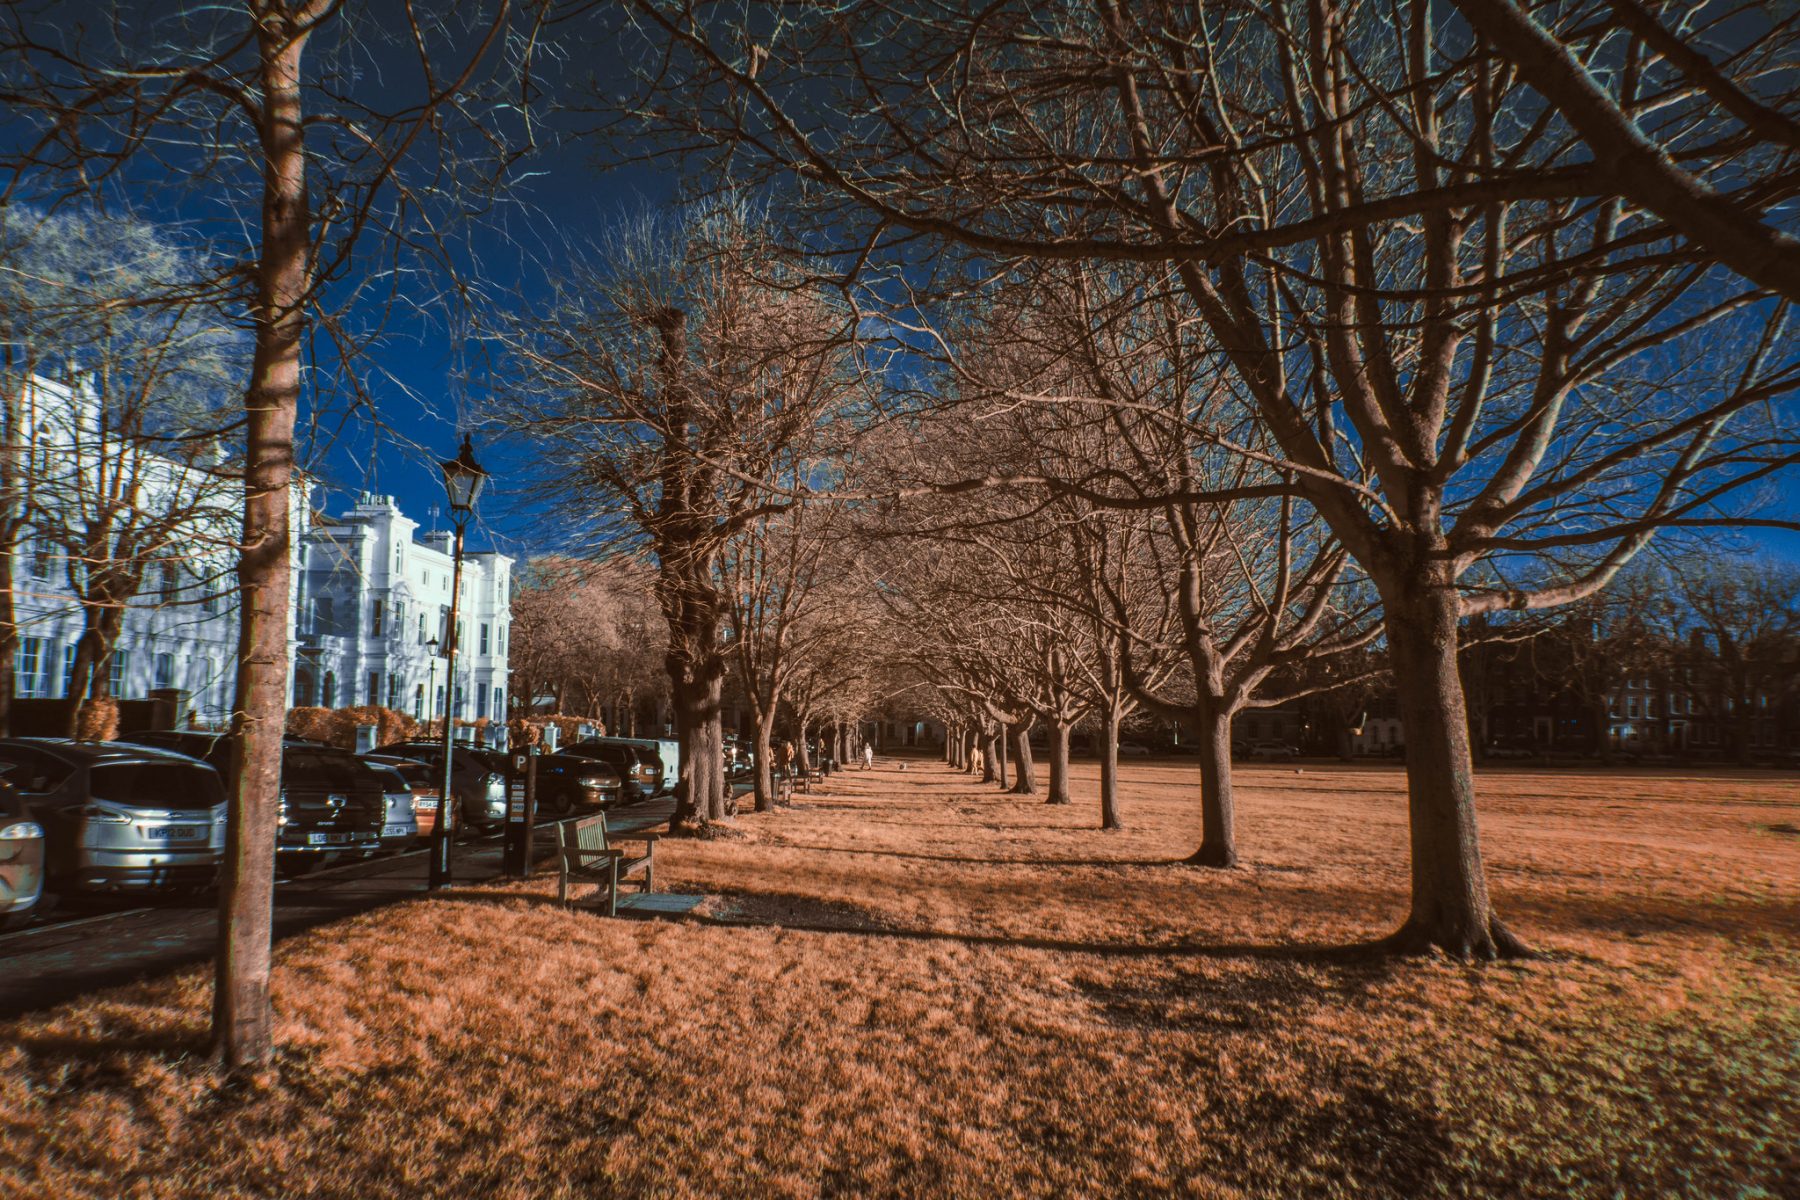
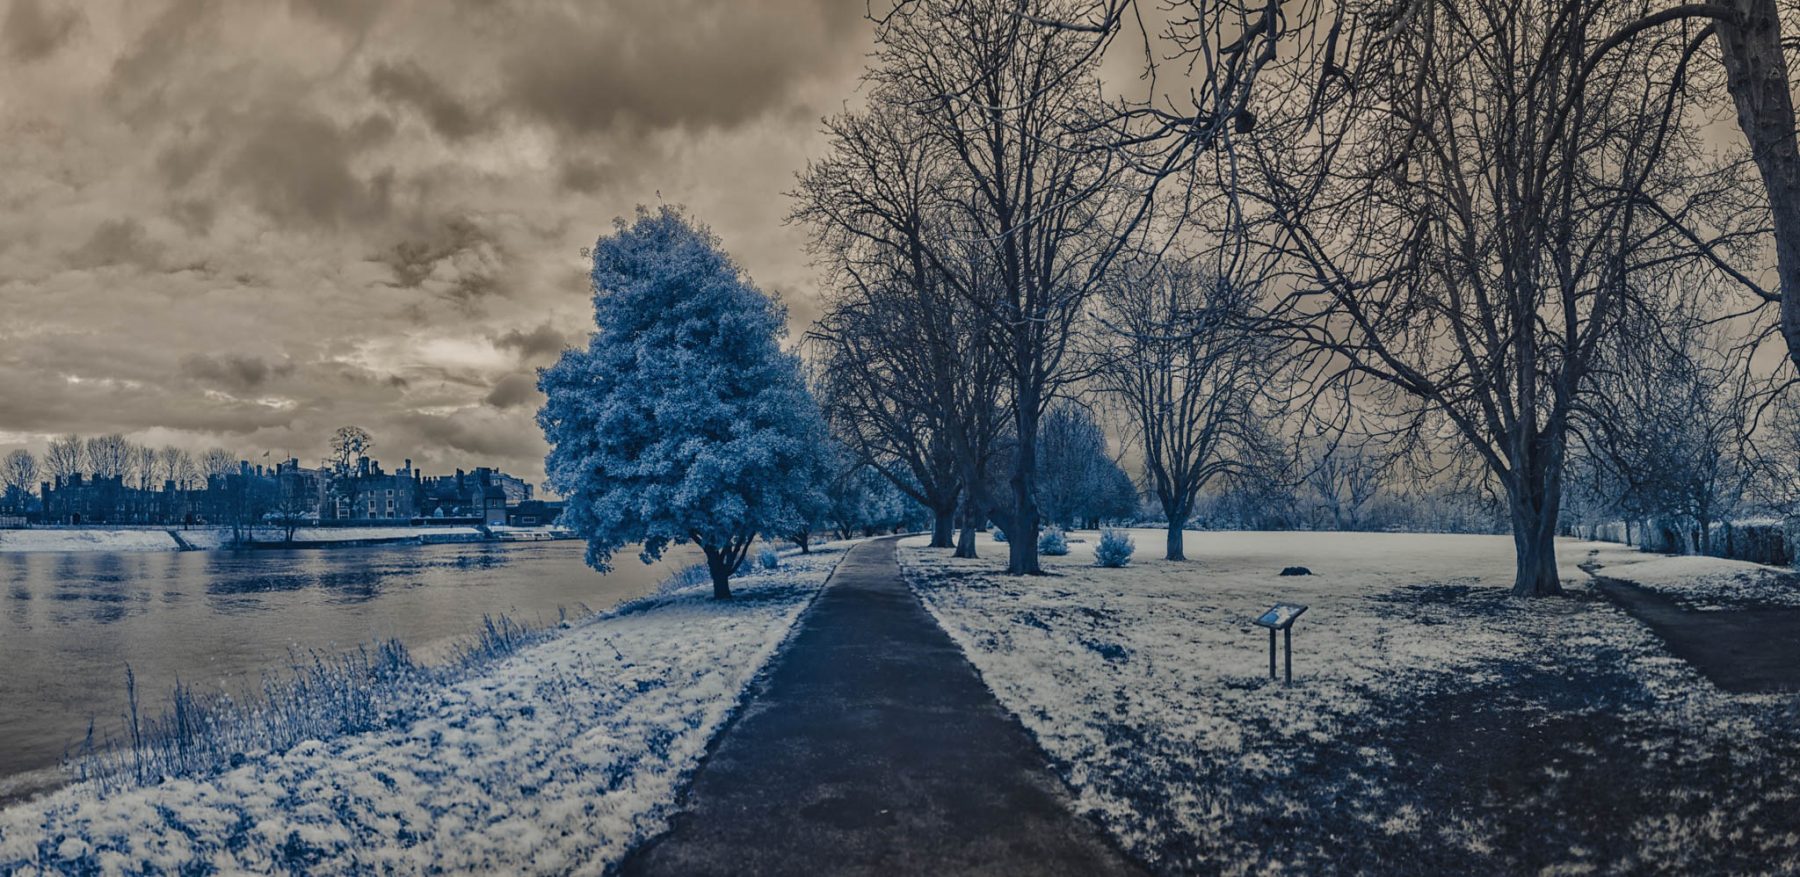
The below image shows what the human eye can see out of the entire electromagnetic spectrum of light (which is HUGE). We can see between 400-700 nanometers (nm) this is called “visible light.” Below that we have Ultraviolet light, X-rays etc…just above visible light is Infrared, and after that we have heat and radio waves. The infrared that I have been trying to capture is just above the red of this visible light at 700nm up 1000nm or 1 micrometer. Blue is the lowest colour in the spectrum at around 400nm whilst dark red is at the other end at around 700nm.

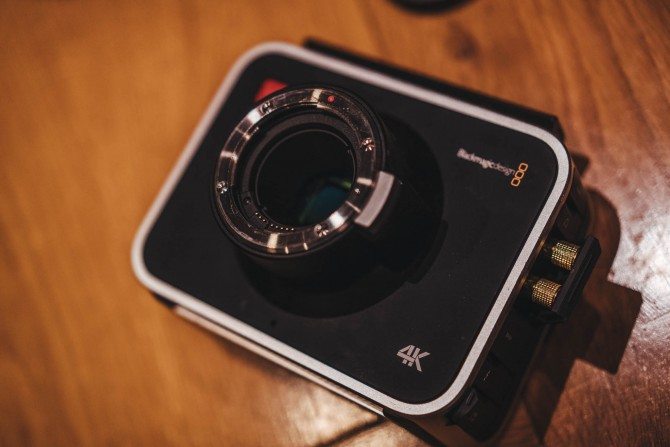
I have been doing this in various ways. Initially with a hardware modified Canon 5DmkIII, then a Sony RX100II and finally a Blackmagic 4K Production camera.
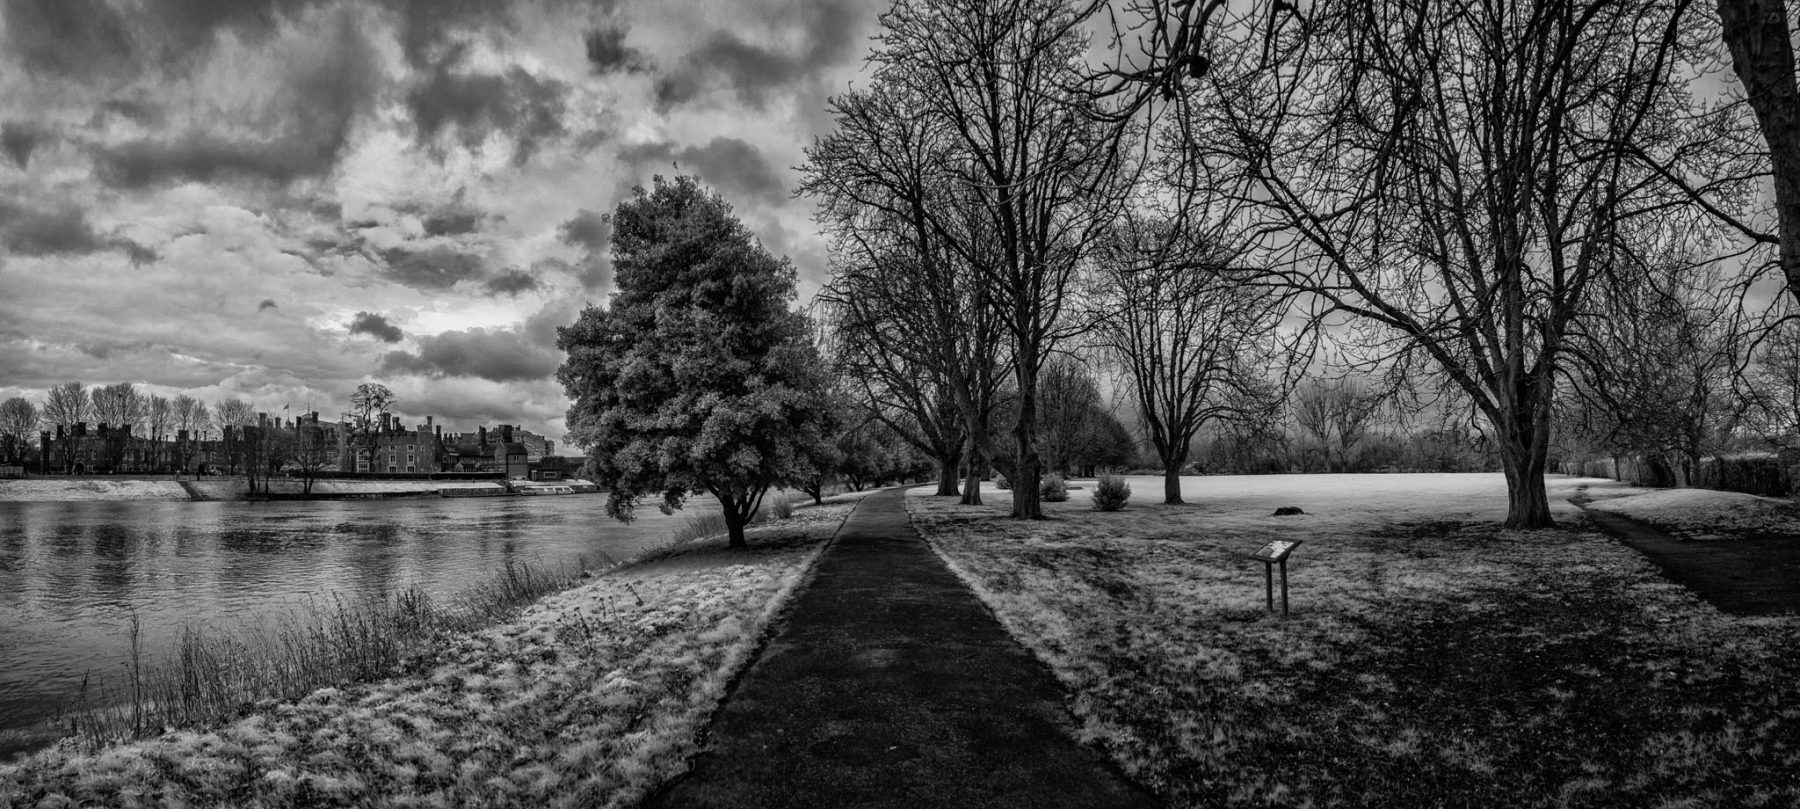
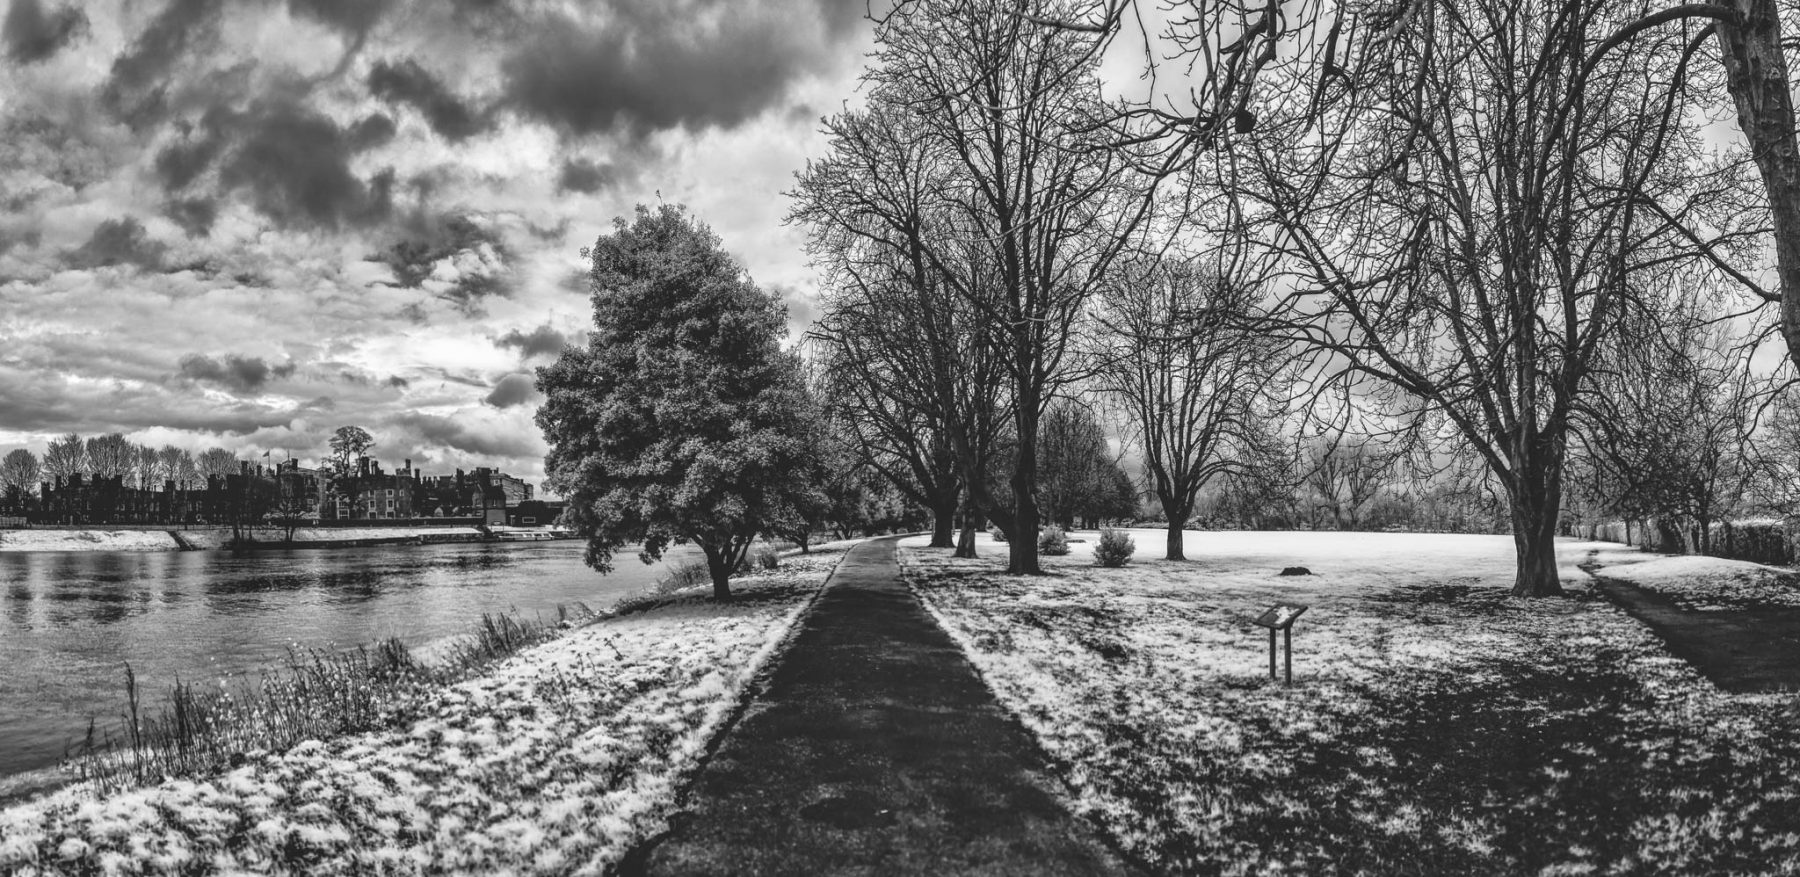
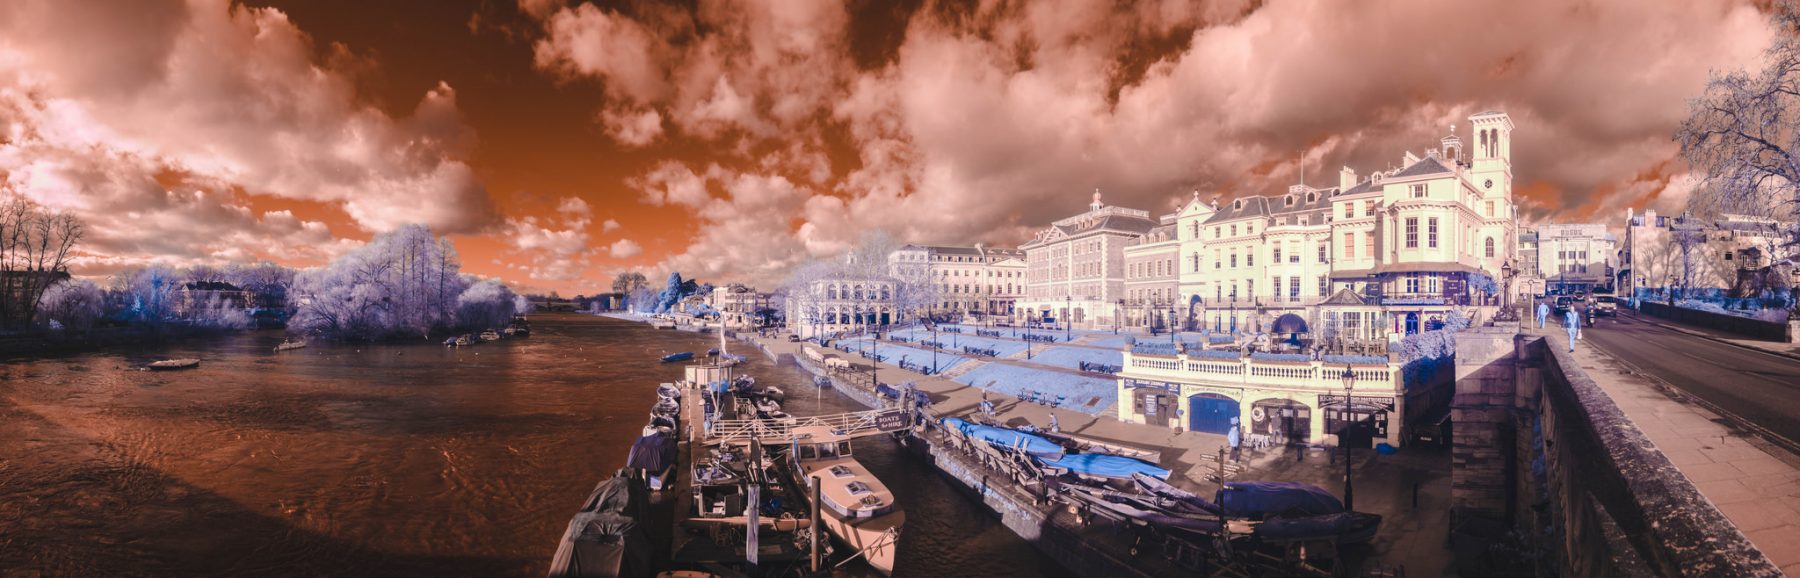
The look you can get from infrared photography can be quite ethereal, it is quite often used in black and white landscapes on film, as it can turn bright blue skies very dark whilst foliage can be glowing white. In colour, it all depends on how much of the normal spectrum you let through.
Digital cameras are very sensitive to IR light so they need to use IR blocking filters, which stop light about 700nm polluting the colours. Some cameras have stronger IR blockers than others. In fact some really are not strong enough, and you can suffer from infrared pollution, which can make the images look a reddy brown. These blockers are directly on the sensor and are generally not removable with camera surgery. Below is a frame from the Blackmagic camera with no IR blocker in it at all so it is getting the whole spectrum.
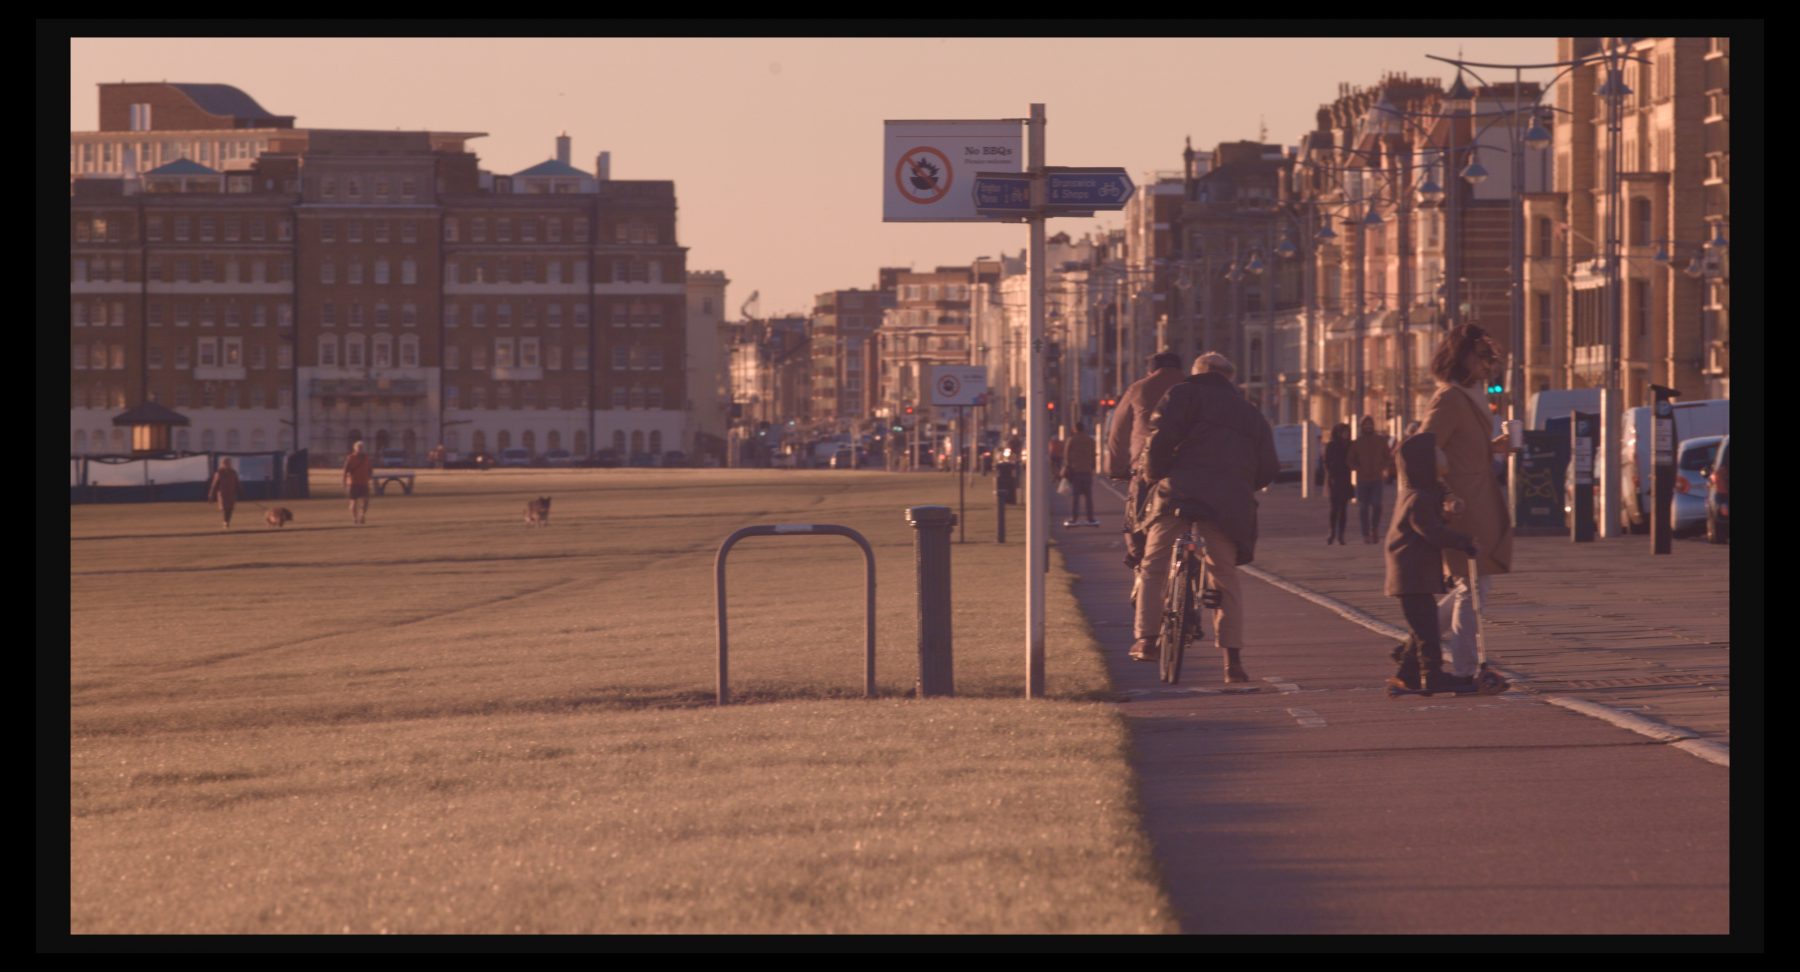
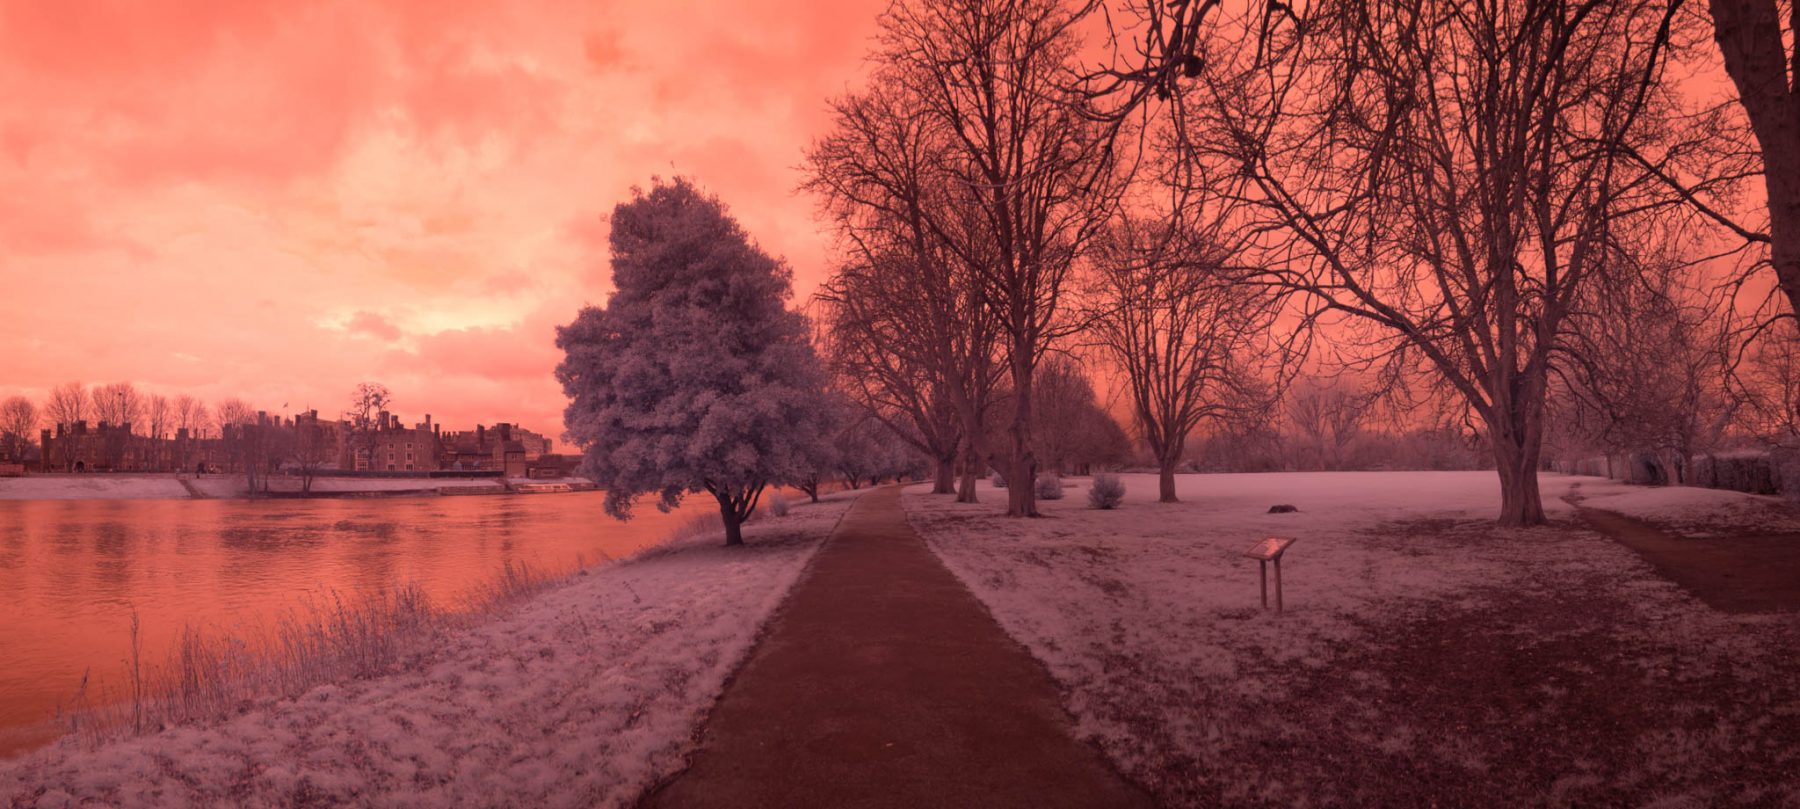
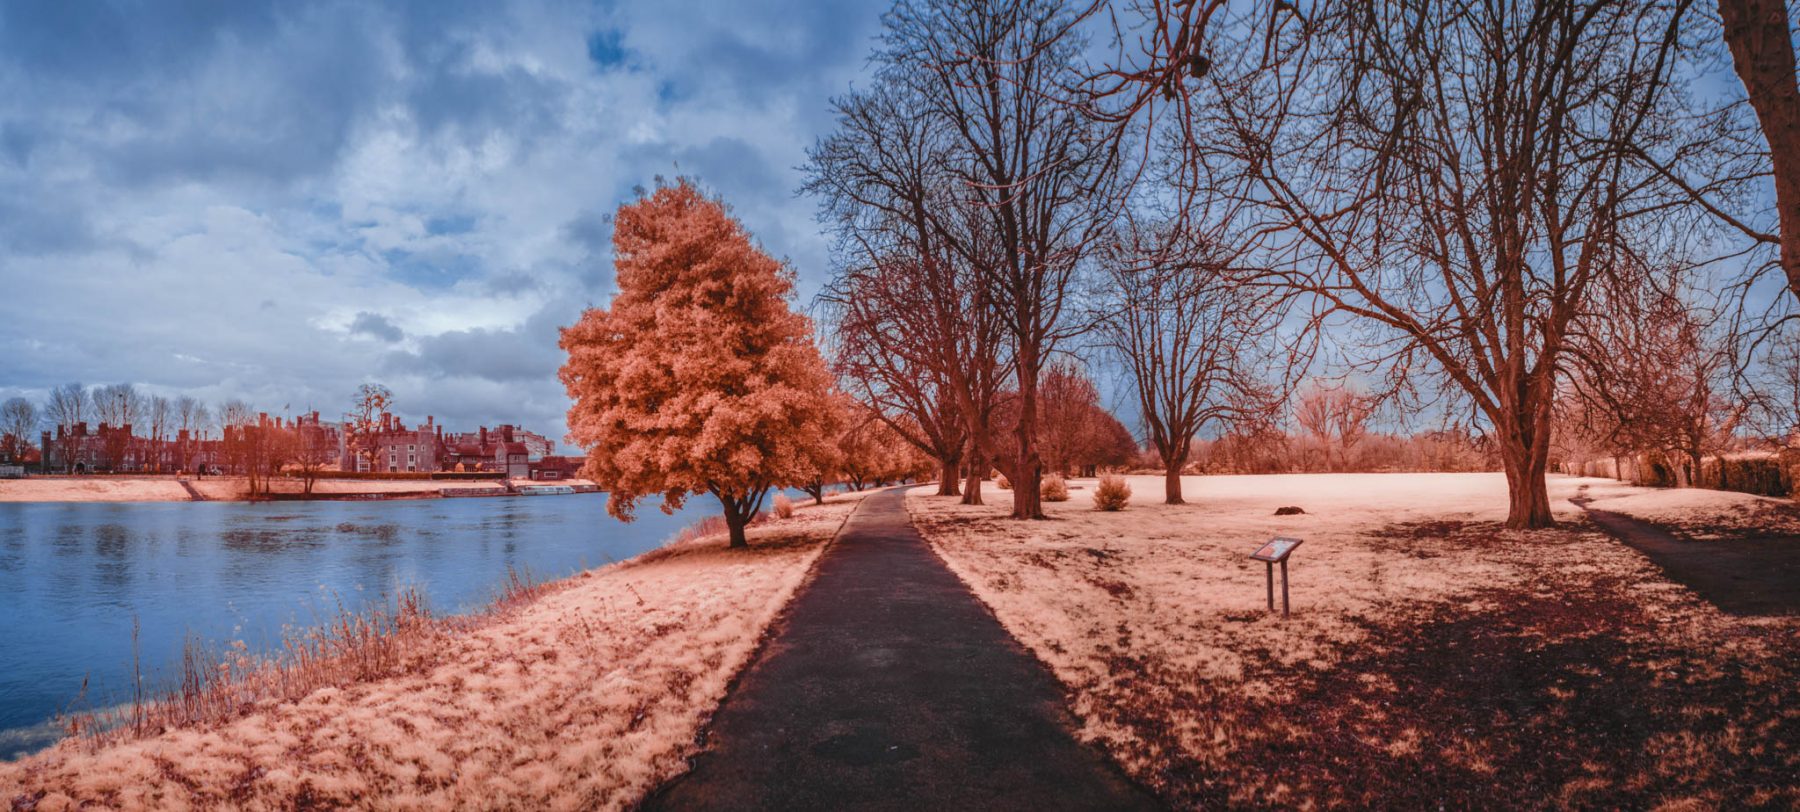
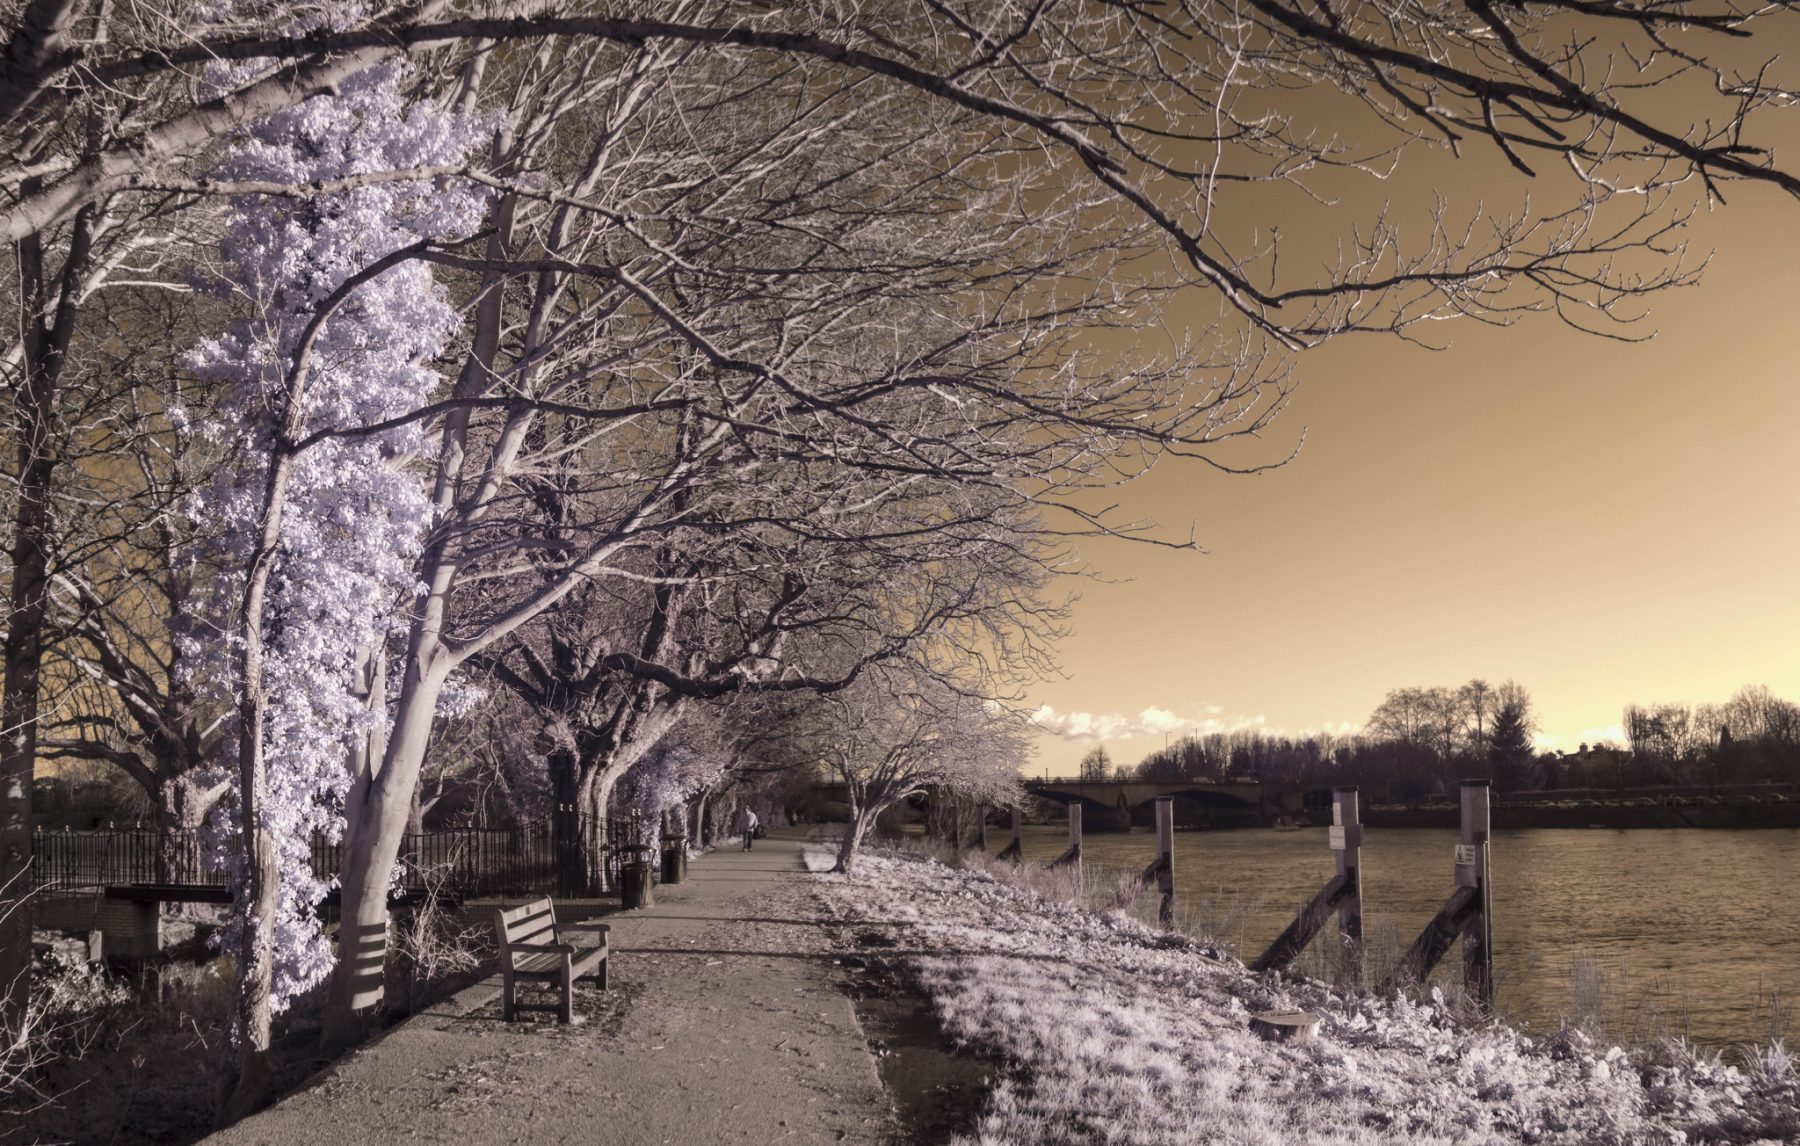
I have two Canon 5DmkIIIs, and two and a half years ago I had one hardware-modified to have the IR blocker removed and replaced with a 720nm IR passing filter. This is considered the “standard look” where the only real colour that you will see is rendered as blue. There are different strengths of IR blocking filter – the other two I use let in some light from the visible spectrum. The 590nm which is called the “super colour” or goldie, which cuts out the blue light and lets in quite a lot from the normal spectrum hence the more colourful looking images. Finally I used the 650nm which cuts out blue, green and some yellow.
My modded Canon 5DmkIII with 720nm filter in it
When shooting stills, raw is without question the way to go as white balance is so critical to getting the best out of the filters. With my modified 5DmkIII and Sony RX100 II (with 590nm filter in it) you want to white balance off of green if you can and leave it at that. With the Blackmagic camera, I wasn’t about to do anything other than change the actual temperature so the ProRes shots were never recorded as I wanted them. I could get close to the look in post, but when I shot raw video with it I had much stronger results.

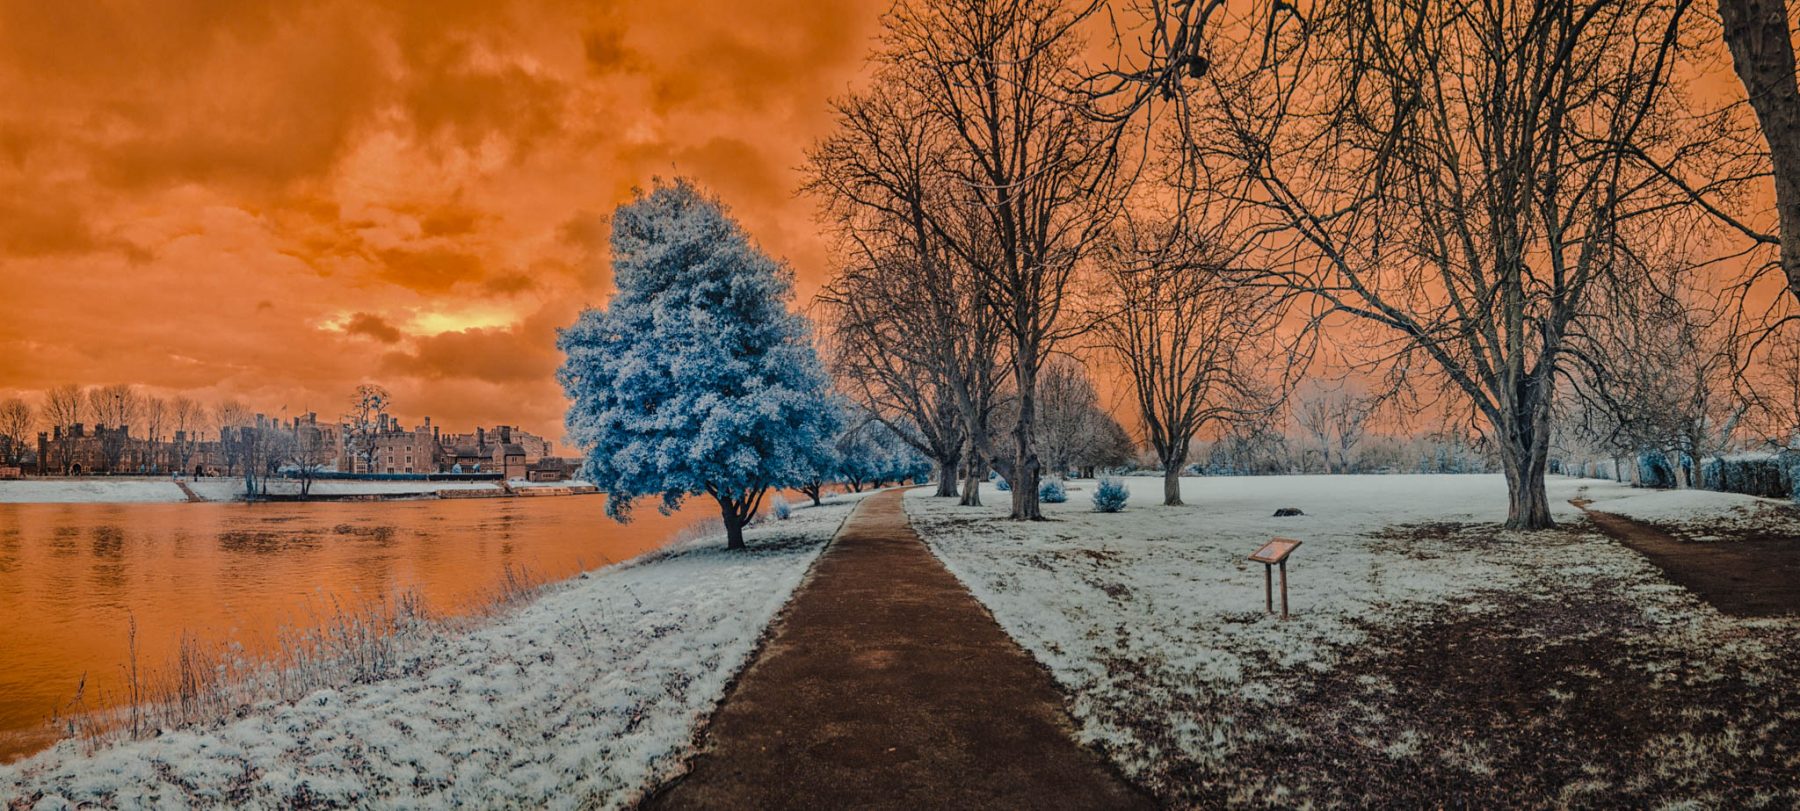
The first image below is the 590nm filter in the modded RX100 II. This is the “super colour” look. Blue looks brown, green looks whitish…

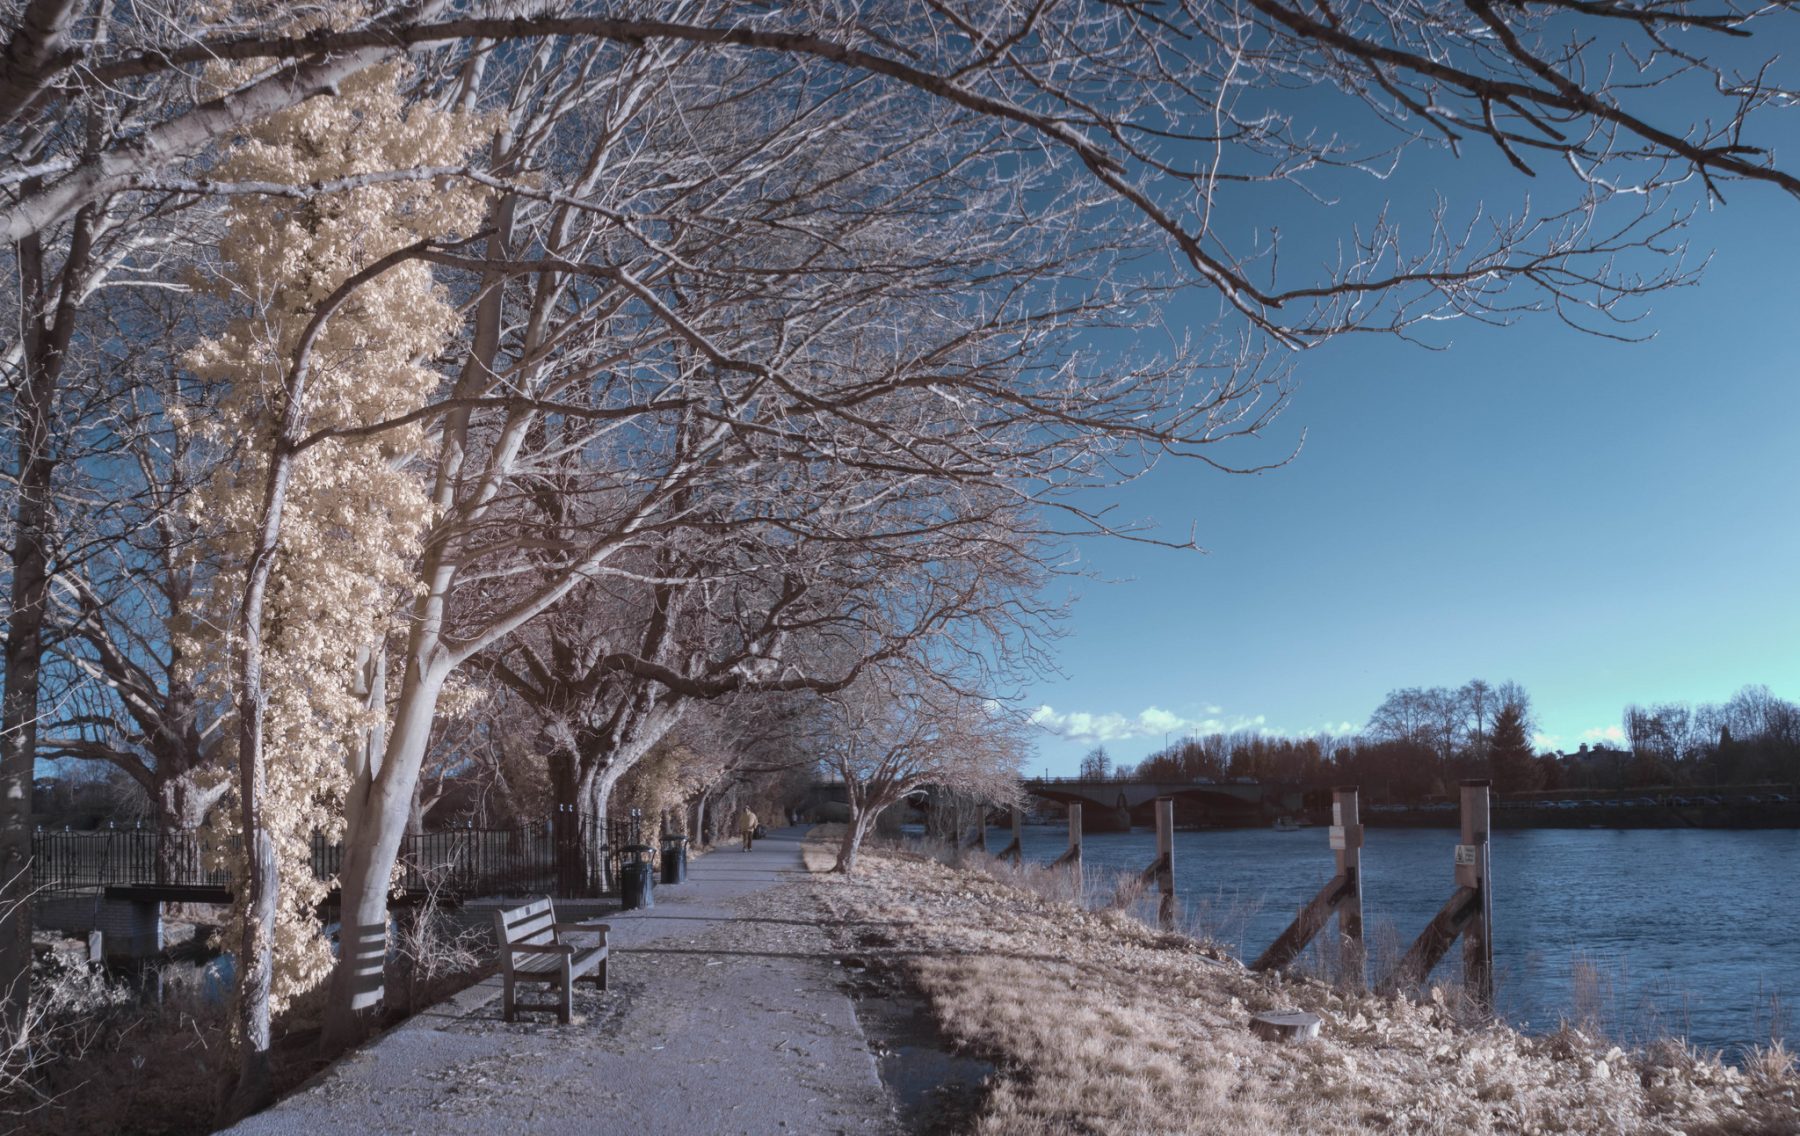
and this is the same image with the blue and red channels reversed. You can do this in photoshop for stills and Premiere for video.
The grading on the two variation of the self-portrait are very strong. Having direct sunlight makes a huge difference as everything is intensified. Again this is the Sony RX100 II with 590nm filter in it. First the “normal” look of the filter then channels reversed.
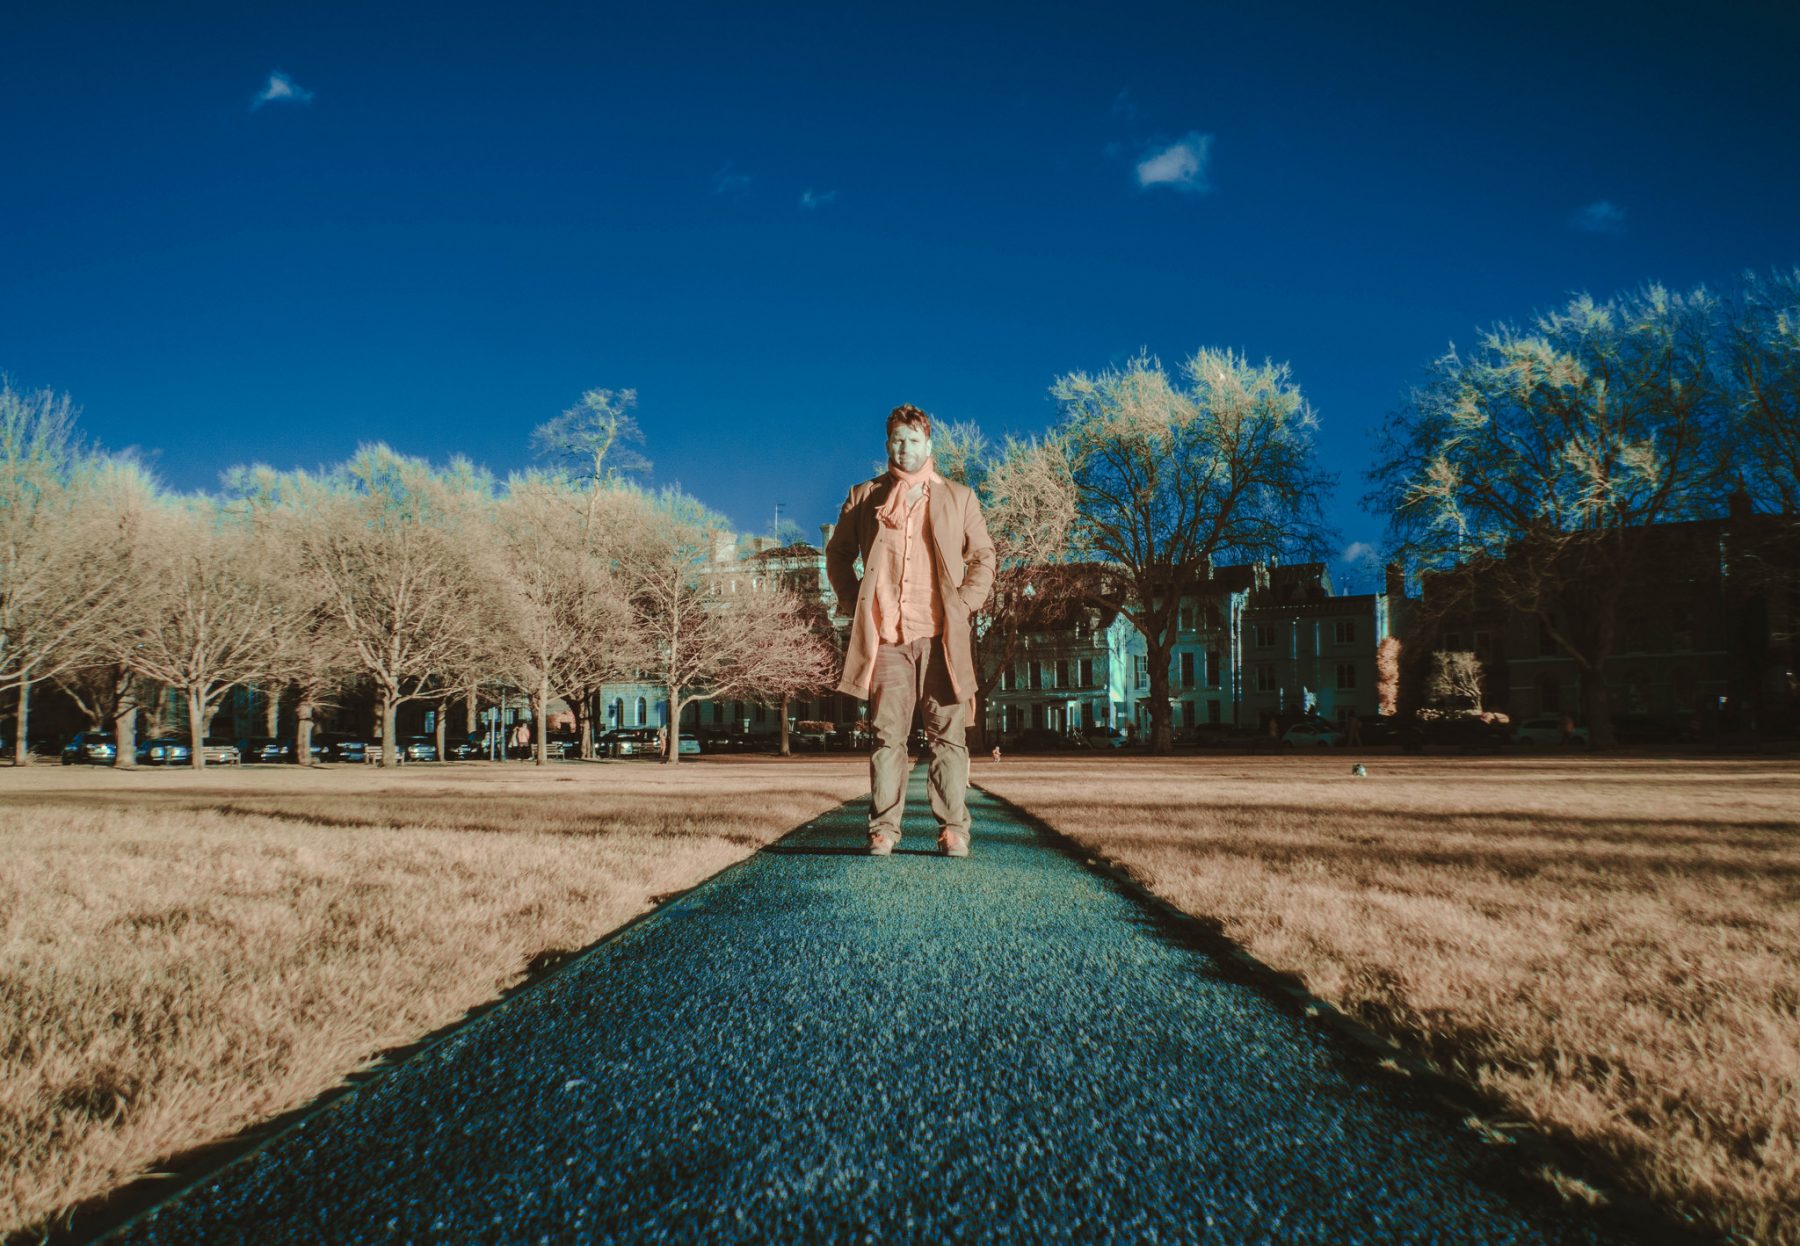

Next are some example images with the Canon 5DmkIII with 720nm filter in it. The portrait of me looks especially interesting.


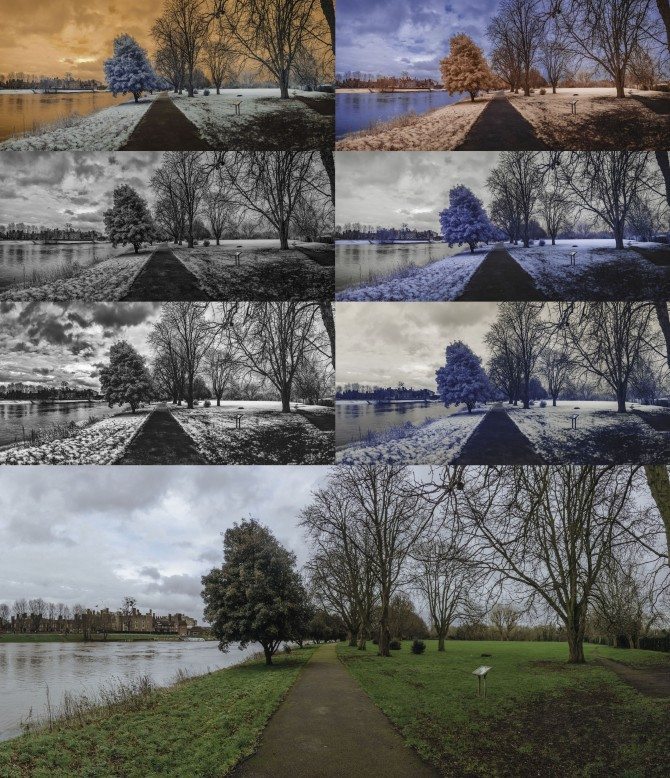
Now to really show you the different looks, here is the same shot taken with the 5dIII, RX100 II and one shot with a normal camera. There are also images messed around in Photoshop to reverse colours and to make black and white.
Above is the “real world” colour from the Sony RX100 IV
The image colour corrected in lightroom with added “oomph”
The same image with blue/ red channels reversed

The same image graded to sort of mimic the 720nm filter by desaturating the reds and oranges and bringing the blue luminance up
The above image is from the Canon 5DmkIII with 720nm filter in, notice there is a lot less blue than my mock 720nm image from the Sony.
The Canon image graded in black and white.
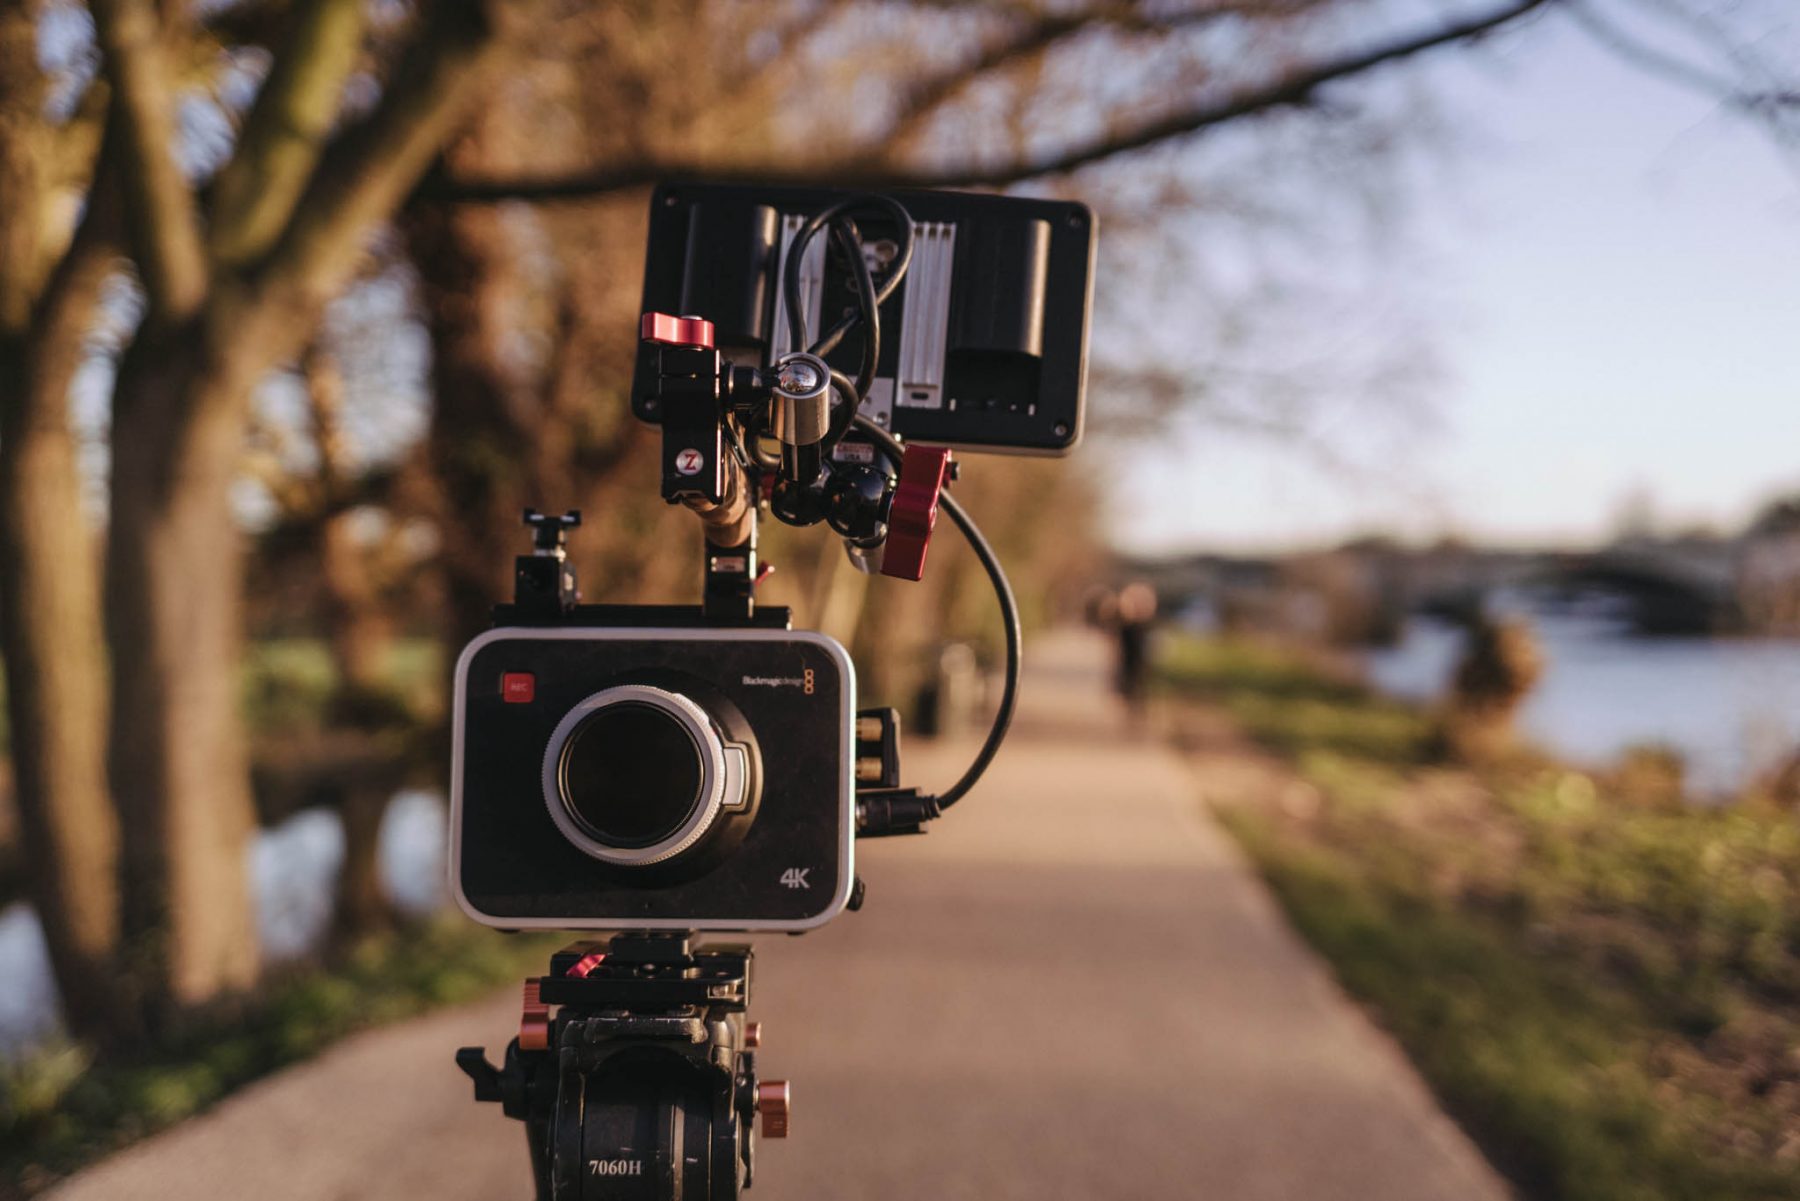
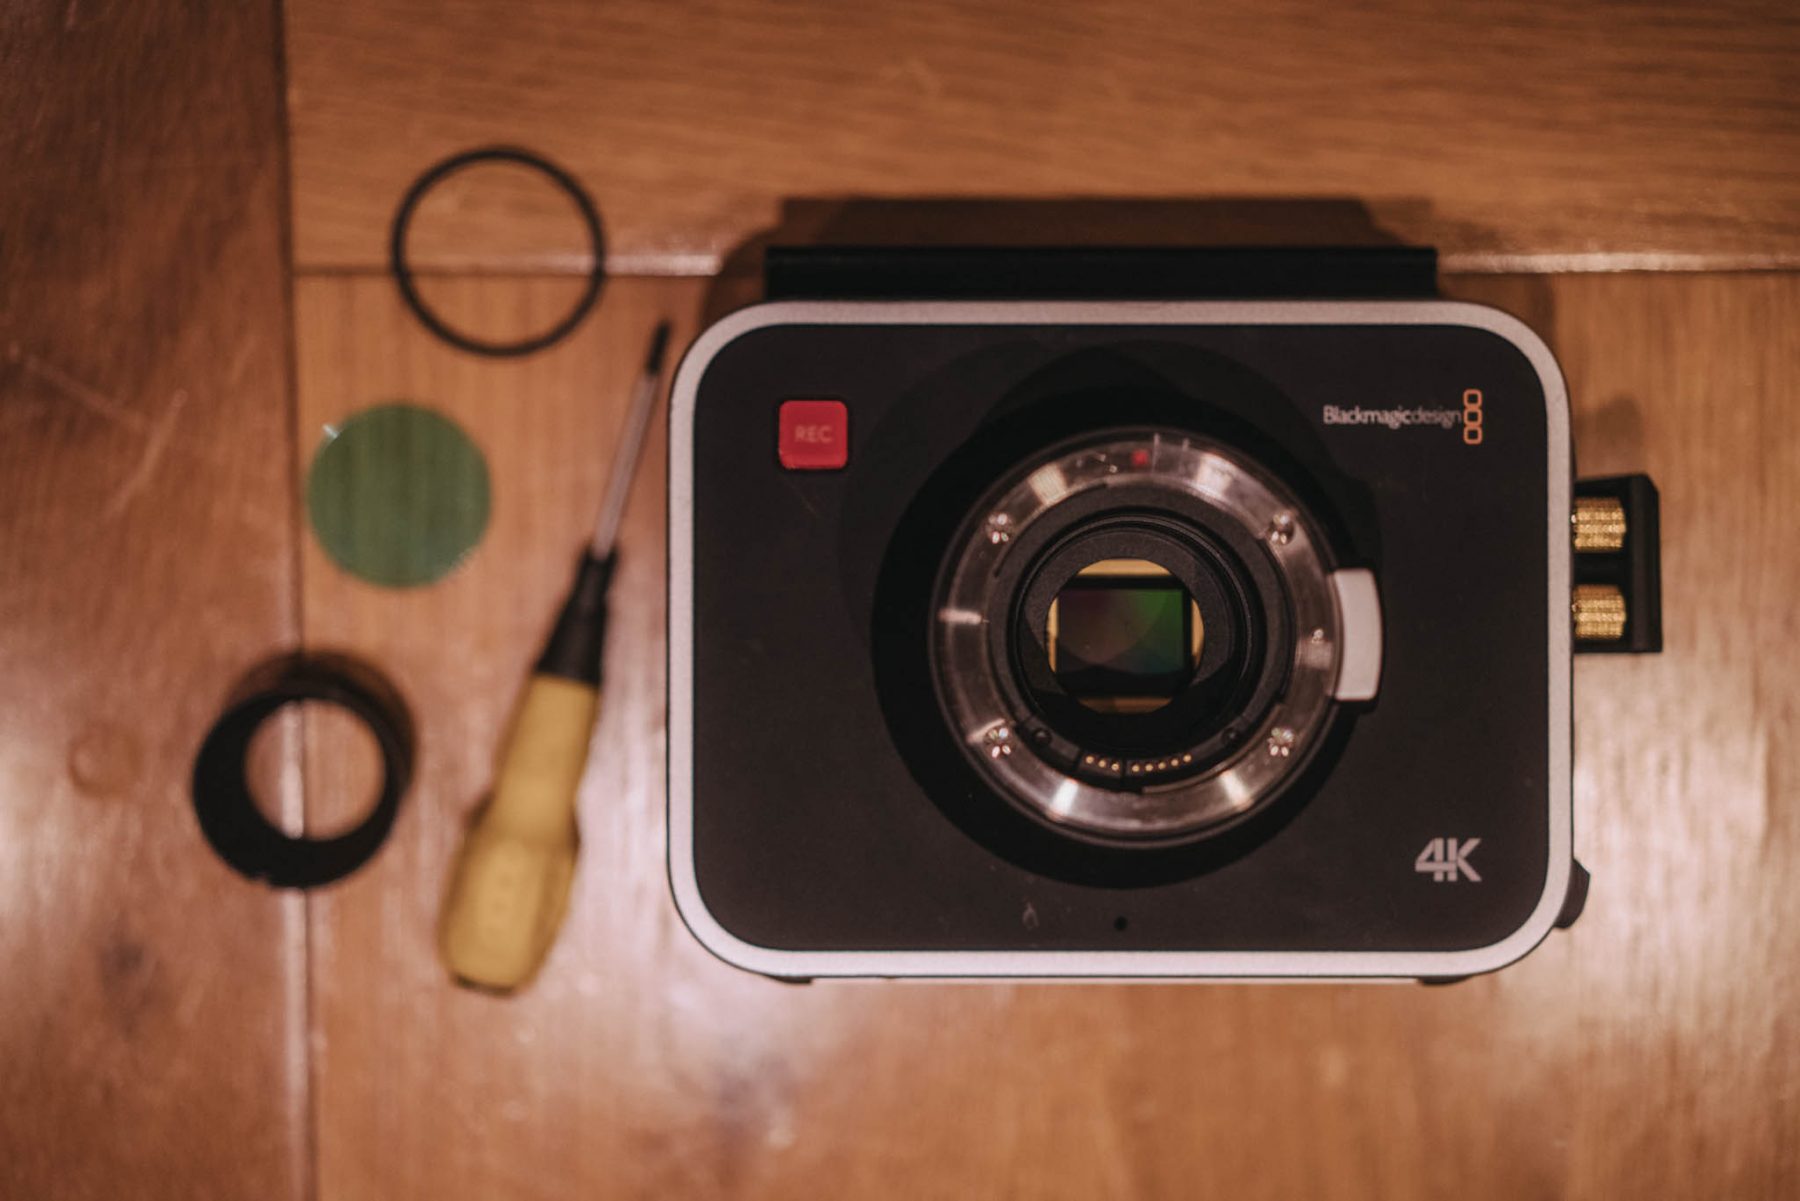
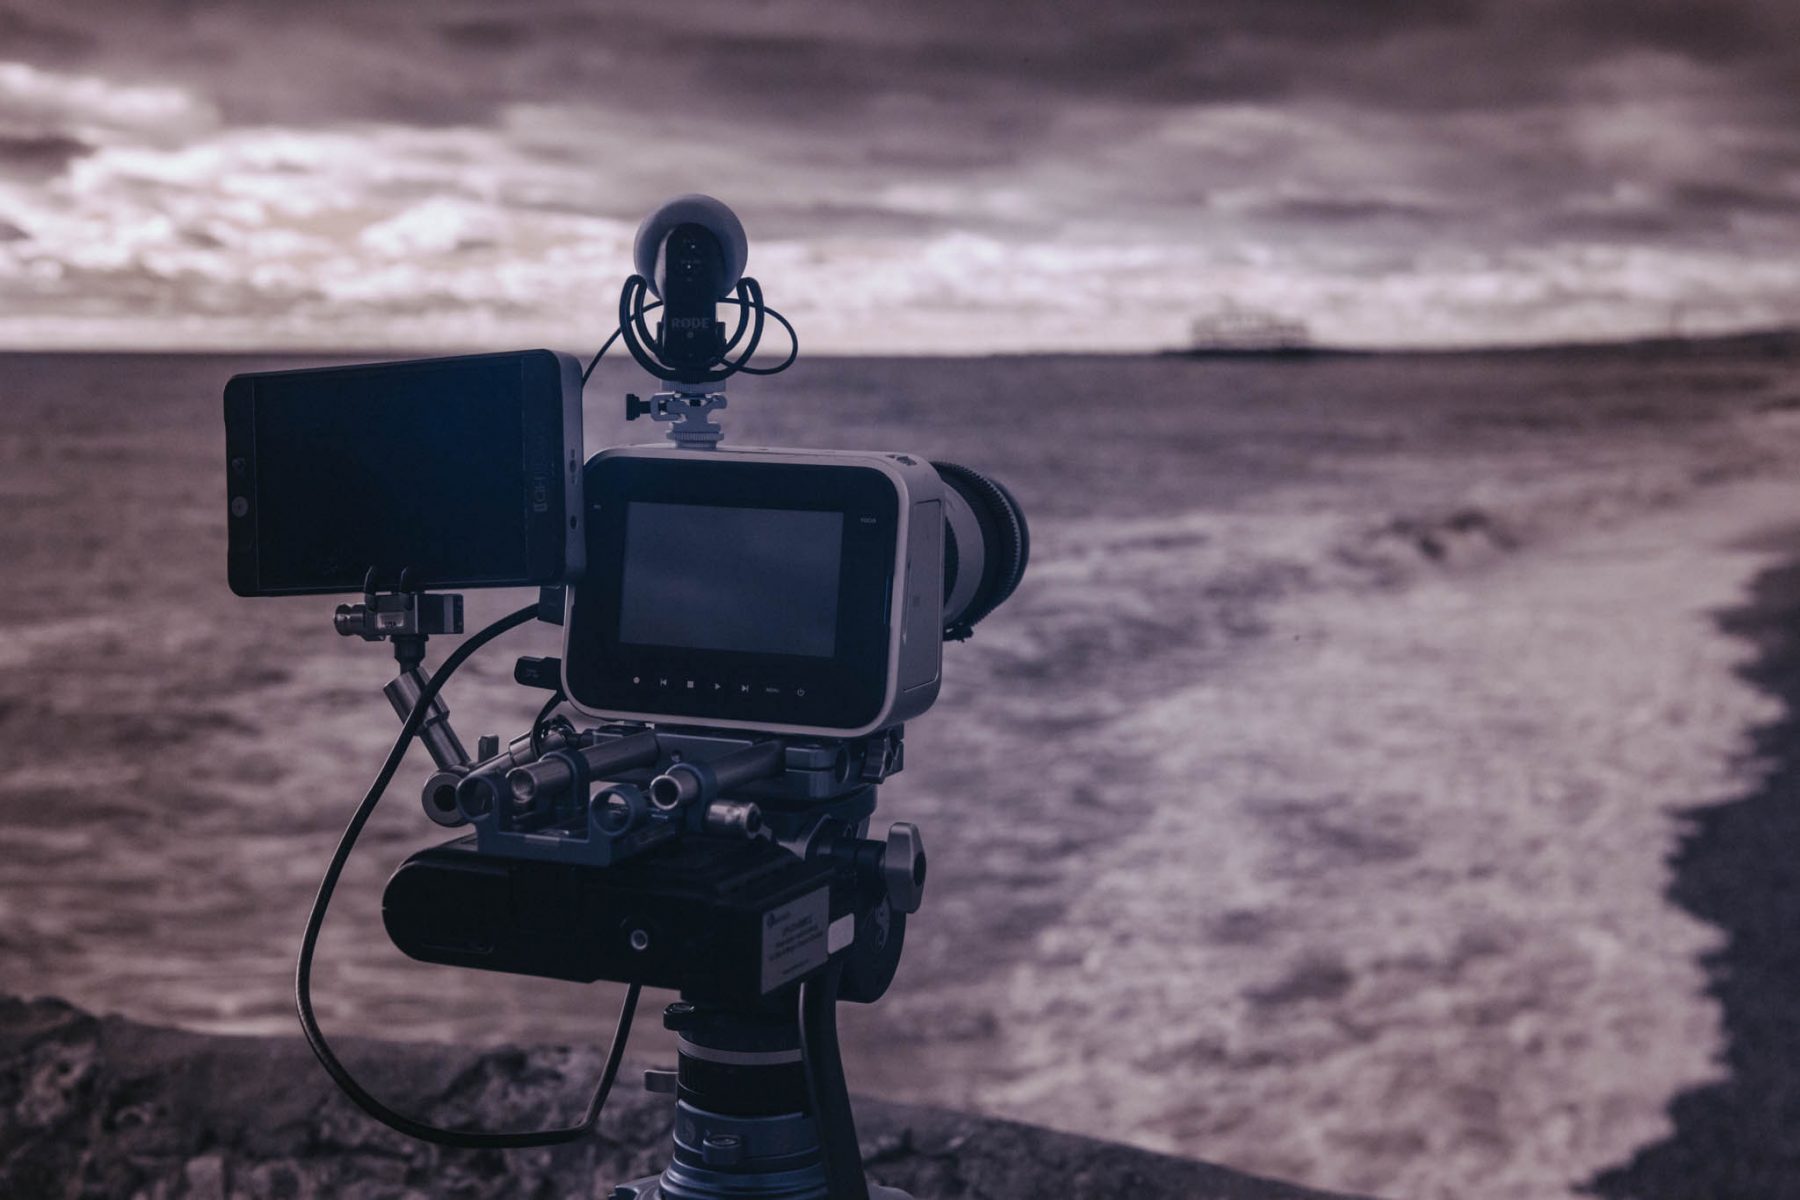
The Blackmagic cameras that I have, the cinemas cameras, production camera and pocket cameras are all SUPER EASY to temporarily remove the IR blocking filter. Other cameras need intense surgery and therefore are considered permanent mods. That is a drastic thing to do if you just want to try it out. Below I outline how easy it is to do it with the Production Camera. Please note that although this is non destructive and simple to reverse, it may well invalidate your warranty if they ever find out!
When you take off the lens you will see what looks a bit like step up rings making a sort of funnel. There is a small notch in the top which you put your flat head screw driver in and gently rotate the funnel until it comes out.
The below image is the removed “funnel” showing the notch on the top that you use to help remove it.
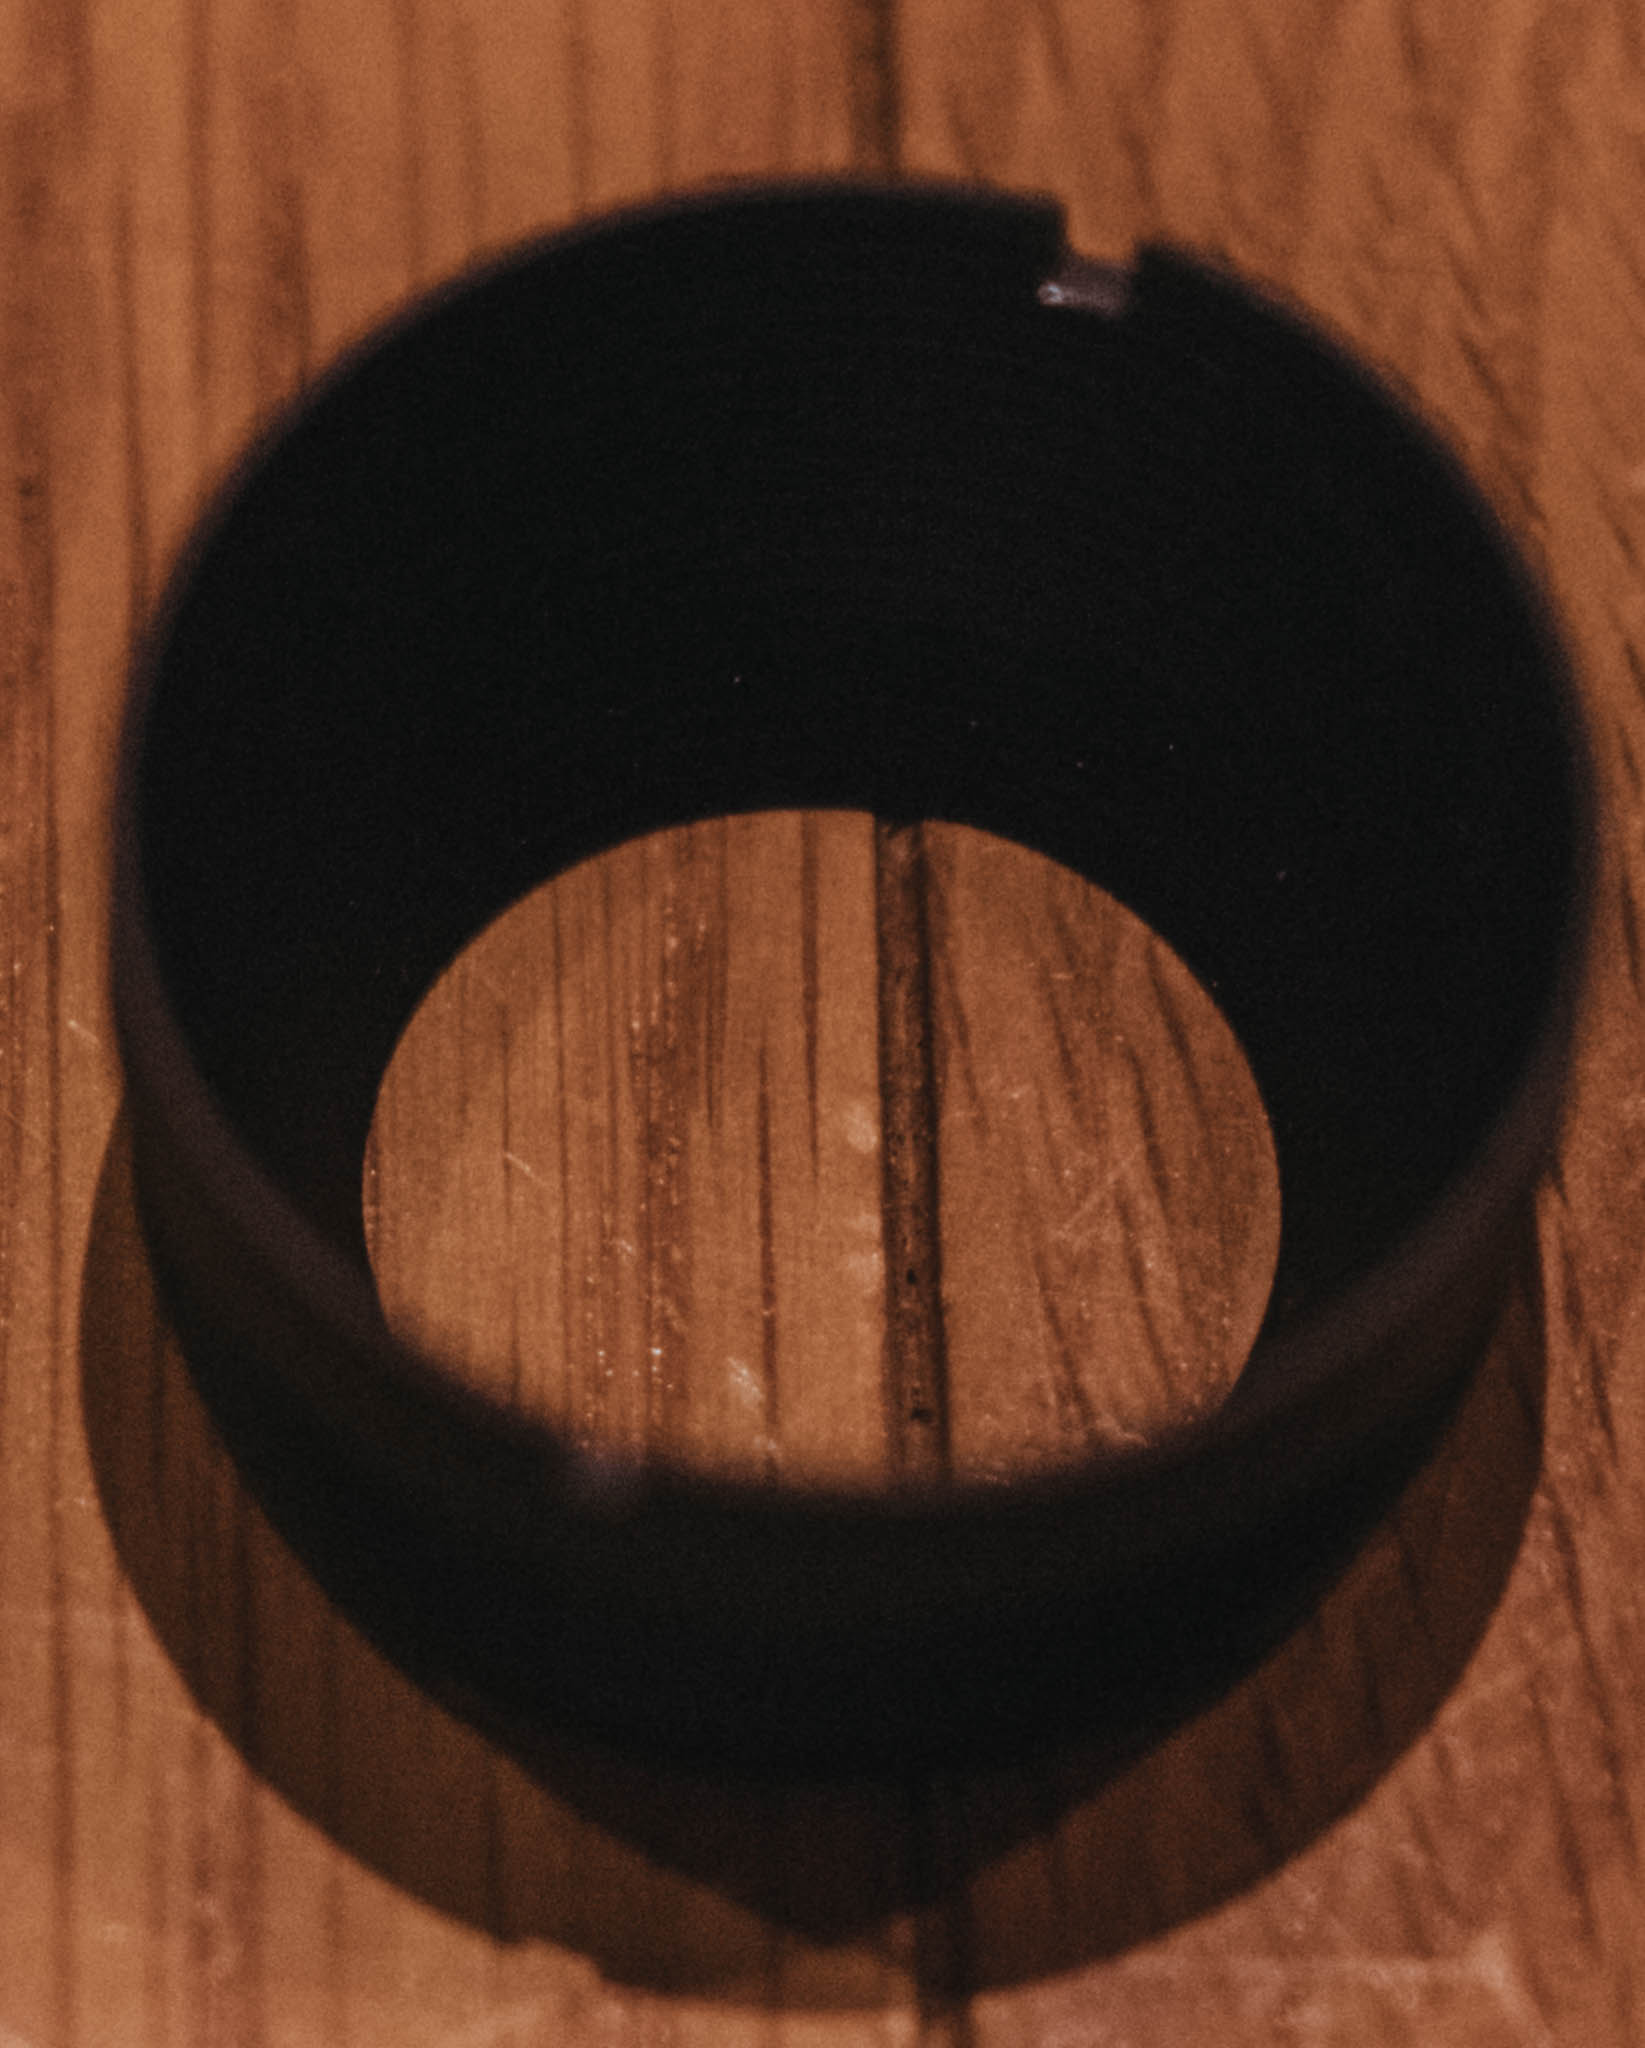
Next you need to remove a rubber O ring. Very gently using a small flat screwdriver you will see an indentation to the right hand side which you use to lever the O ring out.
Then simply turn the camera over with your hand over the opening to catch the IR blocking filter. That is it. To reverse it simply put the filter back in, then the O ring and then the “funnel”

The Pocket Camera is even easier as you just need to remove that O ring.
Next up you just need to buy a filter or two. The below Hoya 720nm was the most expensive one I bought, but the 650nm was dirt cheap.
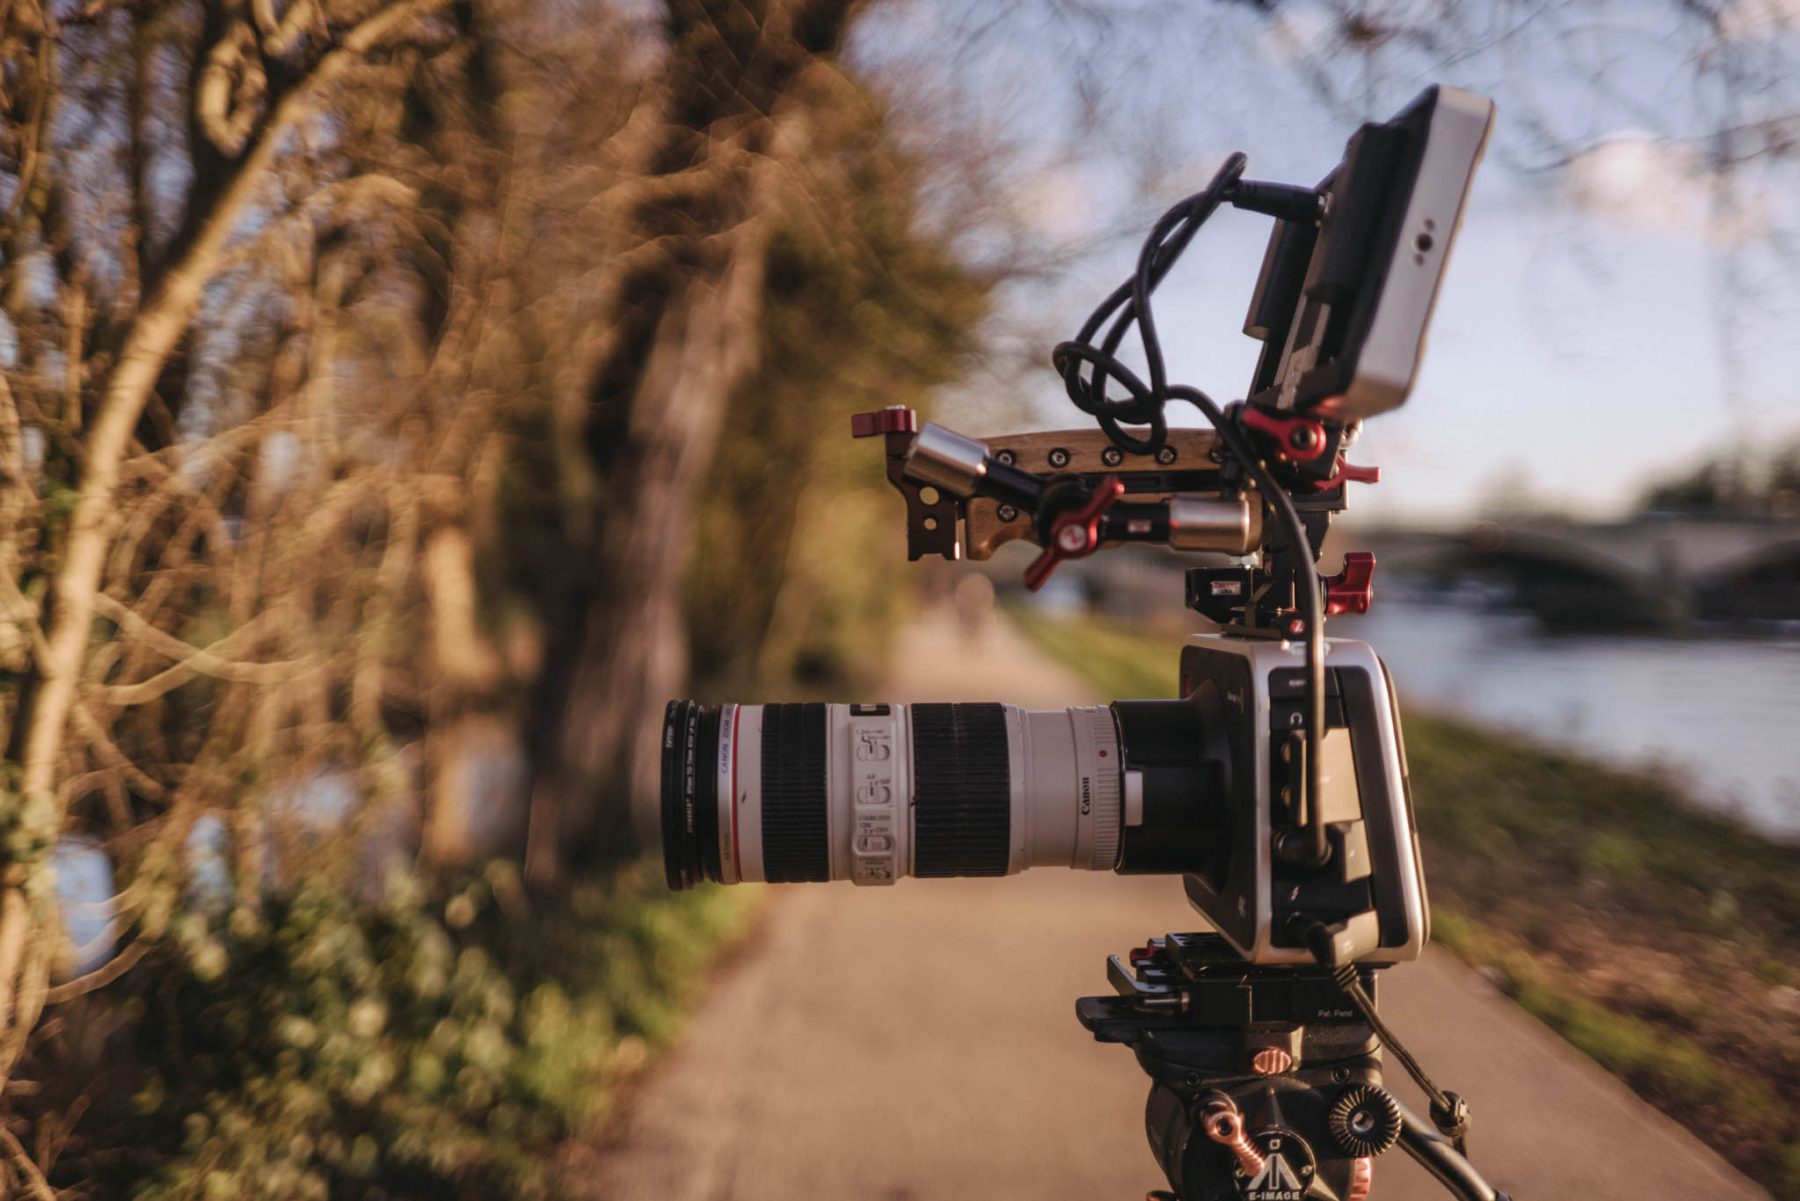
With my Canon 70-200mm F4 IS
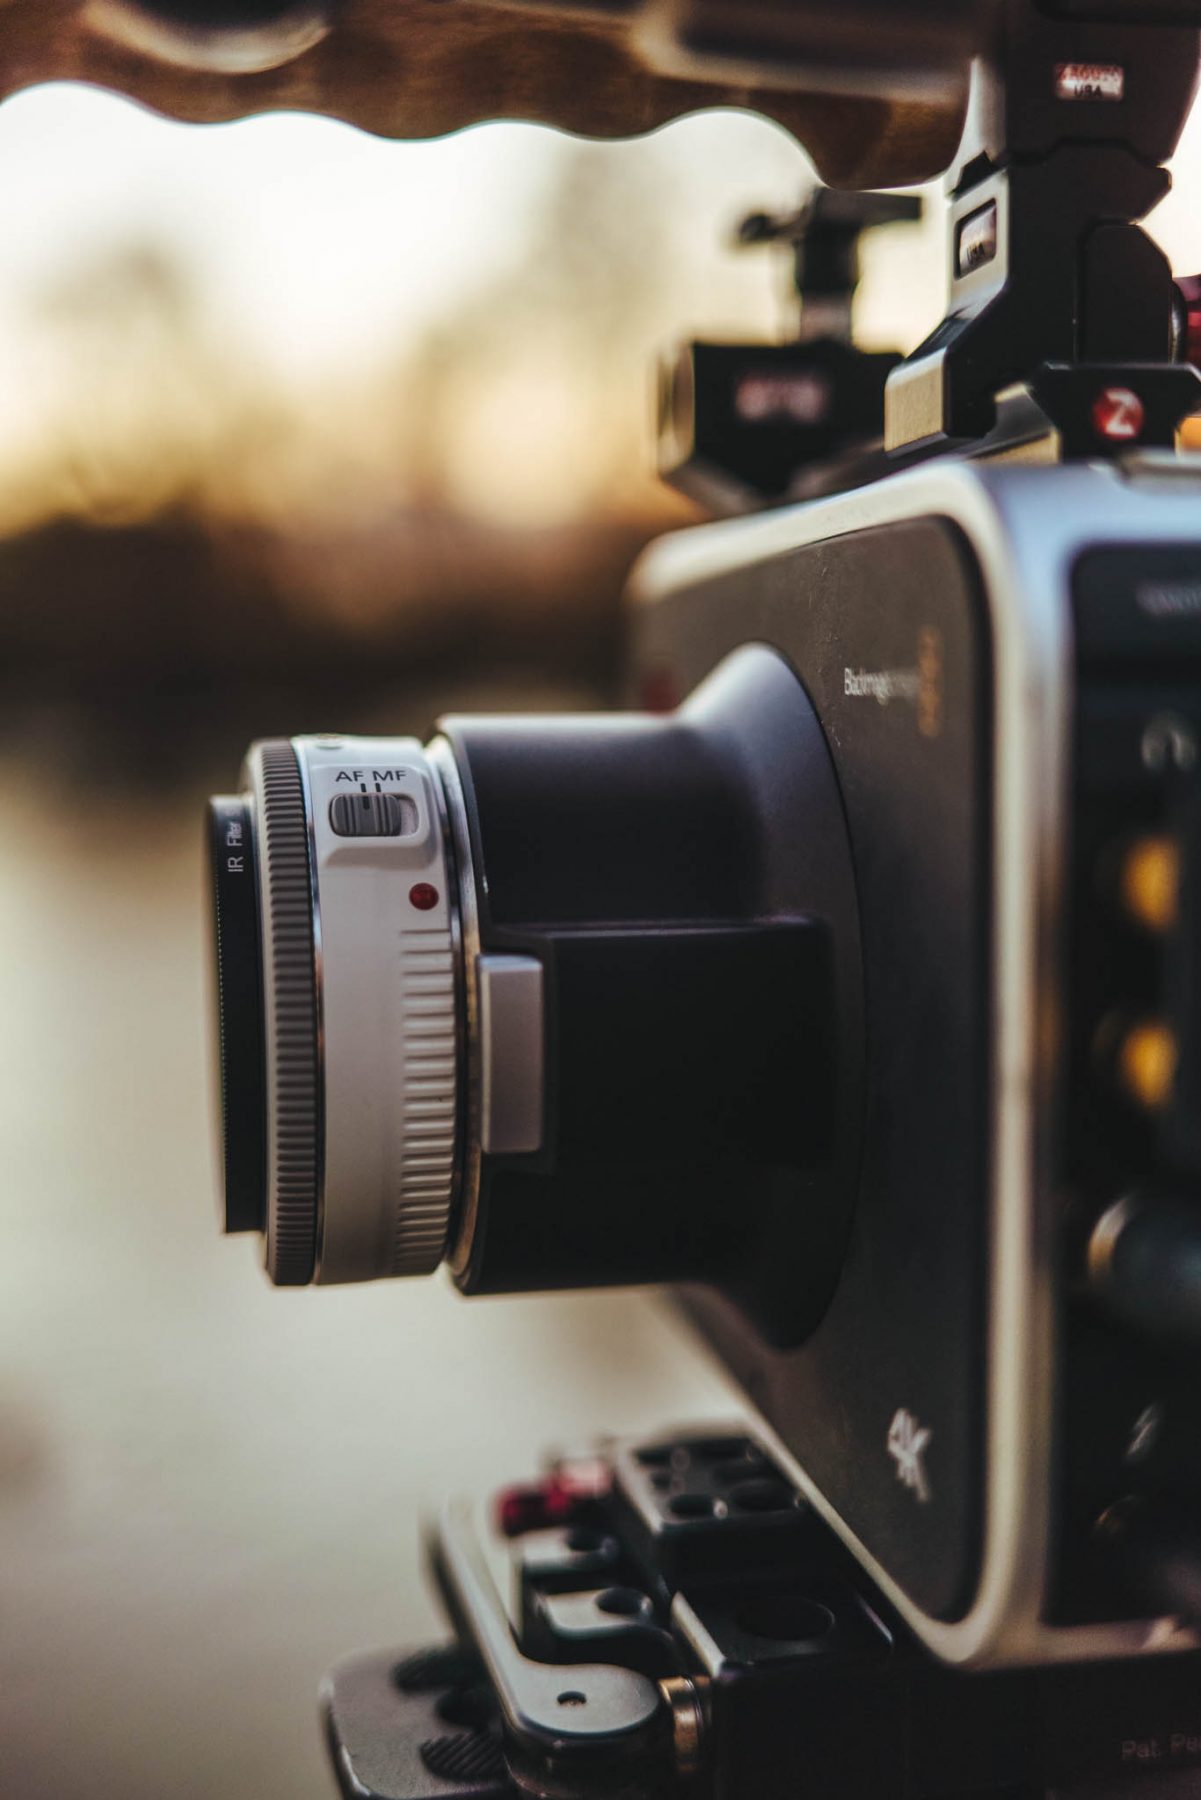
With the Canon 40mm Pancake and 650nm filter
MAIN OBSERVATIONS AND FINAL THOUGHTS
It has been great fun experimenting with this. It has made me see light quite differently. Quite when or whether I will use this in a paid gig I cannot say, maybe never, but you never know. I will continue to play around with this for myself but less intensely.
Here are some tips if you plan on trying this:
- Sunlight is the best for IR, direct sun looks great BUT don’t point at the sun, as it will look terrible.
- Your camera will be very susceptible to flares if any bright light is caught, sun hoods, french flags will help.
- Highlights blow easily and cannot be recovered. Hold your highlights, protect them like they are your children! Underexpose the rest, that is fine, just keep those highlights from clipping as they look ugly as hell if you don’t!
- Bringing down exposure is hard. Some NDs work, but make sure they have no IR blocking in them and variable NDs don’t work very well at all. Most of the time here I just had really fast shutter as you can tell from the pans.
- Have fun and enjoy yourself…experimenting is fun!
Here is a nice 4K IR Blackmagic shot with the 650nm filter for you to download in all its rather bloated Cinema DNG glory! 🙂 Personal use only of course!

Now that this is over, the Blackmagic will most likely go back on the shelf for now. I own much more capable cameras but it was fun to use it again after such a long time of it doing nothing…the last thing I shot was probably my dad smoking a cigar! The newer firmware makes it a much more capable camera. It is still poor in low light, still has an awful screen and form factor plus the power issue is a drag…but it is cheap and records in fabulous codecs, prores all flavours and cinema dng. That is not to be sniffed at!
Hopefully this was of some use to you. You won’t be able to shoot IR video unless that IR blocking filter is gone, it is simply not possible. If you do decide to go with a hardware mod then I would recommend the 590nm filter as you can put a 650nm 720nm etc filters over that and they will act look like they are supposed to. If you have a 720nm filter on the sensor that is all you will get, you cannot use a filter that lets more visible light in when that will simply be blocked by the 720nm filter.
I will leave you with a couple more images and a video I shot with the Sony RX100 II and super colour filter. There are two versions, the standard look for the filter and one with the channels reversed. Happy experimenting!

Experimentations: Infrared Sony RX100 II 590nm filter from Philip Bloom on Vimeo.
Experimentations: Infrared Sony RX100 II 590nm filter (Reversed channels version) from Philip Bloom on Vimeo.
1 comment