


THE ABOVE VIDEO NEEDS A COMPATIBLE BROWSER TO BE SEEN AS 360 VIDEO
I have been messing around with 360 images for a year and a half, ever since I was introduced to the Ricoh M15 camera by Eric Cheng, then working for DJI as head of aerial imaging but now working for Facebook as their 360 guy. Initially, I just loved how fun it was, creating the silly little world images and getting some strange perspective on things. I was more interested in that than in proper 360 images that you could explore by scrolling around or with headsets to start with, probably because I didn’t have a headset! Buying a Samsung S6 Edge and headset last year changed that, and the 360 stills from the Theta M15 looked pretty good. Video from it was absolutely unwatchable though! Downloaded content looked great, almost all of which would have been shot with multiple GoPro cameras. Whilst I have a few GoPros, the post production I had heard was an absolute nightmare and the rigs/ software to make it possible were too expensive for something that was simply a bit of fun and experimentation.
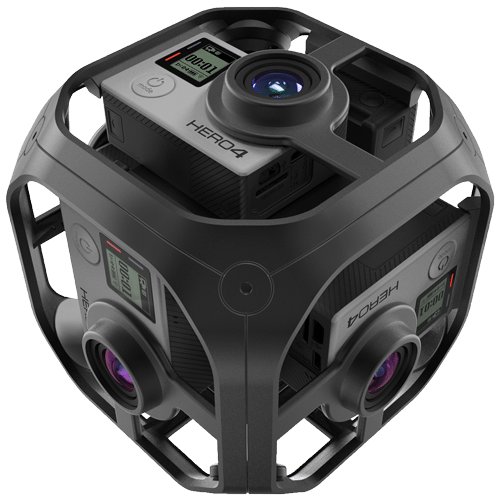
The new GoPro Omni does appear to improve things, but it is still pretty expensive and uses 6 GoPros. For my experimentation this is way out of my budget, although I would love to try it!
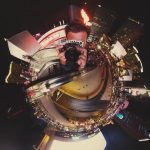
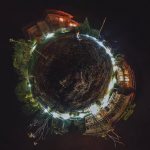
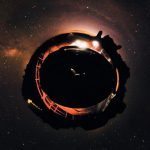


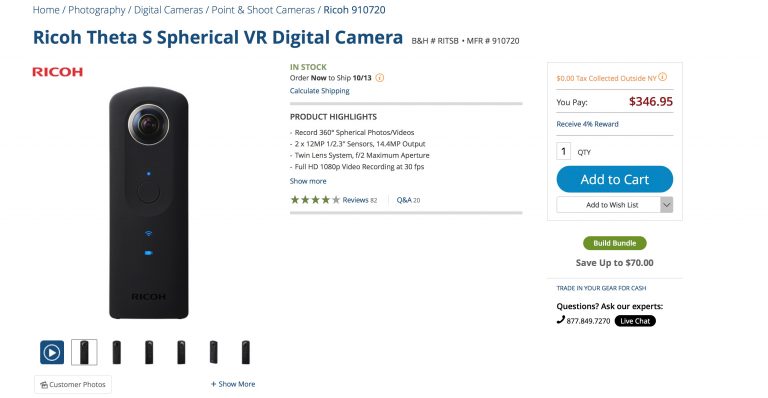
The Theta S improved video slightly but not enough to be usable. It wasn’t until Samsung brought out their Gear 360 that I finally had an all-in-one device that had good enough video to experiment with. In fact, now I have a number of devices for 360, some good, some not so good.
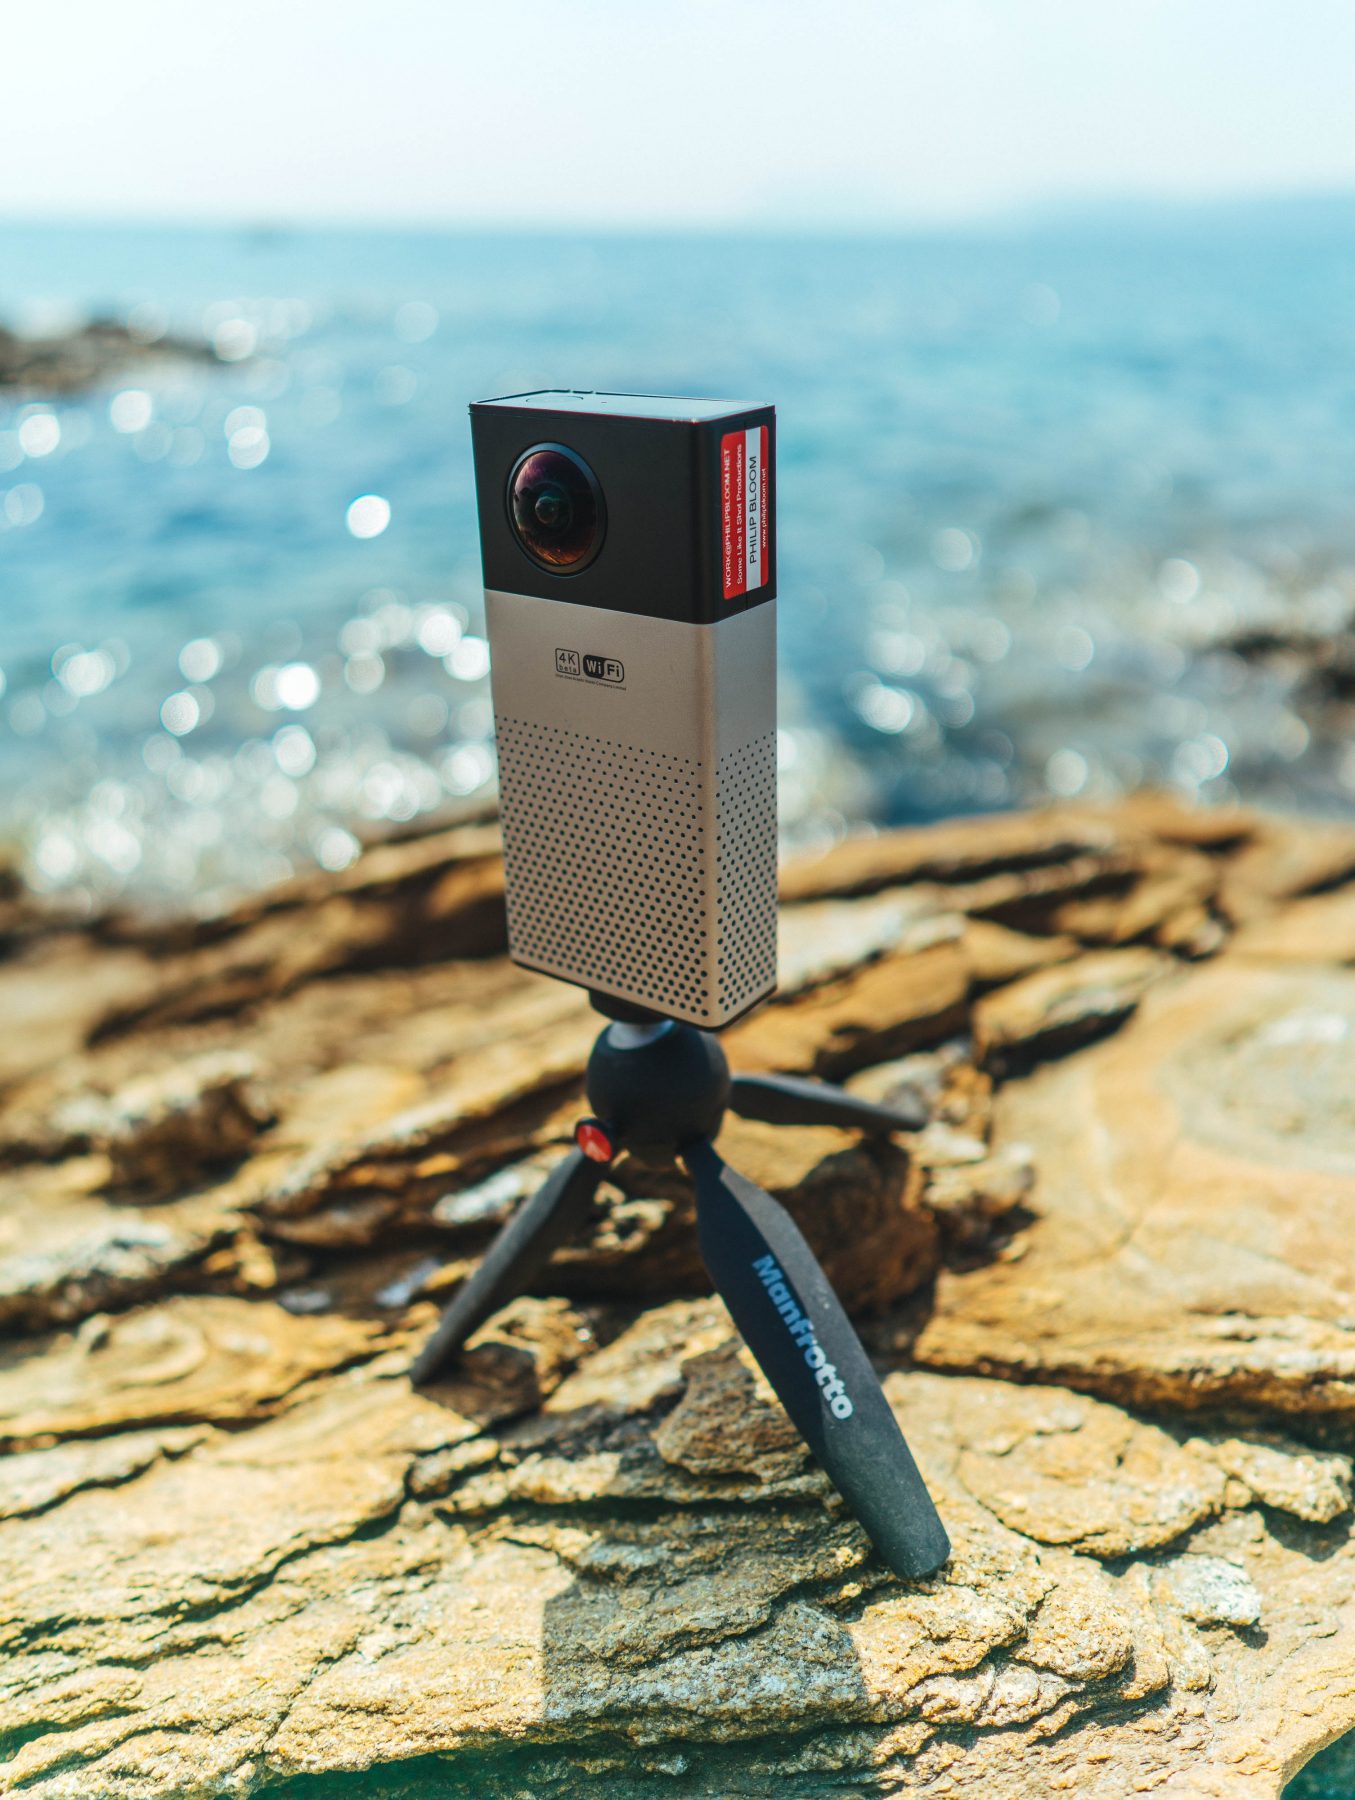
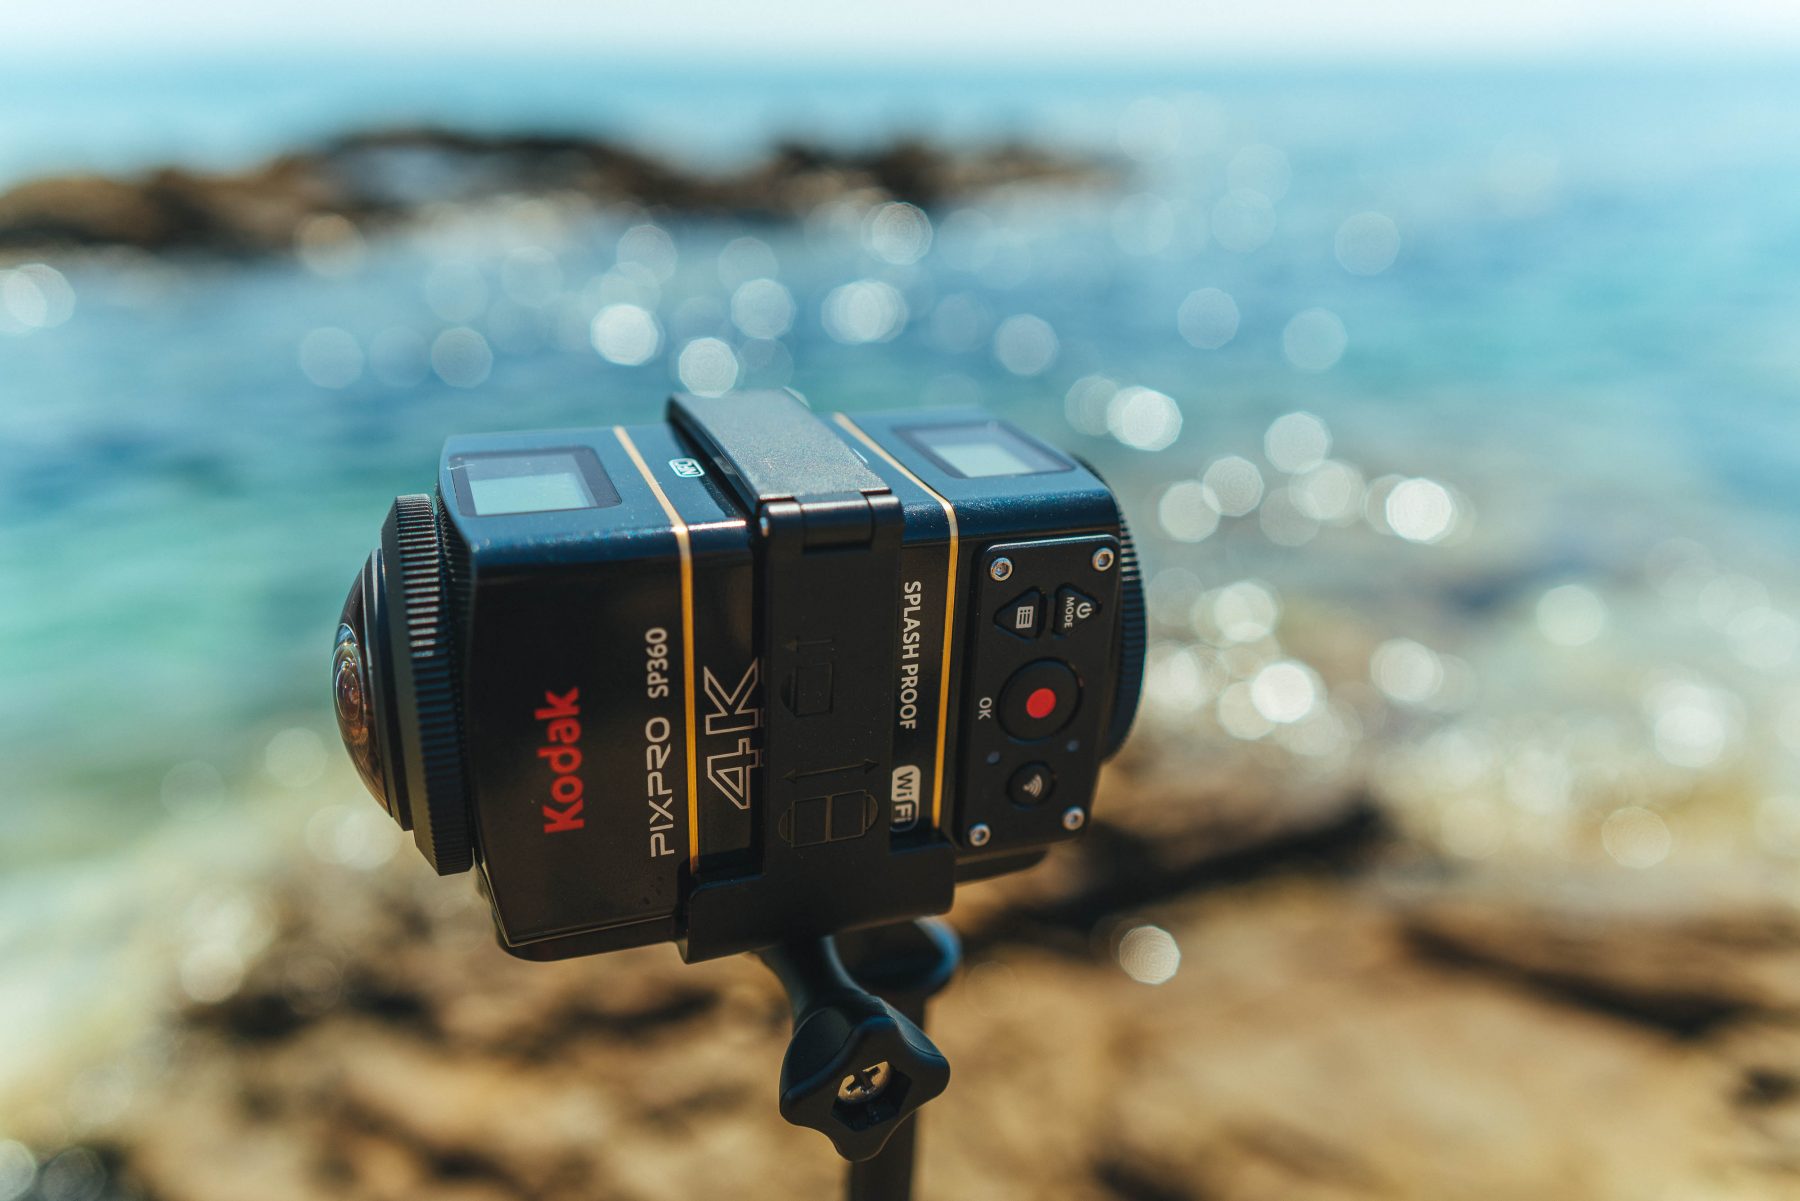
The Kodak PixPro 360 4K is a dual camera set up that, between the two cameras, captures 4K complete 360 video. The image is actually quite nice and possibly slightly better than the Samsung. The downside is that it is much more expensive, you cannot have a live preview of what you are doing and, the stitching software from Kodak is a pit poo. If you can get past that, it is a pretty good solid set up. It is also splash proof.
The Instak 3604K has improved a lot since I bought it. Mainly they have given it usable frame rates – when I bought it, the 4K was only 15p, but now it does 25p. The image isn’t bad actually. It has a live preview on the phone and can stitch images for sharing on the phone too. It is a bit of a brick and quite pricey for what it is. They do a nano version which is iPhone-only and quite neat but has to be physically attached to the phone, and the video is max 3K.
I have the LG one too but it is just HD, cheap though.
Really for video you need 4K as an absolute minimum. The 4K resolution is the entire equirectangluar 360 image. Then when you upload to YouTube, Facebook or view in a VR headset, the image is substantially zoomed in. In fact it is so zoomed in what the viewer actually sees in closer to 720p than 1080p,not at all 4K. That is why people complain saying it doesn’t look like 4K. Well, what you are seeing isn’t, but can you imagine how bad something that is captured at a quarter of that resolution looks, as in full HD?
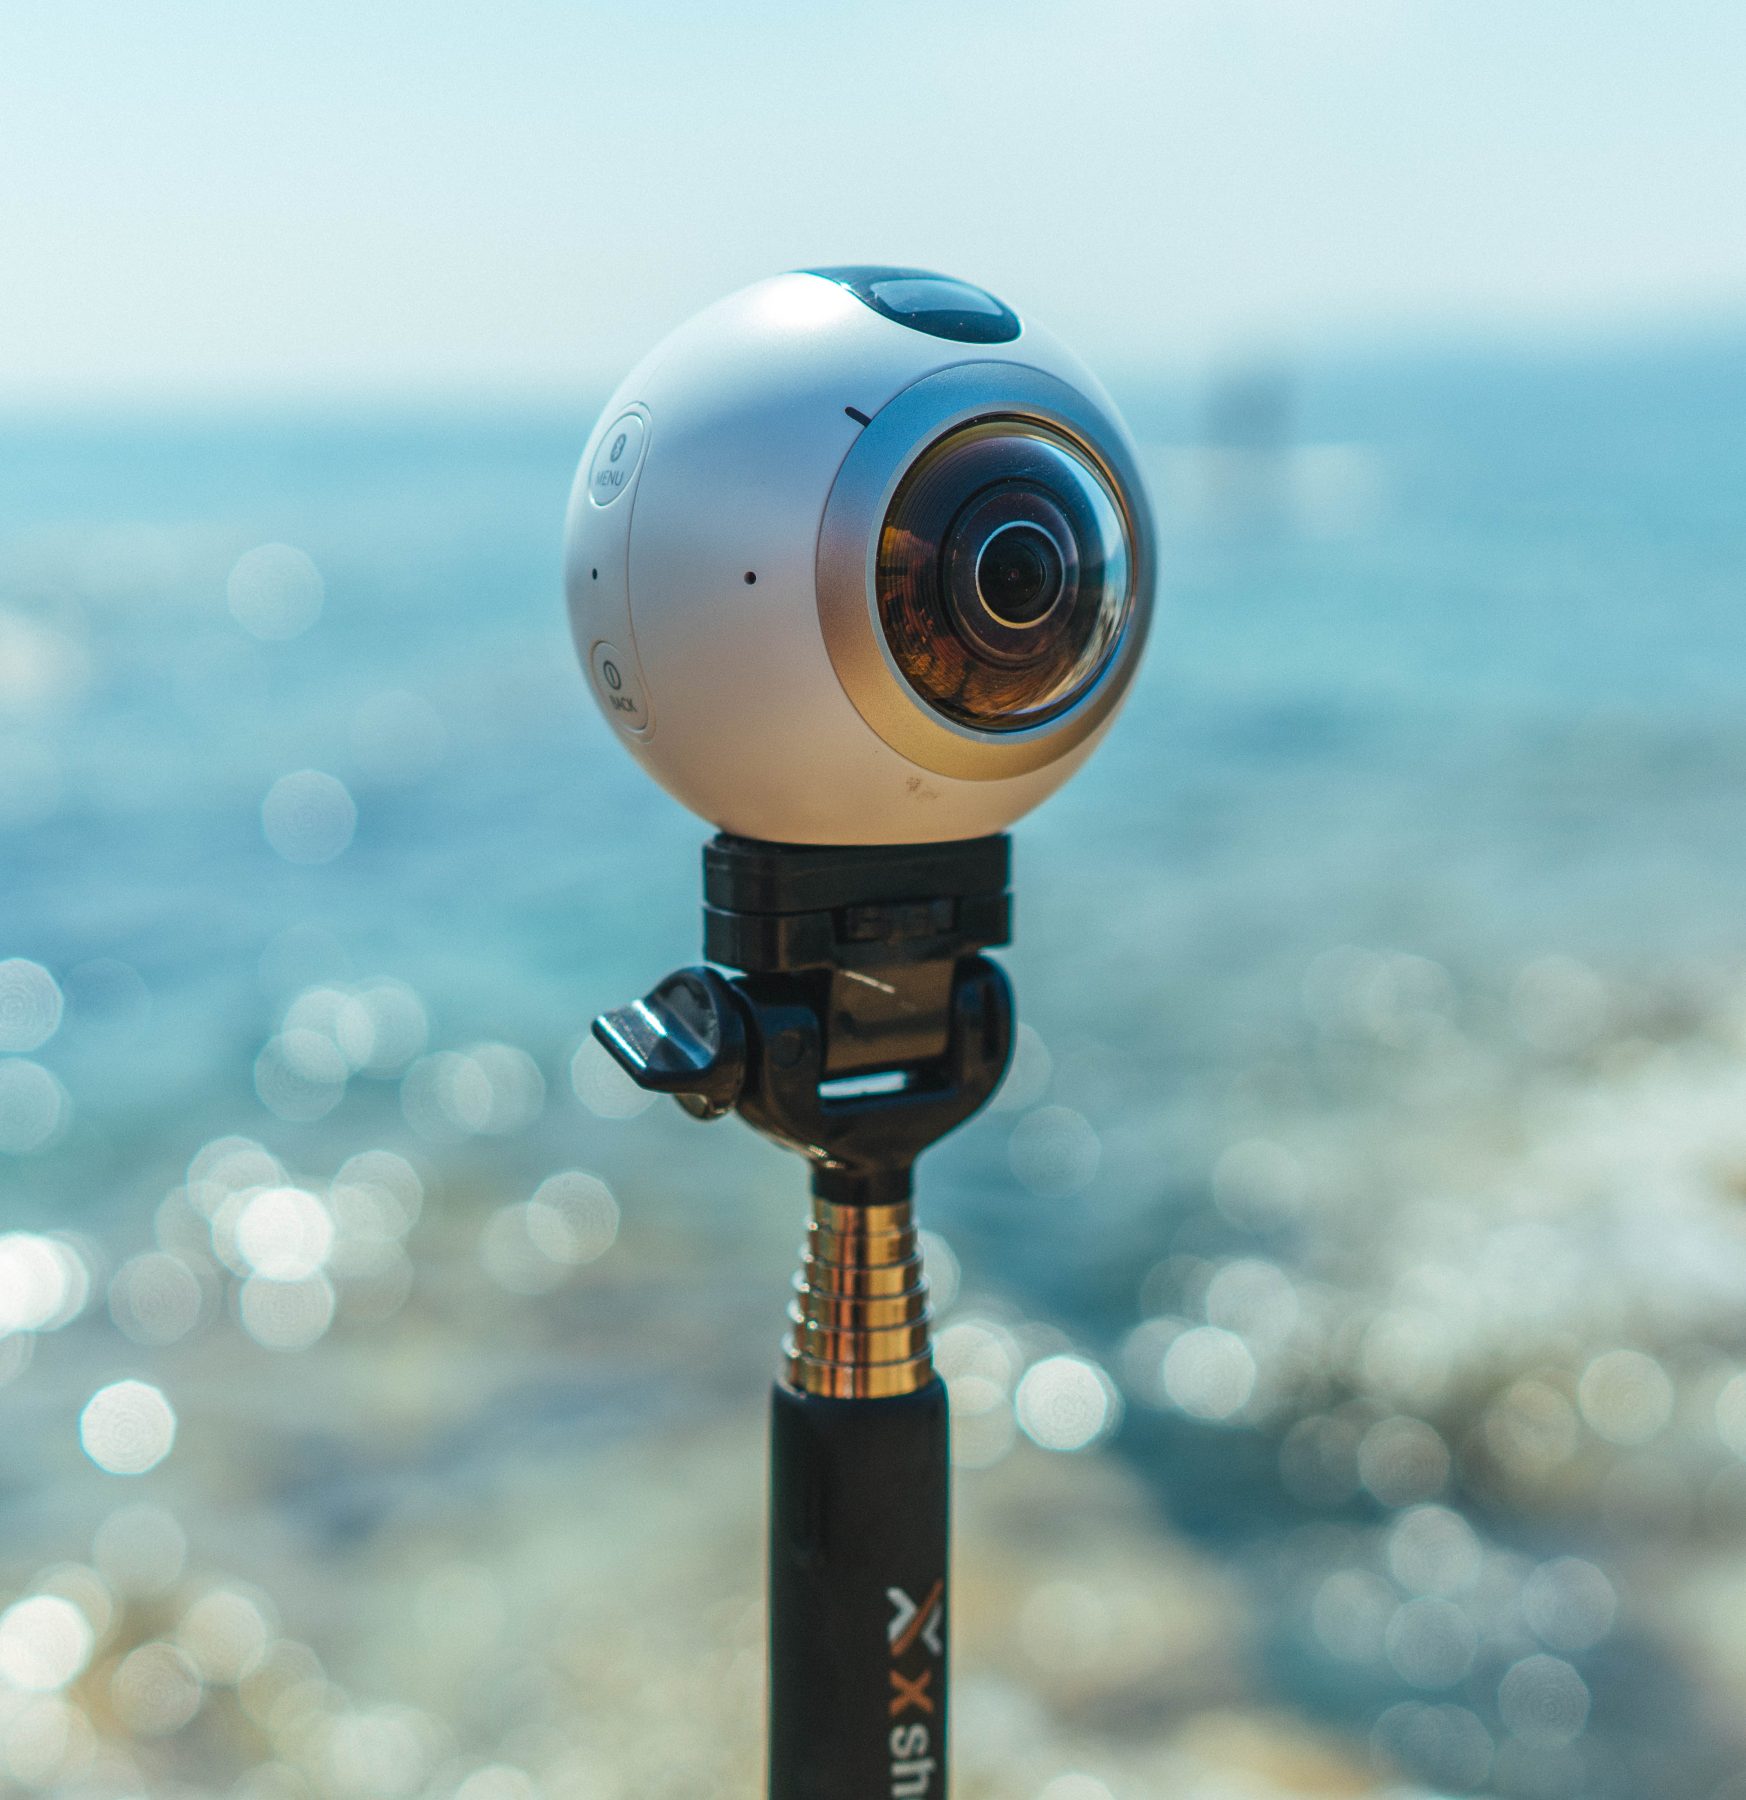
The Samsung Gear 360 needs a compatible phone, basically the S6 or S7, for you to be able to see a live preview or bring images/ videos into your phone for sharing. The camera does have an LCD display for settings on it, and you can change a fair bit on it this way, so if you don’t have one of those phones you don’t have to write it off. The stitching software that Samsung give you is PC-only and a bit rubbish to be honest, so until recently all my Samsung Gear 360 videos have been stitched in the phone. I will talk about my new post process later in this article.
It is a first generation product, so it is far from perfect. Connection issues are common, and it overheats quite easily but thankfully doesn’t explode or catch fire! But it is very neat, small, and the image is pretty good. The stills are actually 30mp between the two lenses. Not bad.
What can you use 360 video for?
Well aside from the “boring” but actually quite useful things like real estate, hotels, venues etc, I can really see an exciting future for 360 video. Do note my use of the term 360 video, which is what this is. With 360 video, you are just a passive observer. VR video means you can interact with what you are seeing, like move around for example. This is of course not possible with any of the cameras I am talking about. 360 cameras are not VR cameras, strictly speaking. Nokia’s Ozo is called a VR camera, and it does capture stereoscopic 360 video, but unless you are actually interacting/ can move around it isn’t strictly speaking VR. For now, this is pretty much limited to CGI content…for now.
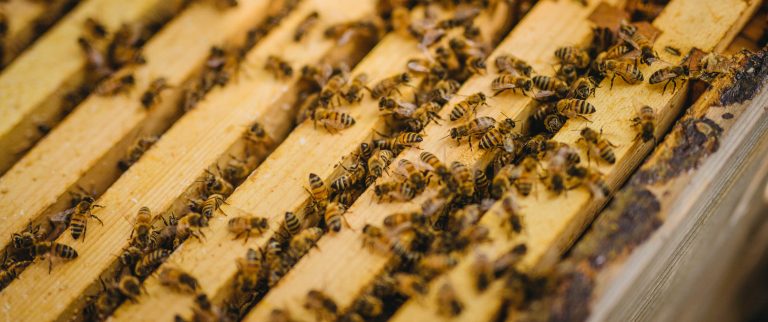
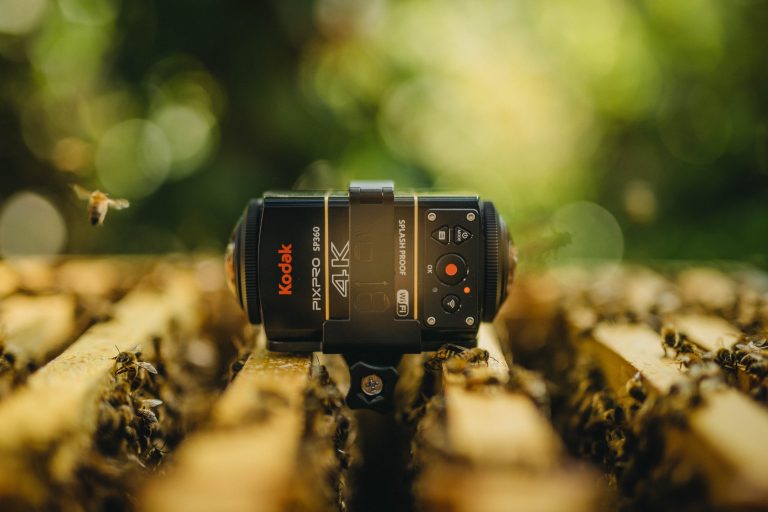
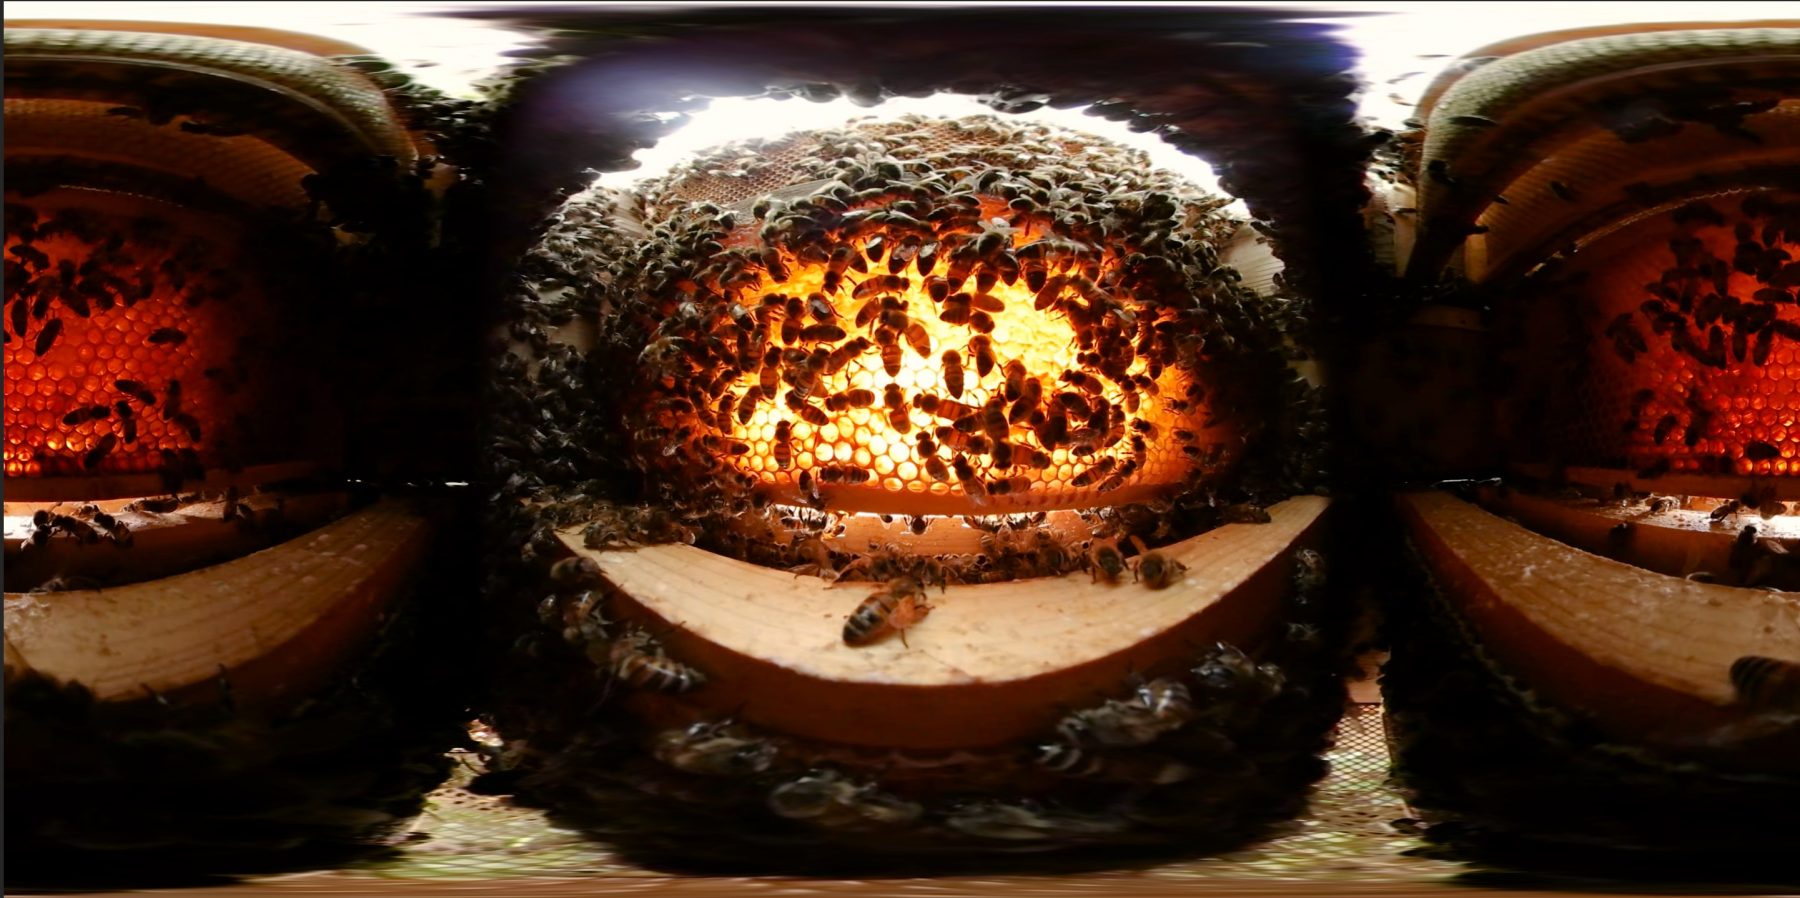
360 video can be used for “experiences” like this video inside a bee hive, or to take you to places and make it feel like you are there. There are 360 videos of skydiving, skiing, diving etc. These are all cool but you need something more substantial to keep the viewer’s interest. For normal flat 2D video, we call that a story! Can you use 360 video for stories? Absolutely. There are already narrative 360 videos out there, and documentary ones too. The key will be letting the viewer who is wearing the headset know where to look – you will need to direct them via audio or movement within the video. It is cool to look around everywhere to start with, but the viewer will become bored and frustrated quite easily unless they are directed where to look. In a documentary, a presenter telling them to “look over there”, or even better walking around, making the viewer follow them, directs the viewer perfectly. The same would be done with narrative – by 360 audio and by characters speaking or sounds to make them turn to where the sound comes from. Direction will need to be very well thought-through in this medium, so as to not annoy the viewer when they’re always looking in the wrong place!
It is all very exciting, and I can’t wait to do more in this medium. Oh, and they are great for behind the scenes videos too, as you can see below (and some little tests I have done with some of the cameras) You need to be using a compatible browser to view these.
Filming the bee hive
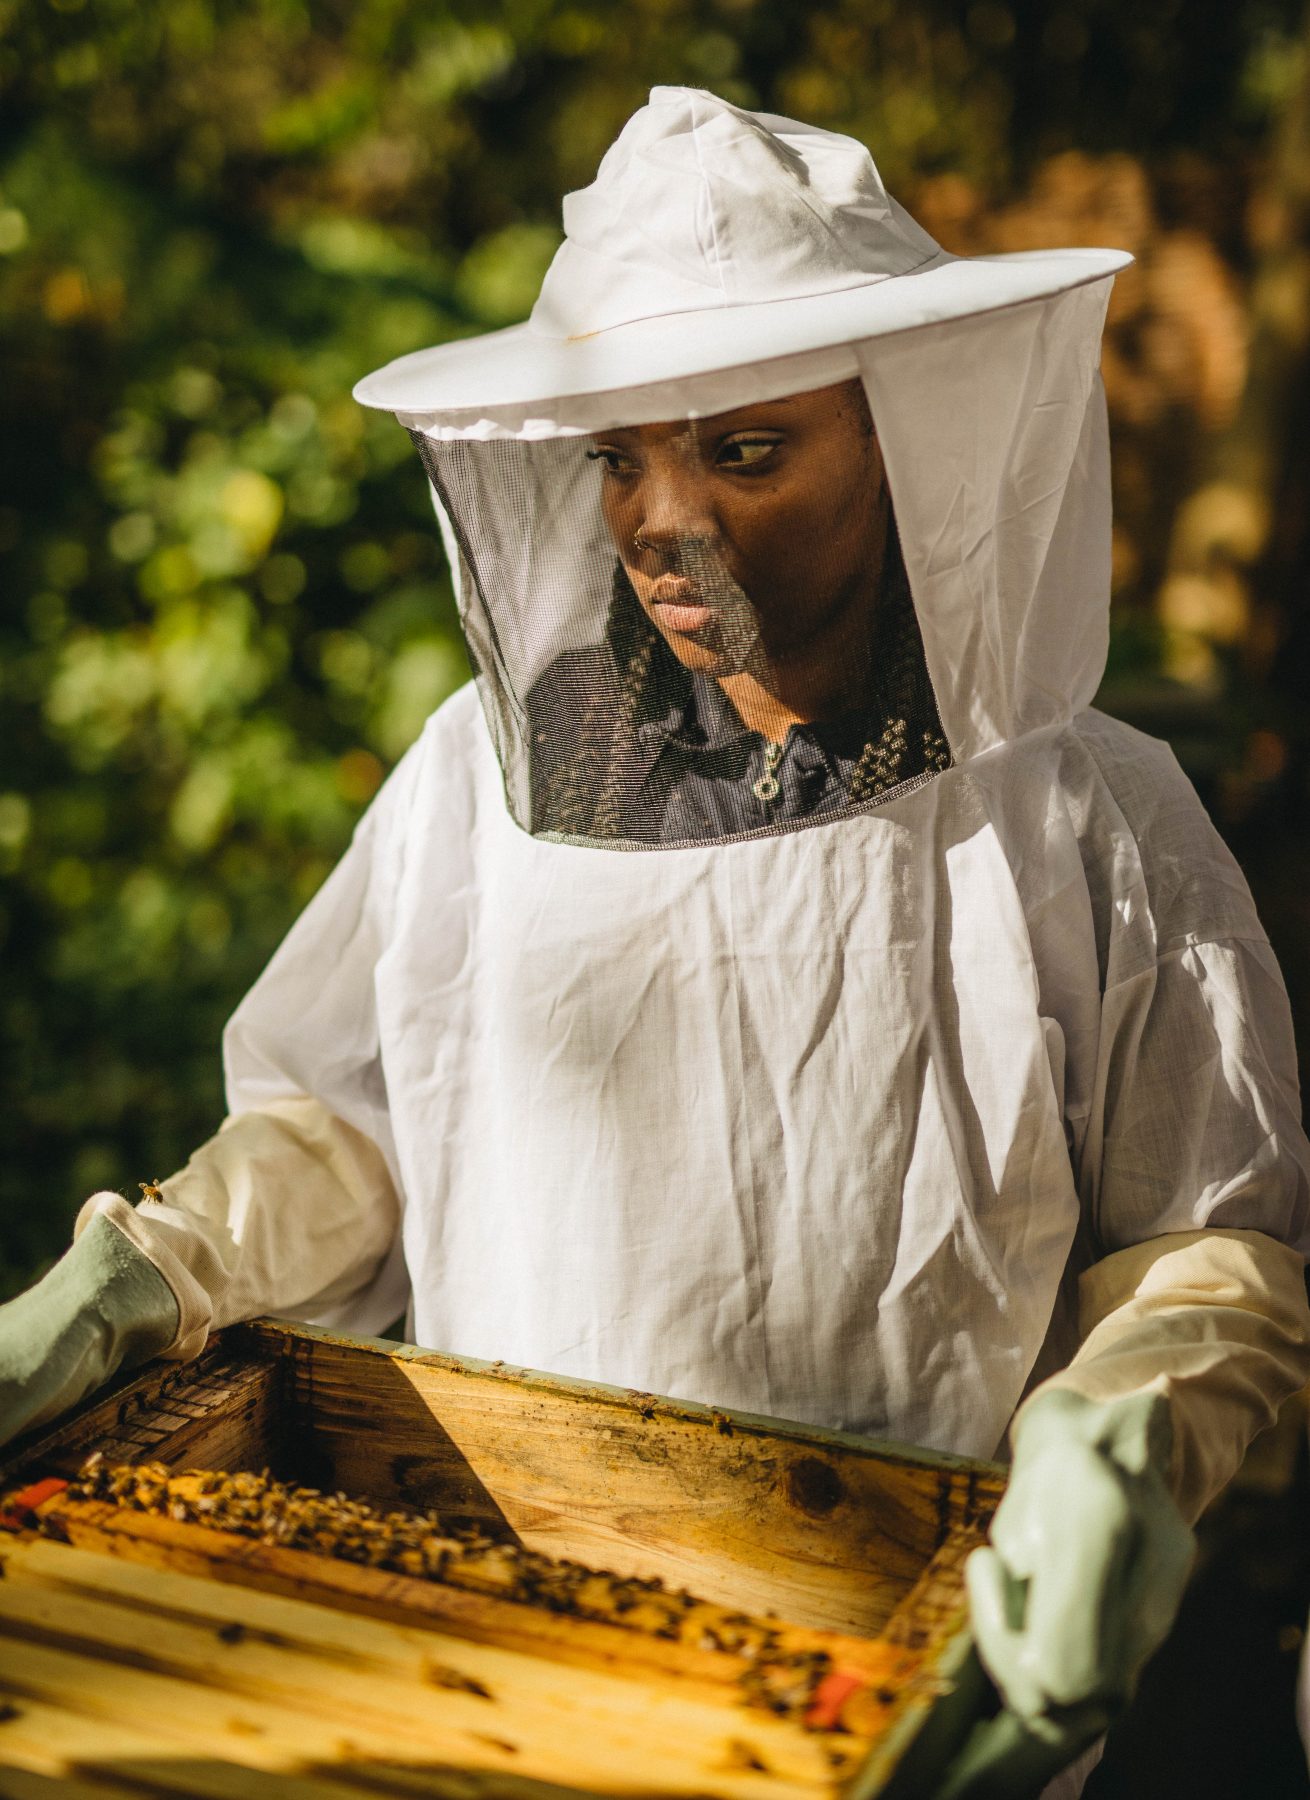
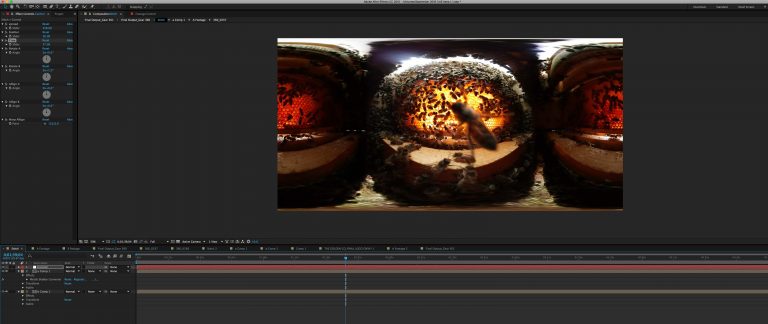
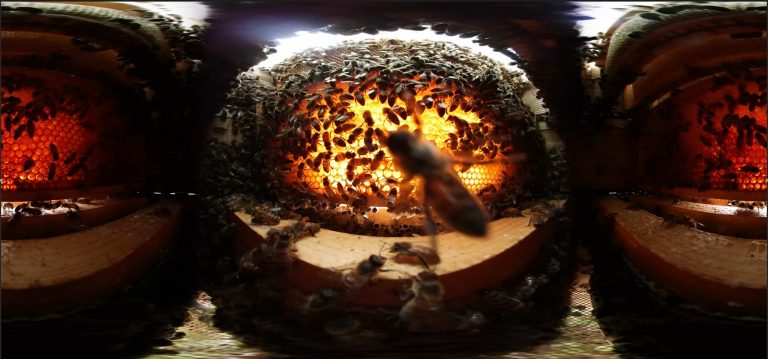
Back to the Bee Hive video and my first actual 360 video job. I was asked by Wilburr.com if I could shoot a view inside a Bee Hive for The Golden Co, who are an organisation based in Hackney, East London, that works with young people to “improve wellbeing and employability though engagement with nature and enterprise”. Their first project is all about bees! They have a number of hives at St Mary’s Secret Garden in Hackney. There, young people take part in a course which teaches them all about these incredible little creatures, how to maintain a live hive and bees to give us a better understanding of our role in our environment. Once they have completed the course, they are eligible to do paid shifts at Borough Market where they sell the honey. It gives them experience in many aspects of life and work that will be beneficial to them in their lives.
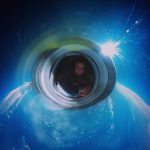
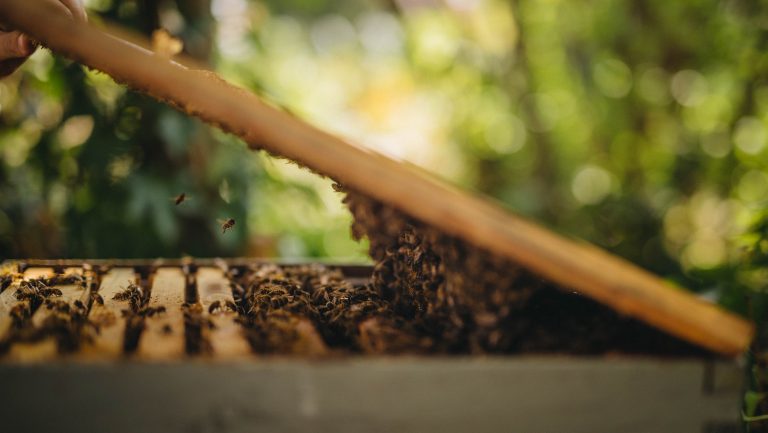
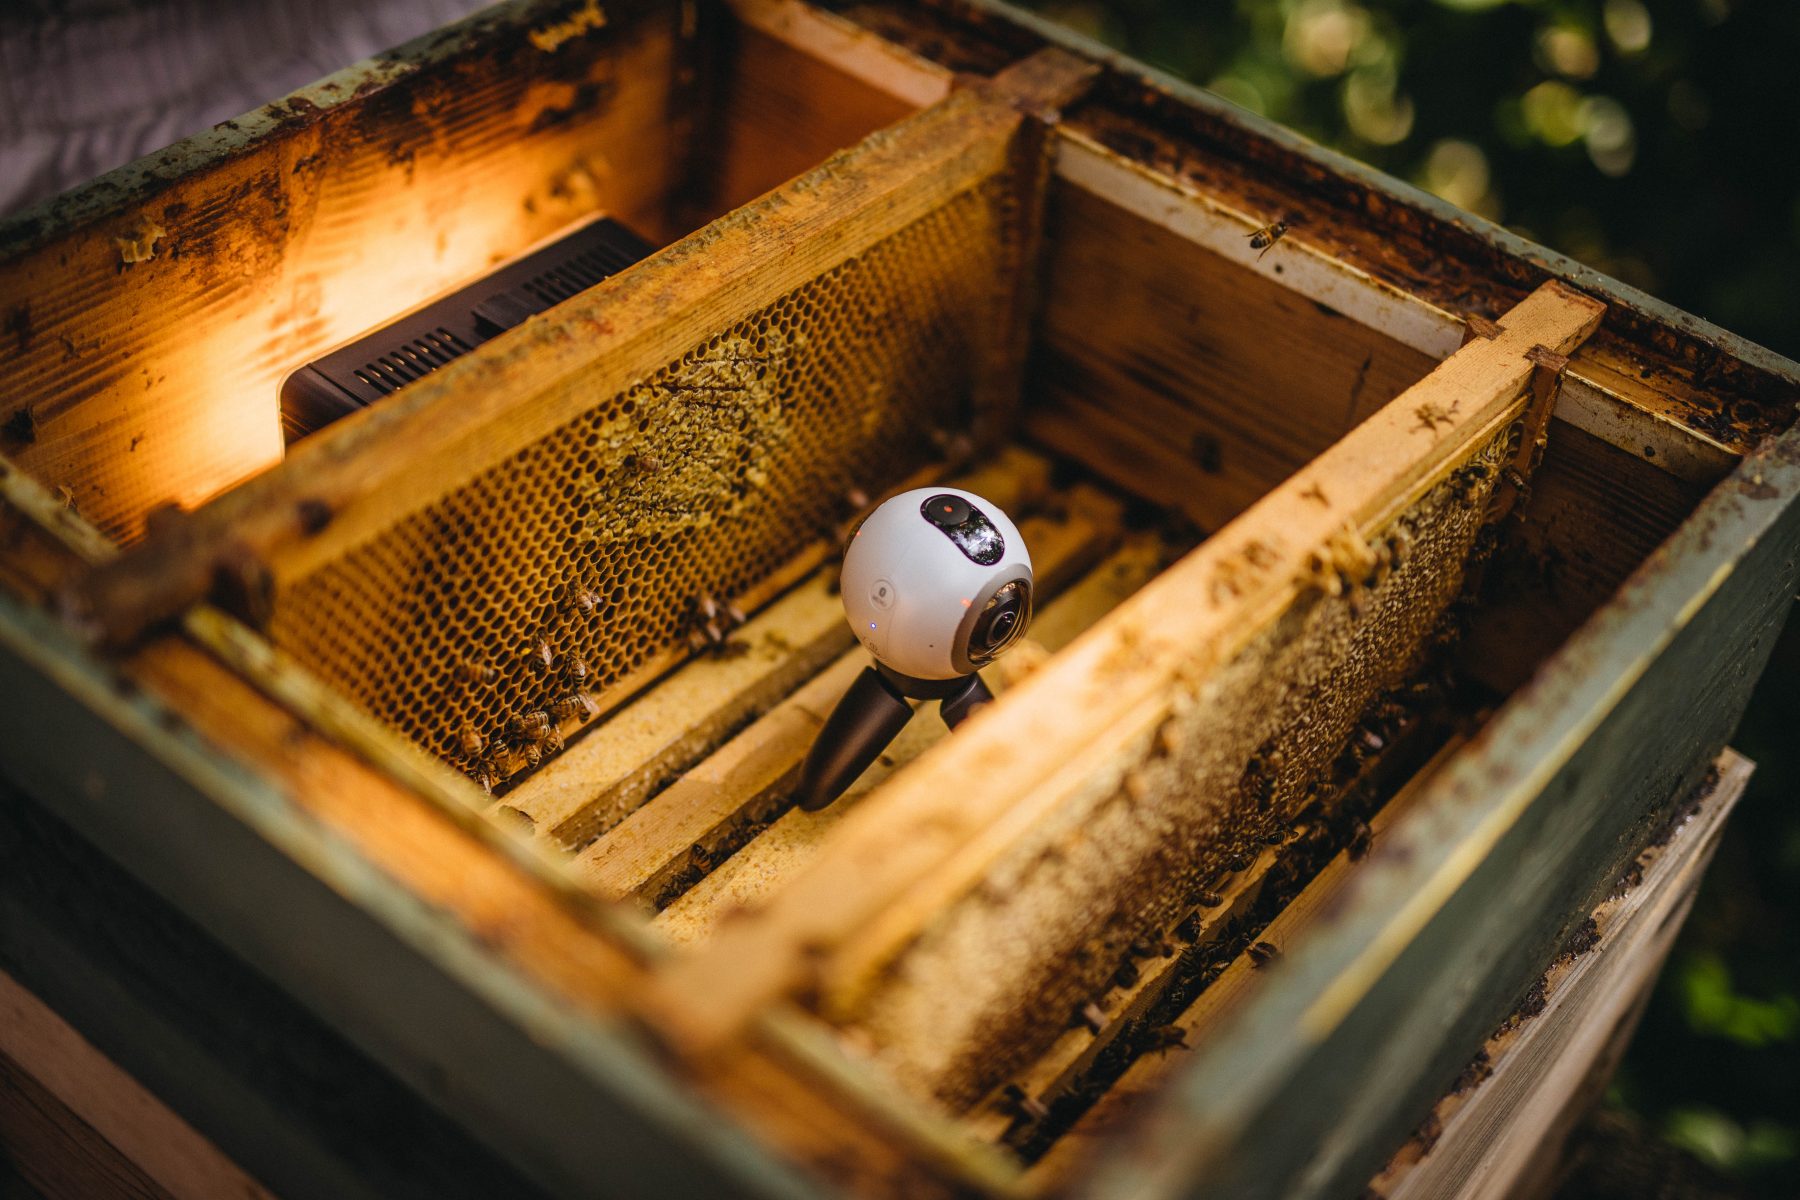
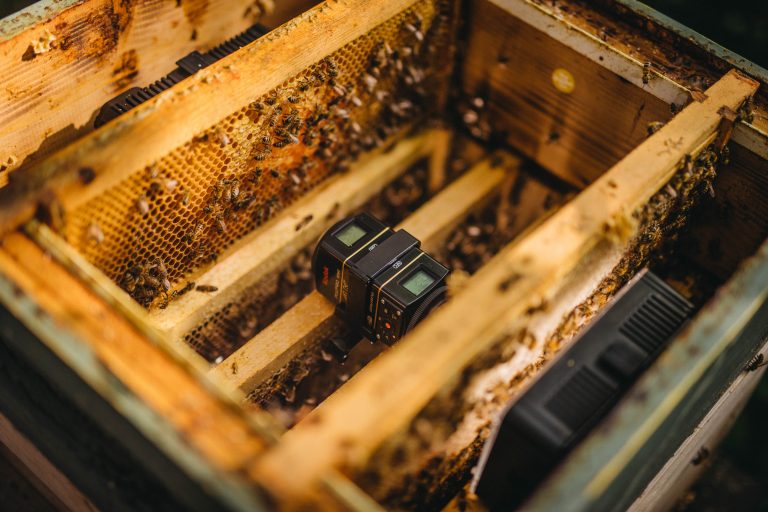
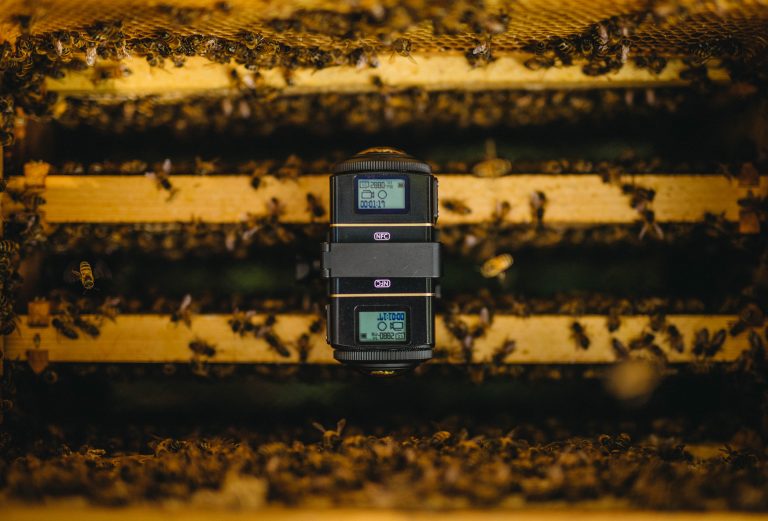
The challenge for me was to see if you could capture 360 video inside such a tight space, as there are some very important dos and donts when shooting this way. When you capture 360 images, you need space. Stitching cameras together is a pain, even with just two images. If you have an array of 6 or so GoPros, it is of course even more fiddly. The advantage of more cameras (apart from resolution) is that there is a much better chance of a seamless 360 image, both in light changes and in the movement of objects. With just two cameras, you can easily end up with one side being brighter than the other and for objects that go from one side to the other ghosting badly. Really, you don’t want anything closer to the camera than about 6-8 feet to be in with a chance of seamless stitching. The bee hive is 2 feet across outside, inside is a lot less than that!
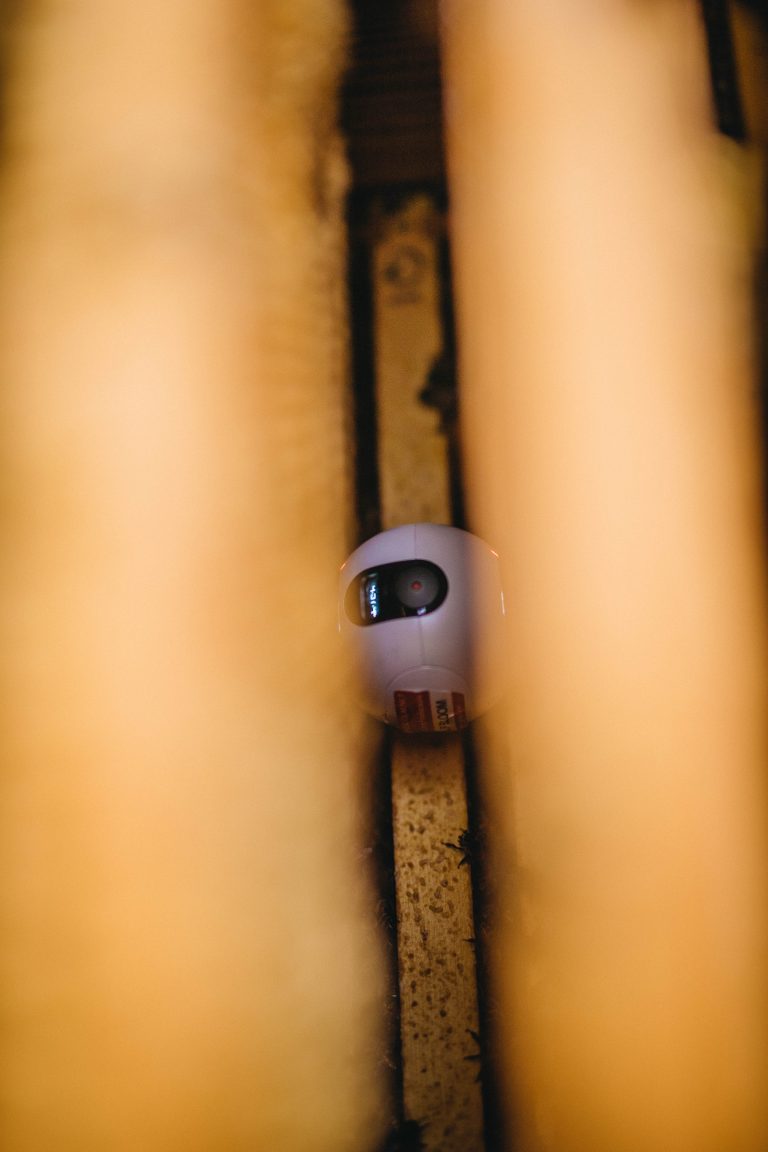
This is where the Samsung’s size really came into its own. The closer the two lenses are together, the more chance you have of getting those two images stitched in such a close space. The Theta S would be ideal as it is tiny, but the video isn’t good enough. I did try the Kodak, but even those two cameras were too far apart. As you can see in the photos, the camera is REALLY close to the closest section of the hive.
Lighting
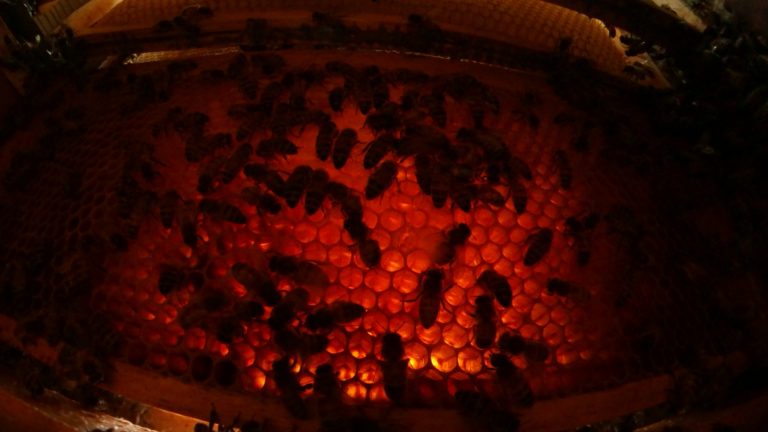
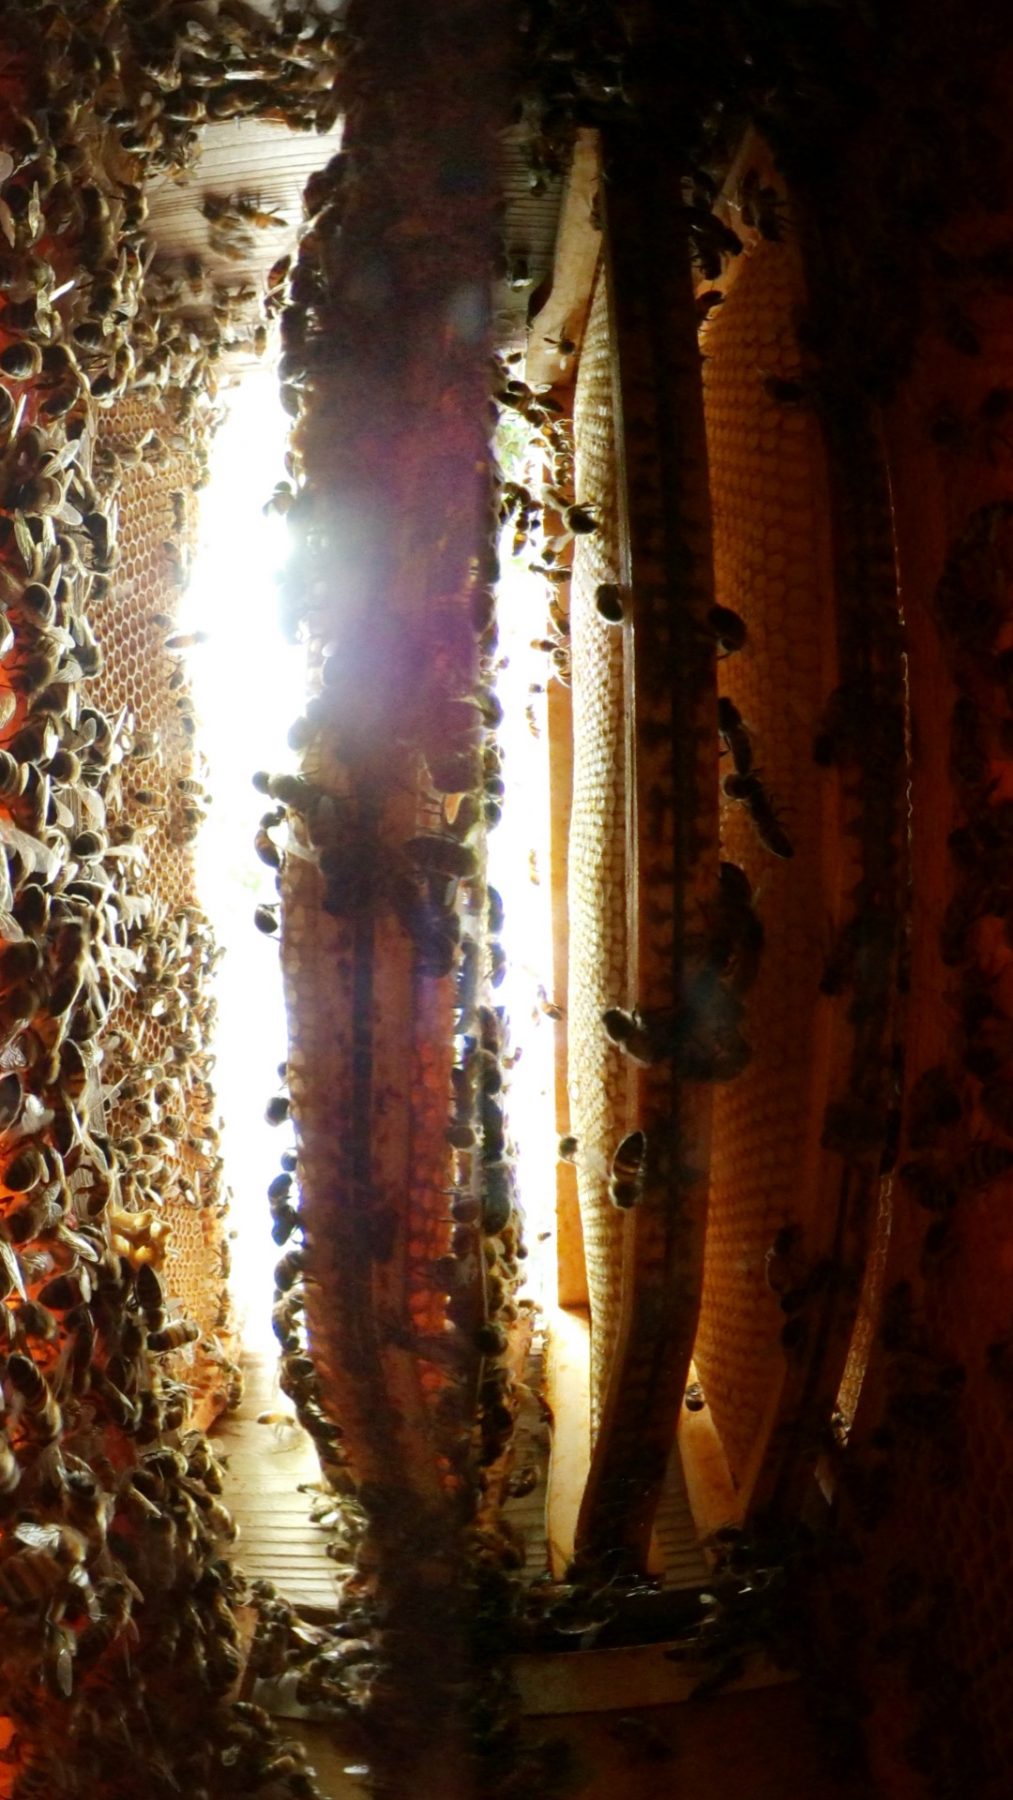
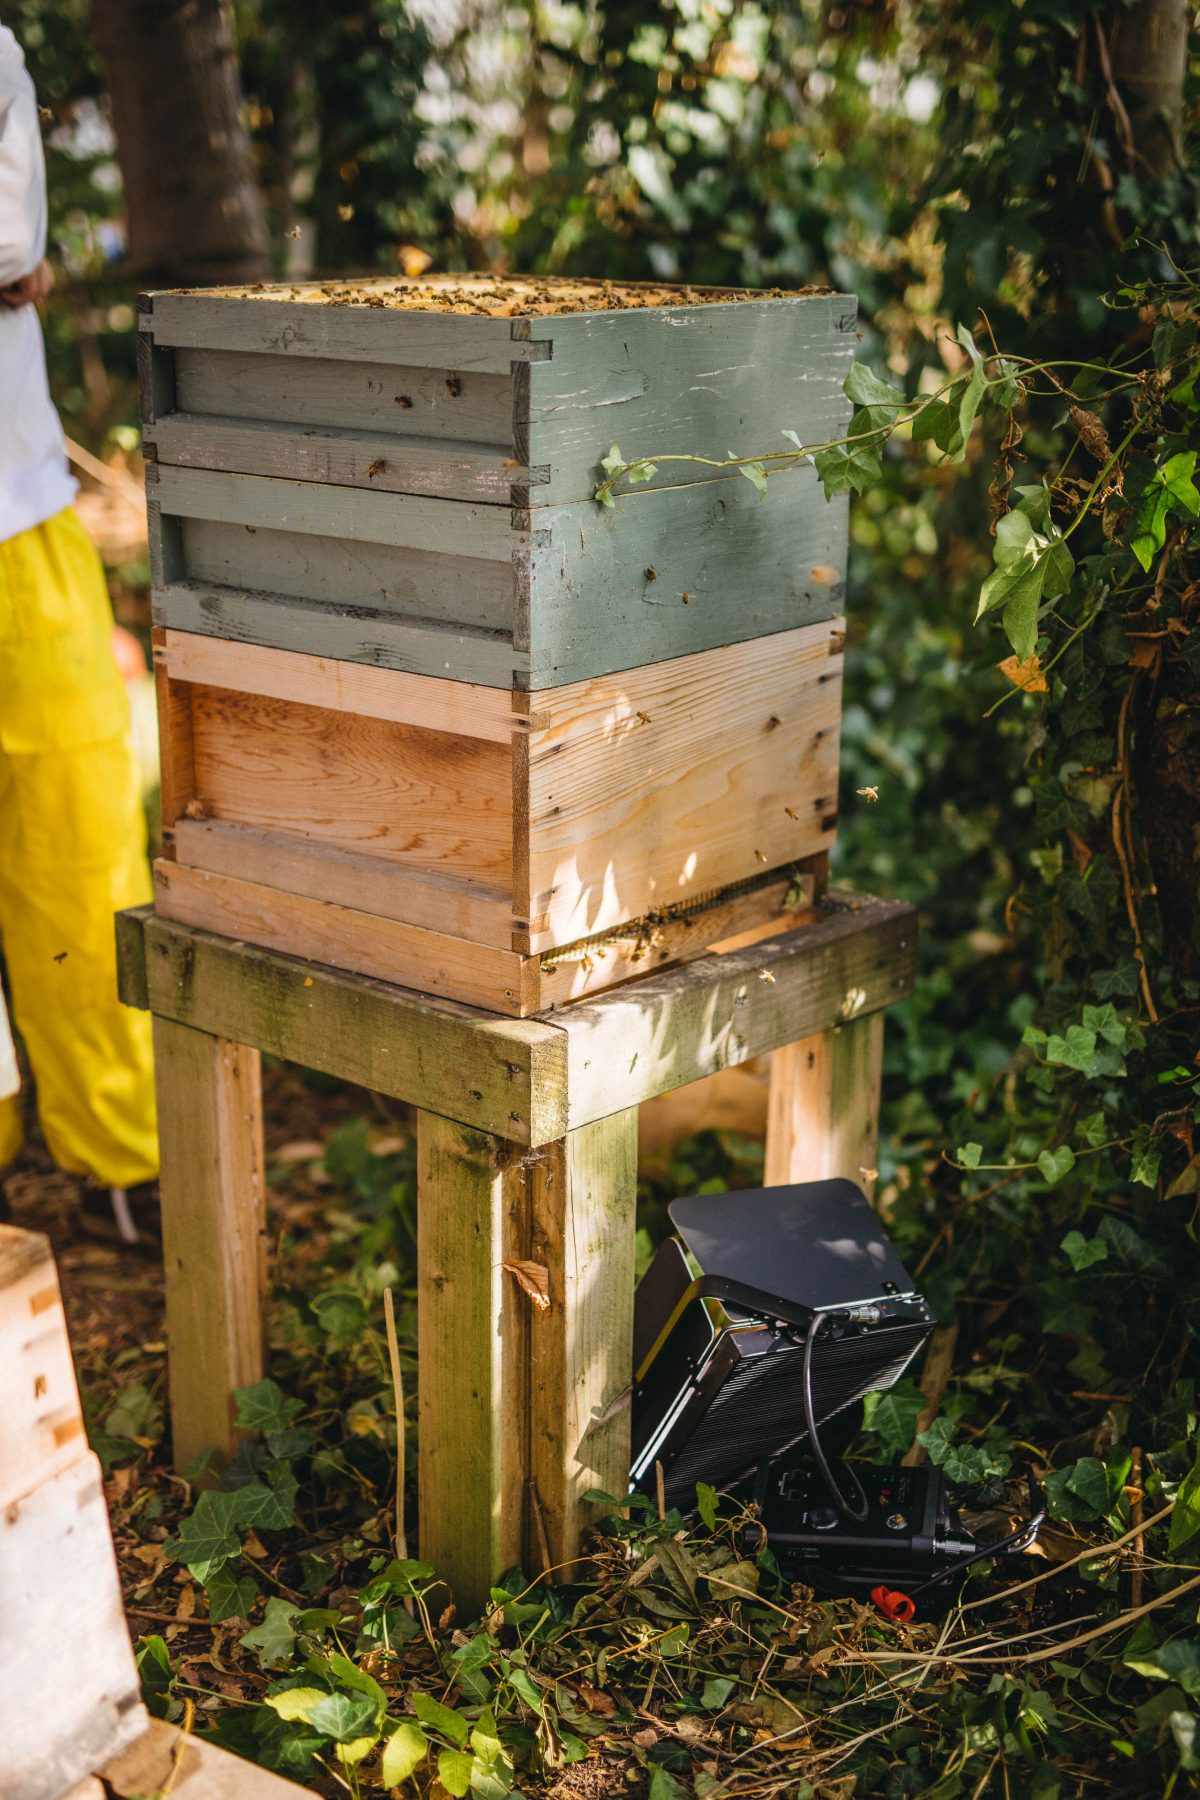
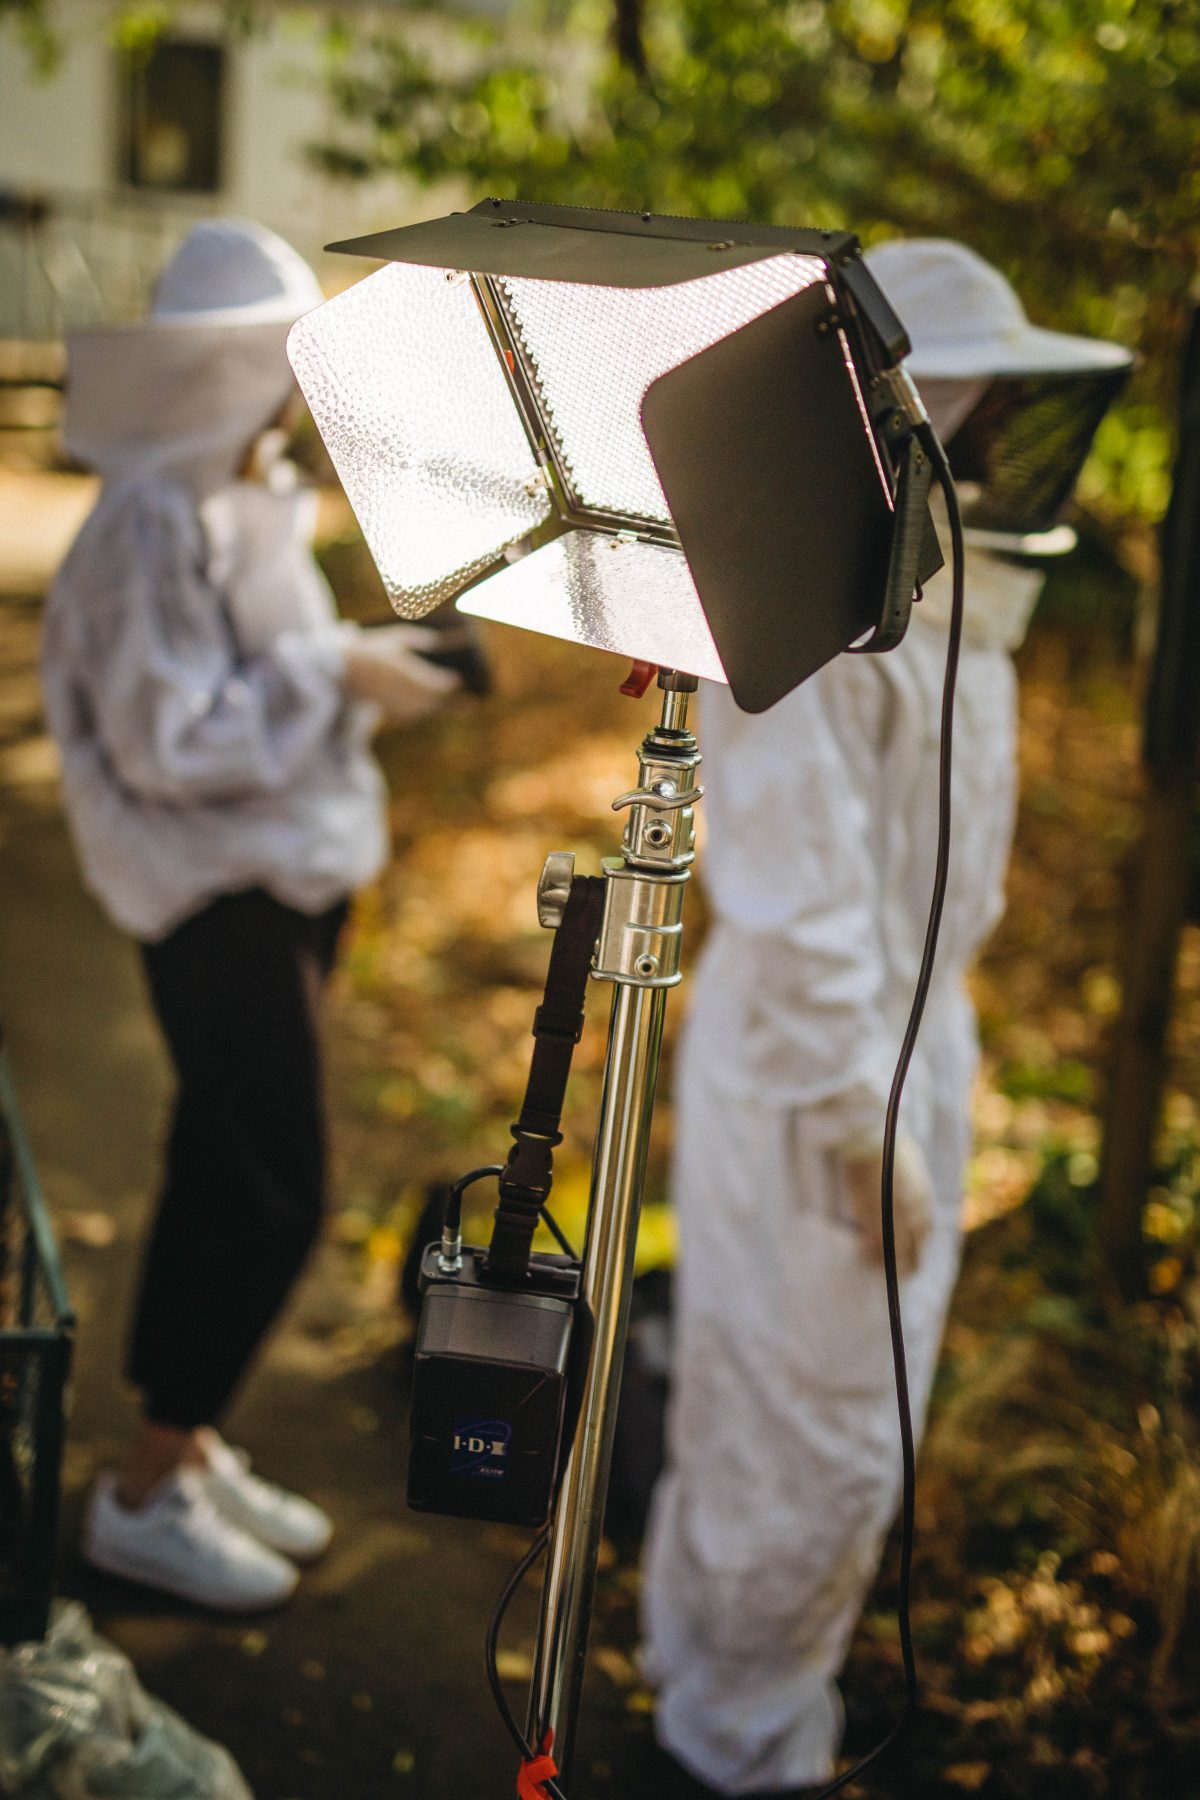
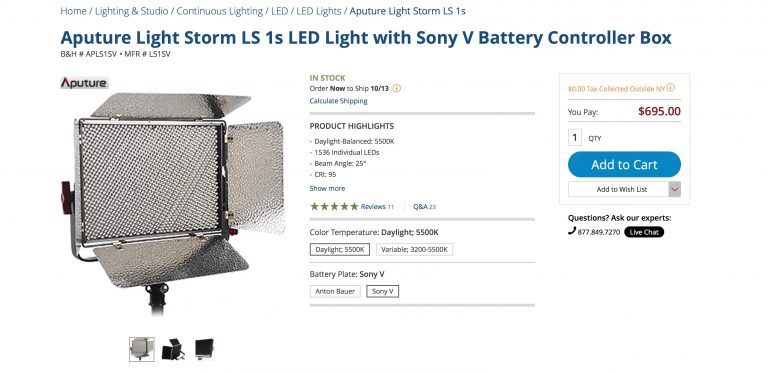
These cameras, as you can imagine, need light, decent light – without it they go to blocky mush. We put two small LED battery panels inside the hive, initially facing toward the camera but they looked too fake with an obvious outline of the light visible, so we turned them around and bounced them off of the wood. This created a nice warm feel and some very useful lifting of the overall light level, but it wasn’t enough. With the lid on, it made the hive look more claustrophobic and a bit too dark, so we tried leaving it partially off. This worked a treat, letting in some lovely daylight in from the top. This unbalanced the image a bit for me, so I wanted some light beneath too. Having light above and below meant you could see much more and much deeper in the final video. Using my excellent Aputure Lightstorm, I tried to push light up from the bottom. The problem was the sections were too dense to let enough light through.

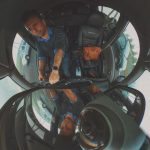
Placement and the dead zone
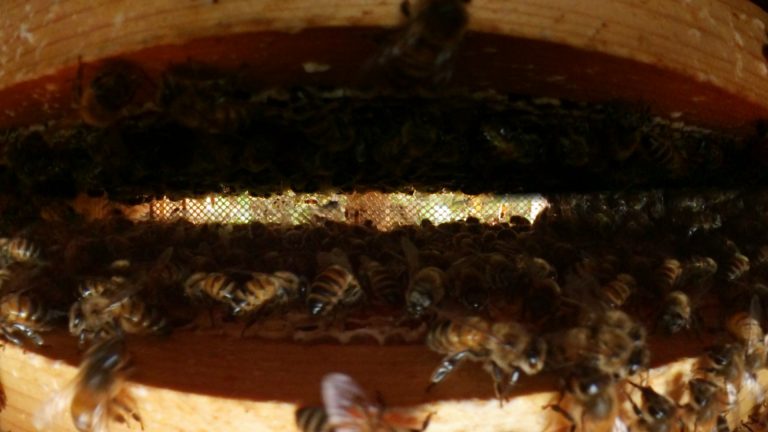
These cameras will give you a complete 360 view around, no black holes above or below like some rigs give you. To get this to work properly, you need space all around the camera, the dead zone is right between the lenses all the way around. This dead zone means that anything within it gets cancelled out by the stitching, as the lenses cannot see it. The bigger the space between the lenses, the bigger the dead zone. The further away an object is from the dead zone, the better and cleaner the stitch will be.
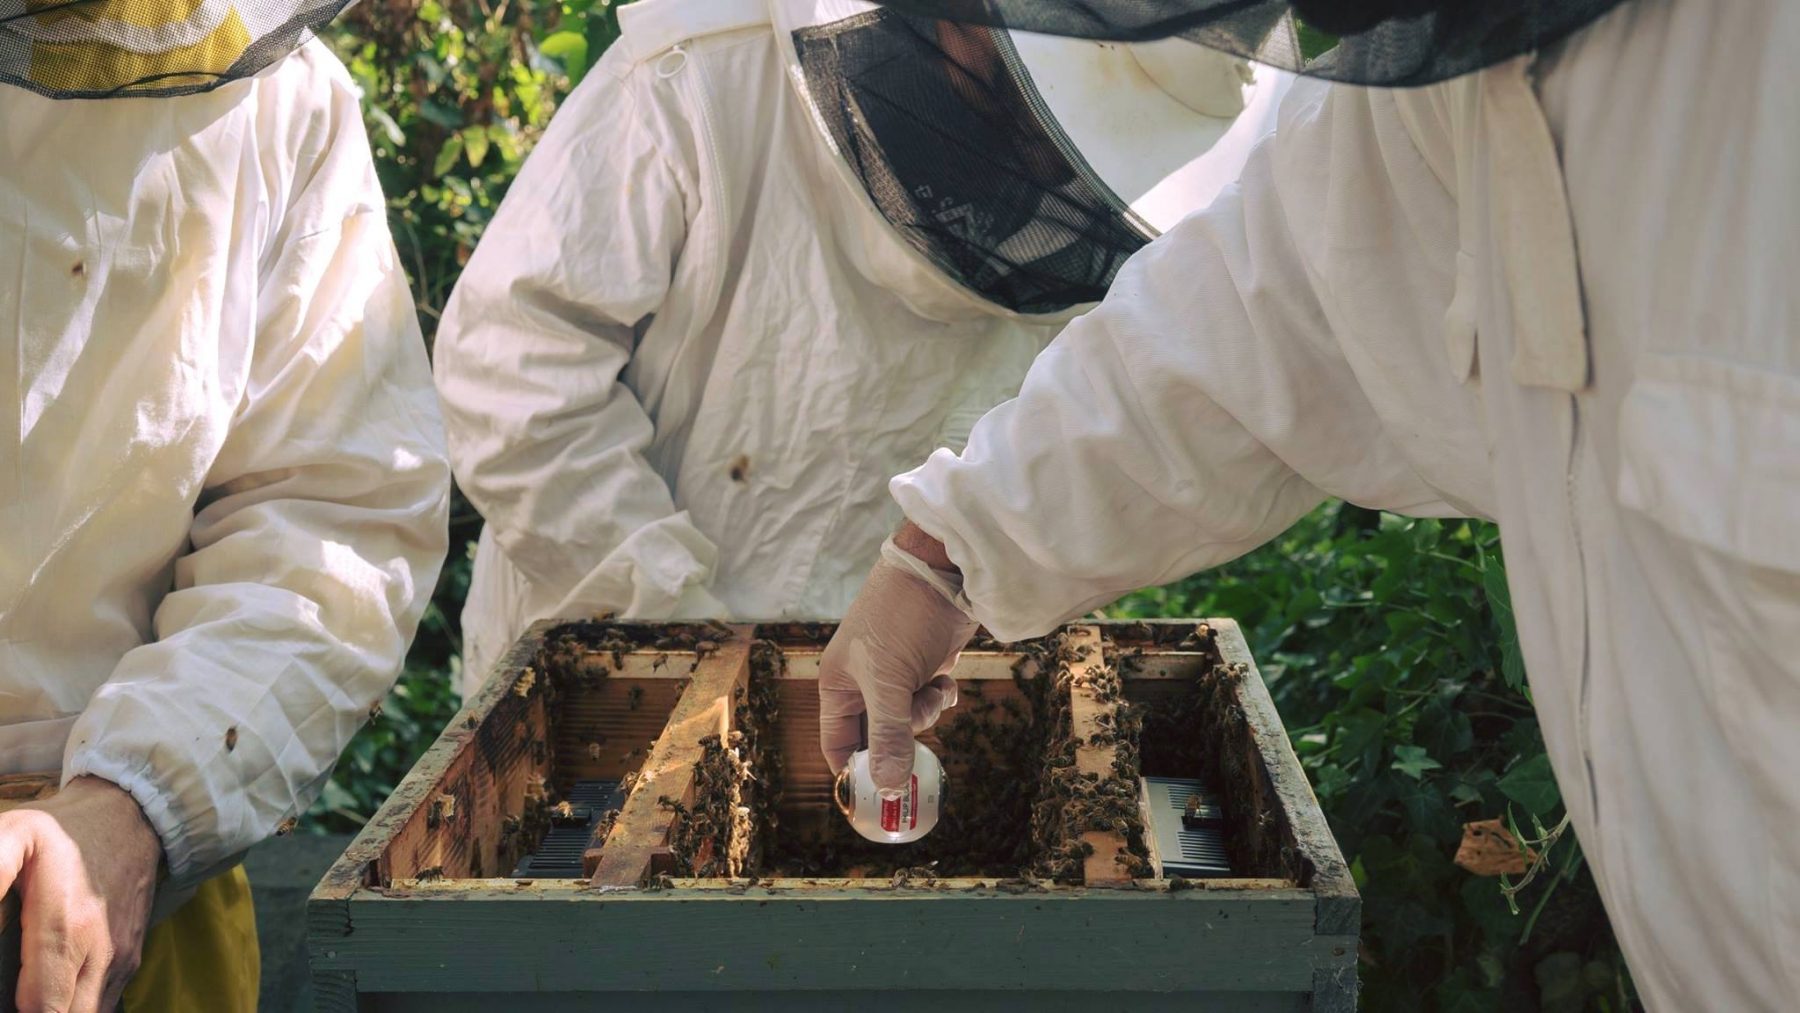
On the Kodak, you can see that the space is quite a lot, as you are using two separate cameras. For the Samsung it is less as it is all in one unit. Ideally, the camera would be “floating” right in the centre of the hive. I would normally get this floating look by using a clamp and a selfie stick, which then get cancelled out as the are in the dead zone. This was impossible here. I tried using the Samsung’s built-in tripod, but the sections of the hive below it were causing some very problematic stitching in the live preview. The biggest issue was of course the amount of bees everywhere. Close to the dead zone they would keep vanishing and re-appearing. Especially beneath and directly next to the camera. This was a bit of headache, but I found a solution and it was relatively simple…
The solution was to remove the tripod and place the camera directly on a section of the hive. Normally this would be a really bad thing to do for stitching – as it would be completely covering something, the stitch would look terrible, but here it was the best option…with some physical tweaks!
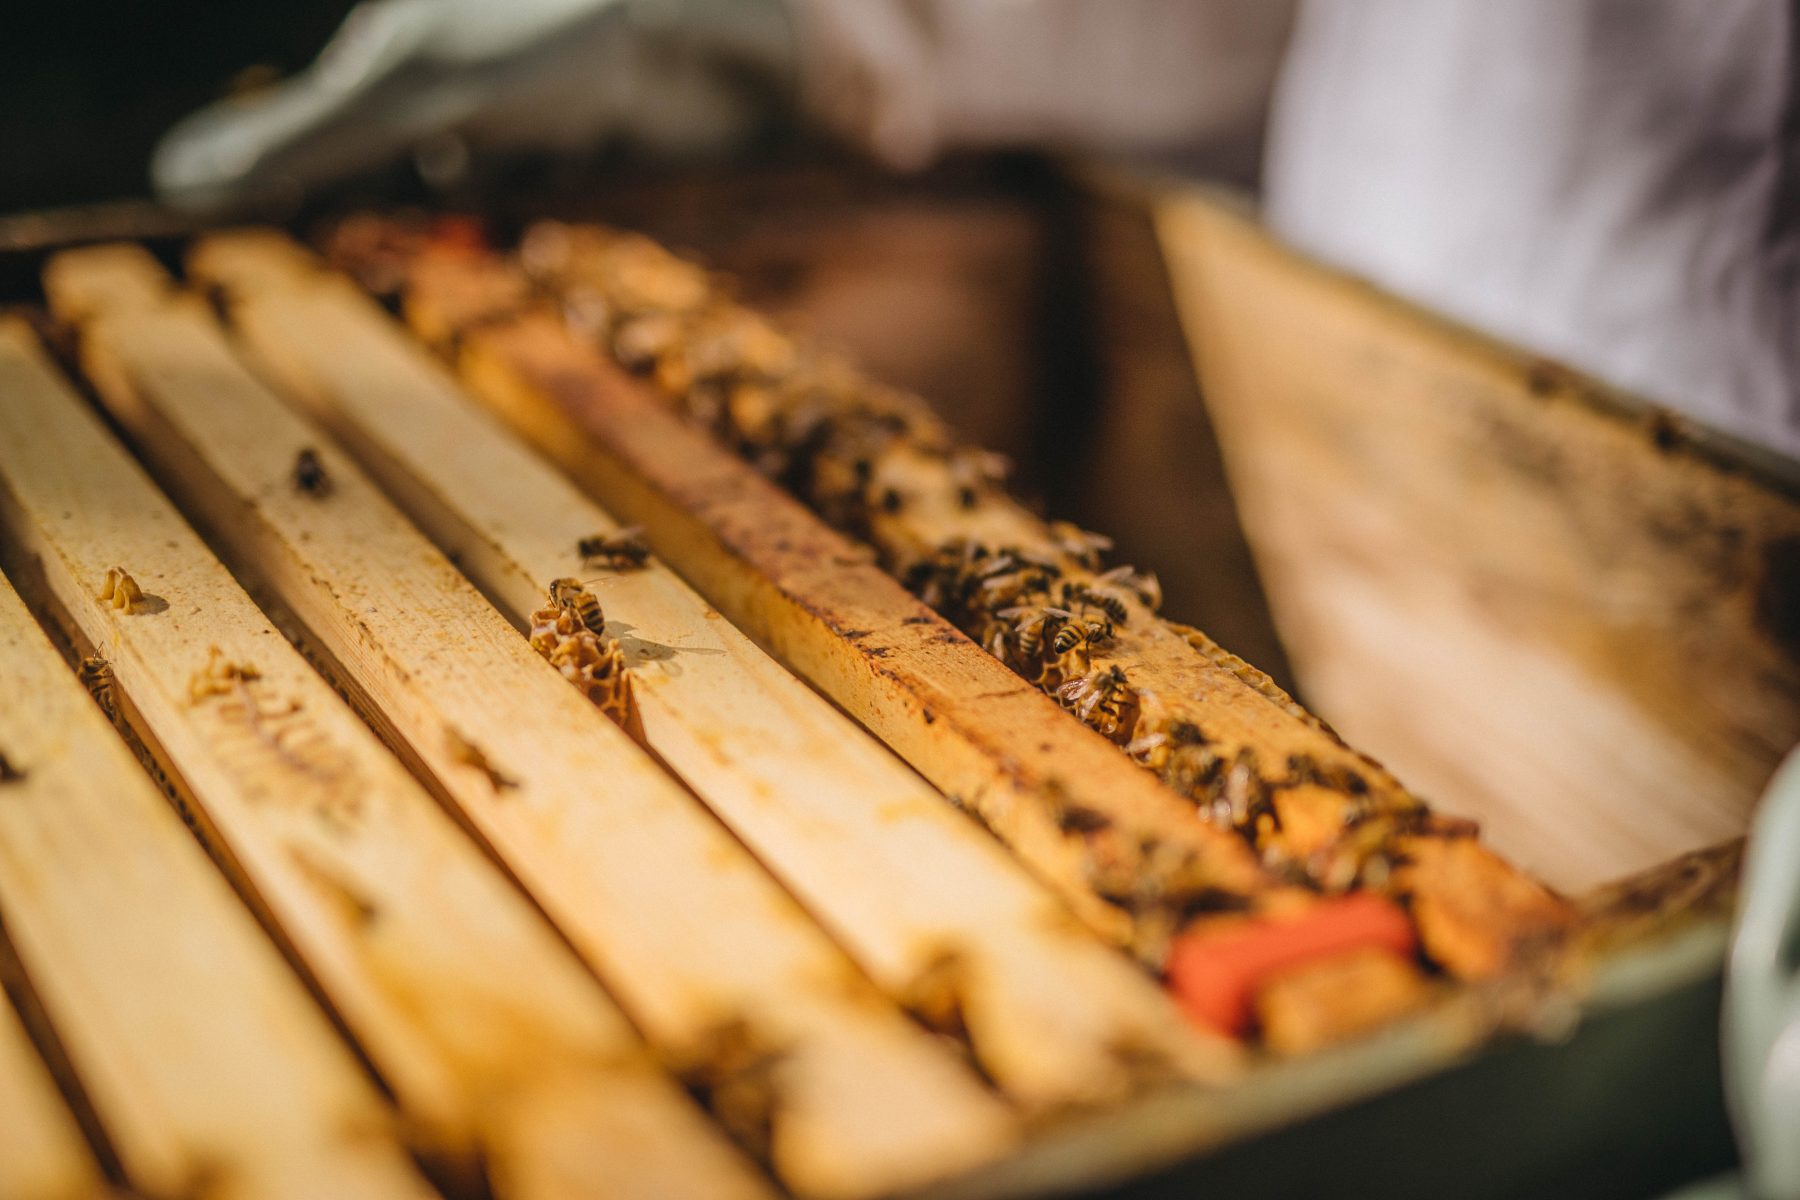
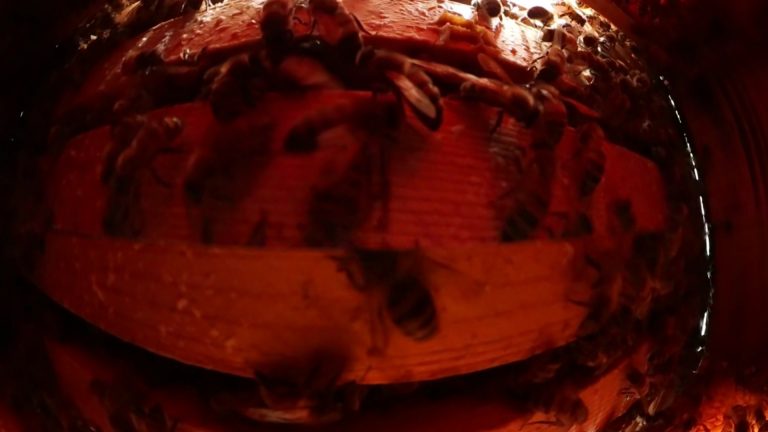
I got Gus, who runs the organisation and is the head beekeeper, to rearrange the sections for me. He removed 3 to give us more space to work with and had one centred in the middle of the hive for the camera to rest on, equal distance from the honeycomb sides with the lights behind them. This section would vanish in the stitch, but it would let the viewer look down through the sections to the bottom. The width of this section was a bit narrower than the space between the lenses, so it was in the dead zone, and because everything was so close to each other in the hive, that section only really left the dead zone right on the edge of the hive. Perfect!
You might think losing a whole section would cause lots of glitches with bees flying past…well in the hive they don’t fly, they walk. So when they got to the edge of a section they walked down and away from the camera not across the camera. There are moments where it isn’t perfect, but overall it worked really well as a solution.
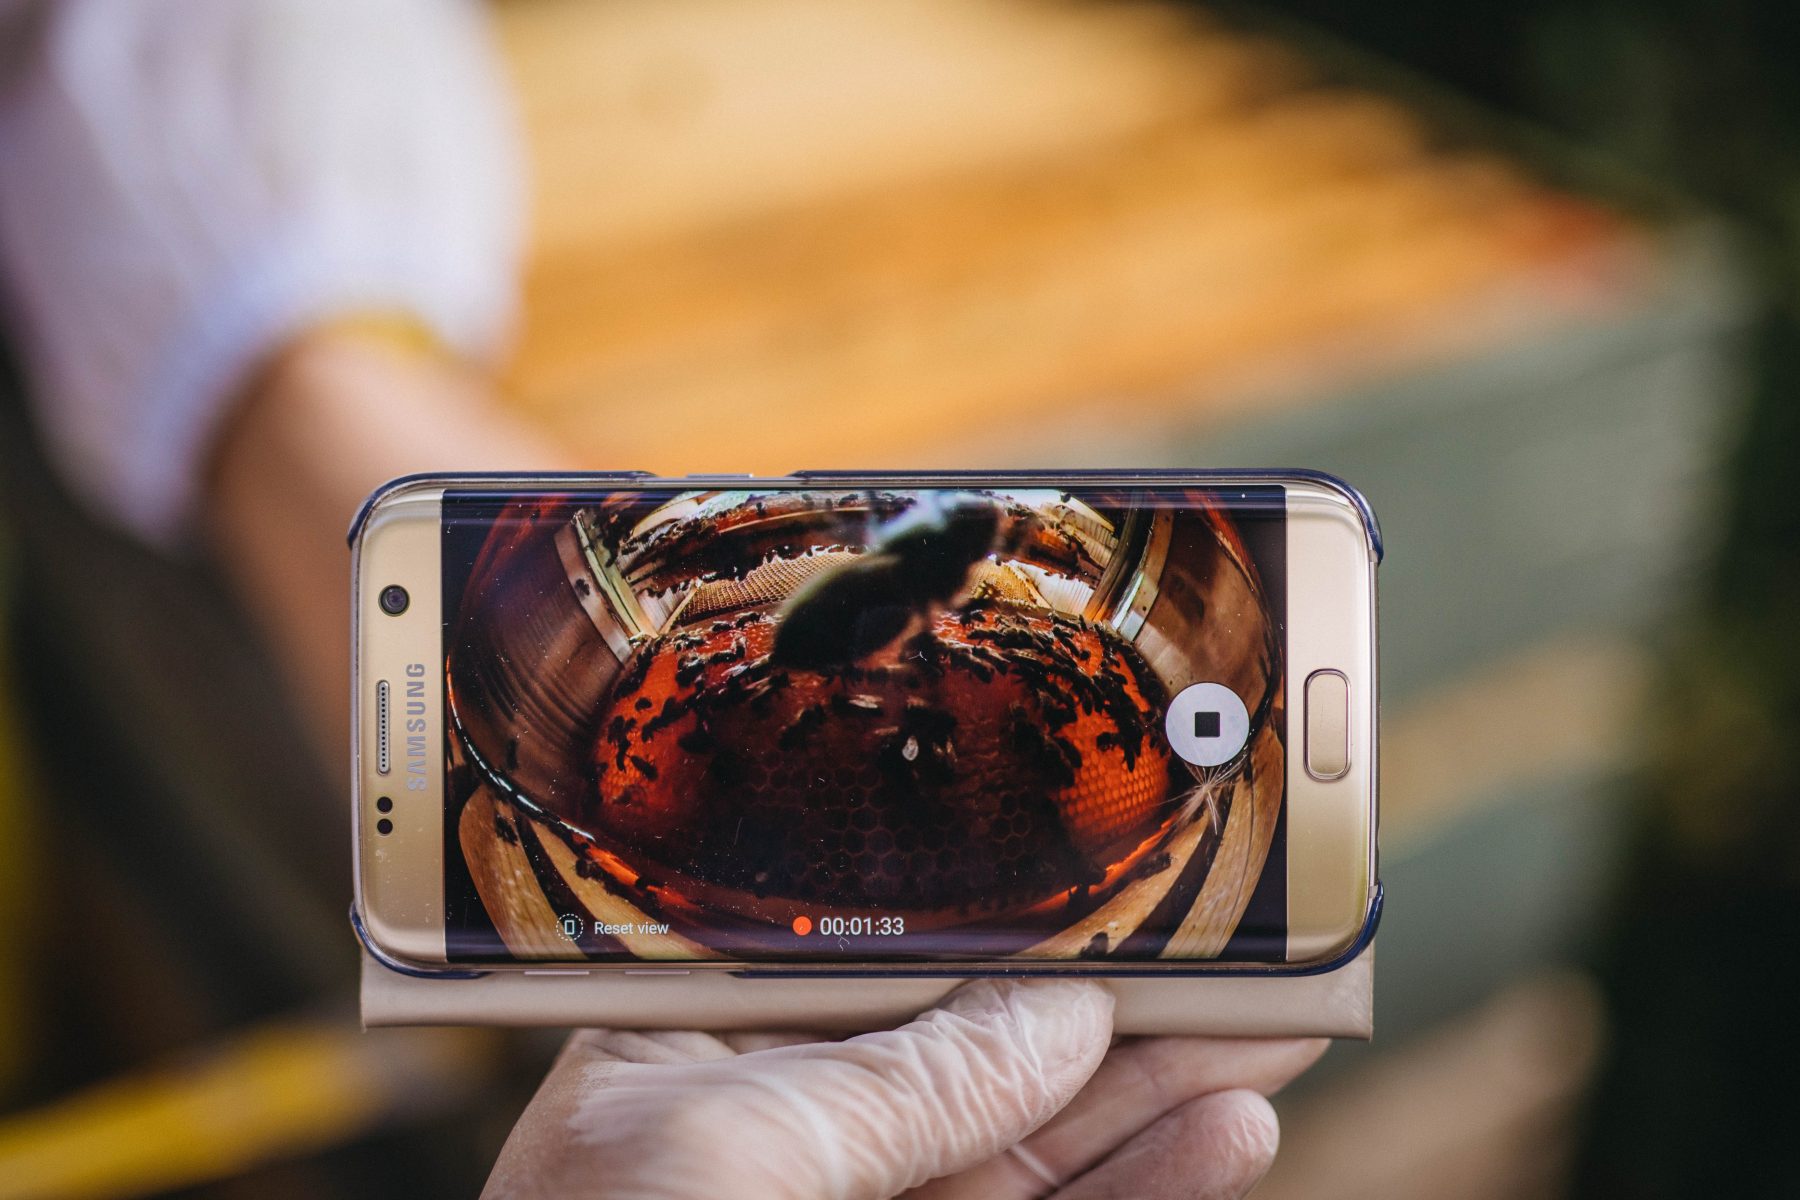
Having the live preview on the S7 phone was invaluable here, to get the placement just right. I could adjust the light so that I had darker areas where the stitch would be, to hide it. It really is handy and makes things much easier. After all, would you shoot normal video and not look at your LCD screen or viewfinder?
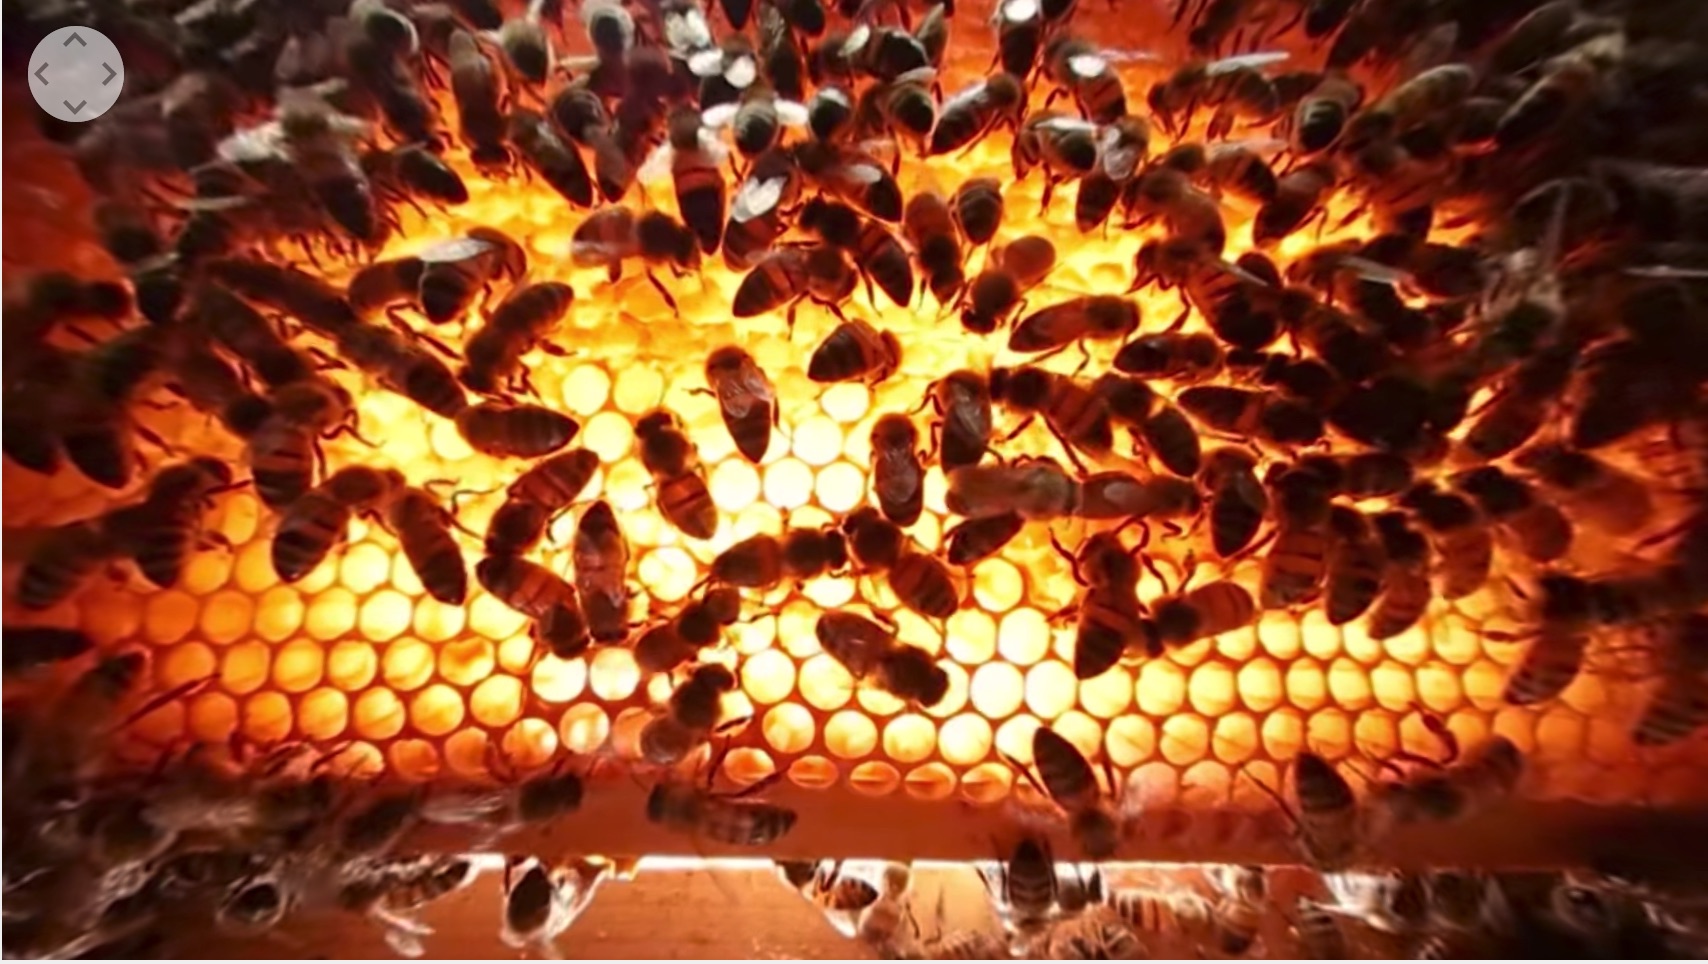
Spacing the sections out would also help me with getting light from beneath too. Now the Lightstorm’s light could be seen! The image below shows you looking down with the whole section the camera is resting on cancelled out because of the dead zone. This is from the in-phone stitch of the Samsung S7.
I did try the same thing with the Kodak, but due to its size it had to rest it on two sections. I couldn’t see a live preview, but I did it anyway. It was in post that I saw we were losing way too much because of the much bigger dead zone.
I did record sound, natural sound, using my Zoom H5 and Stereo shotgun mic, but the audio you can here in the finished video was live audio from the Samsung Gear 360. It would be great if the sound enveloped you and changed when you moved around, but the audio is quite basic on the camera. It is much better quality than the Kodak though. I am so glad I asked everyone to keep quiet during that take. Most of the other ones we were all talking. It made a real difference.
Post Production
As I mentioned, the Samsung software is not great. There are some excellent (and pricey) stitching options out there, mainly designed for multiple GoPro type rigs. So initially, I just used the in-phone stitching from the S7 and took that file, did a little bit of colour correction in premiere, and uploaded it to YouTube to see what it looked like.
Oh, if you are wanting to upload 360 video to Youtube and Facebook you need to make sure the metadata tells those sites that it is 360. It should be intact if coming straight from the phone, but if you are using other software then you need to inject it with the correct metadata. It is super easy to do and is described here.
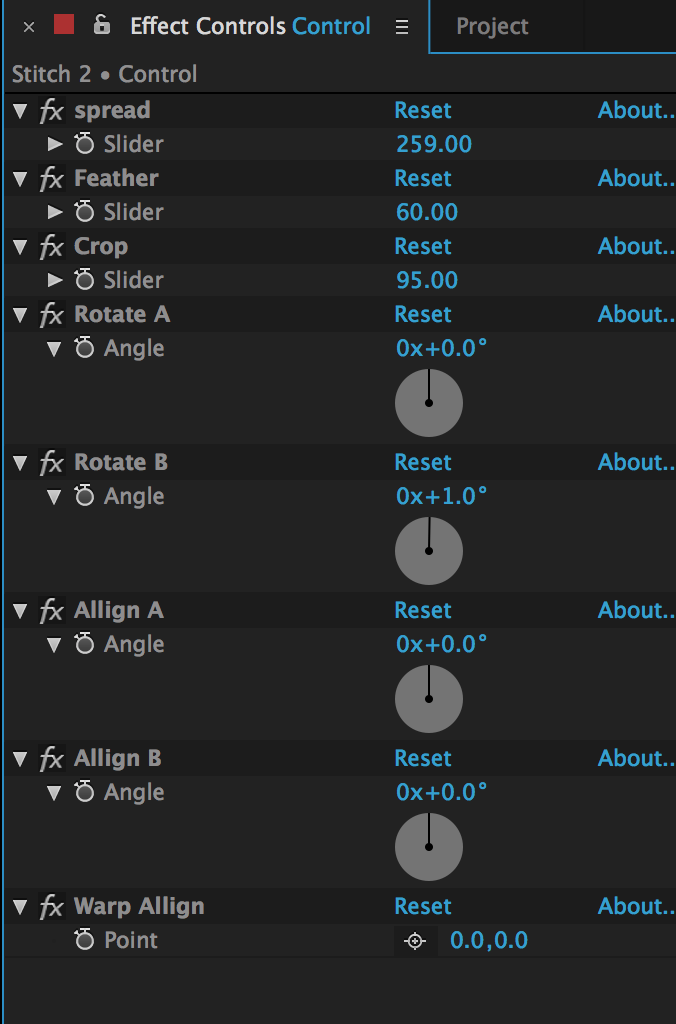
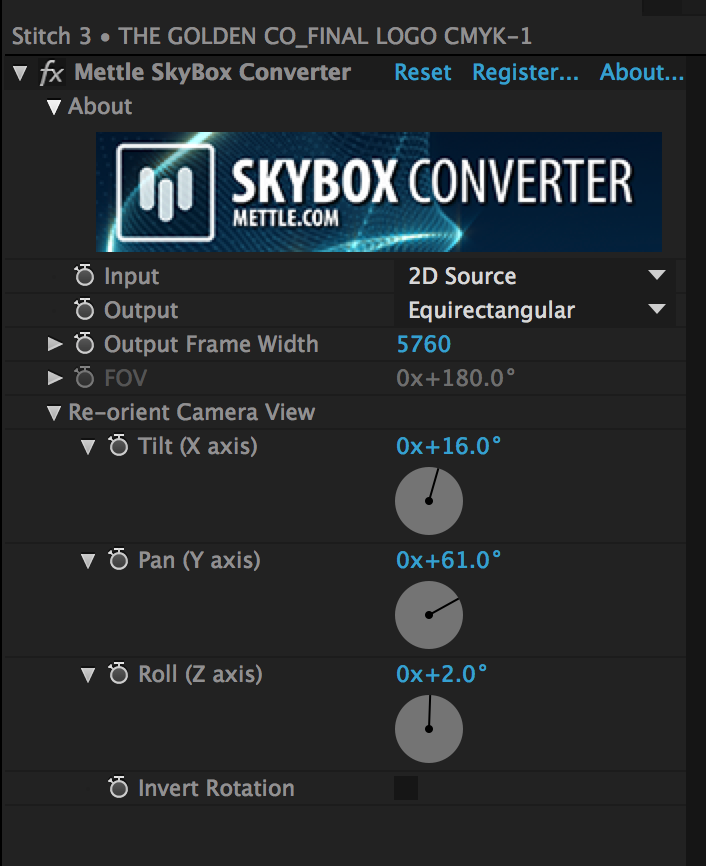
I also needed to add a logo of The Golden Co. This led me to Mettle’s SkyBox Studio. A $180 plug-in for After Effects. To add anything 2D onto a 360 image means it needs to react the same way when you move around. One of the many things this software does is add any 2D source. Be in text, graphics or even inserting a 2D video.
I followed the above tutorial and got my head around it all. I am not very skilled with After Effects, but the tutorials helped a lot. It was while doing this that I handily got an email from them (as I was now on their mailing list) telling me about a free template for stitching Samsung Gear 360 or Kodak 360 twin camera video!
So I took the original file 4K H.265 that I had already offloaded from the Gear 360’s micro SD card and followed the above tutorial to stitch it together. The difference was substantial. Not only was my stitch way better, but the overall quality of the video was massively improved. Suddenly, things had more detail and overall a lot less blocky.
You can see below the stitch from in-camera and the one through After Effects and SkyBox Studio below.
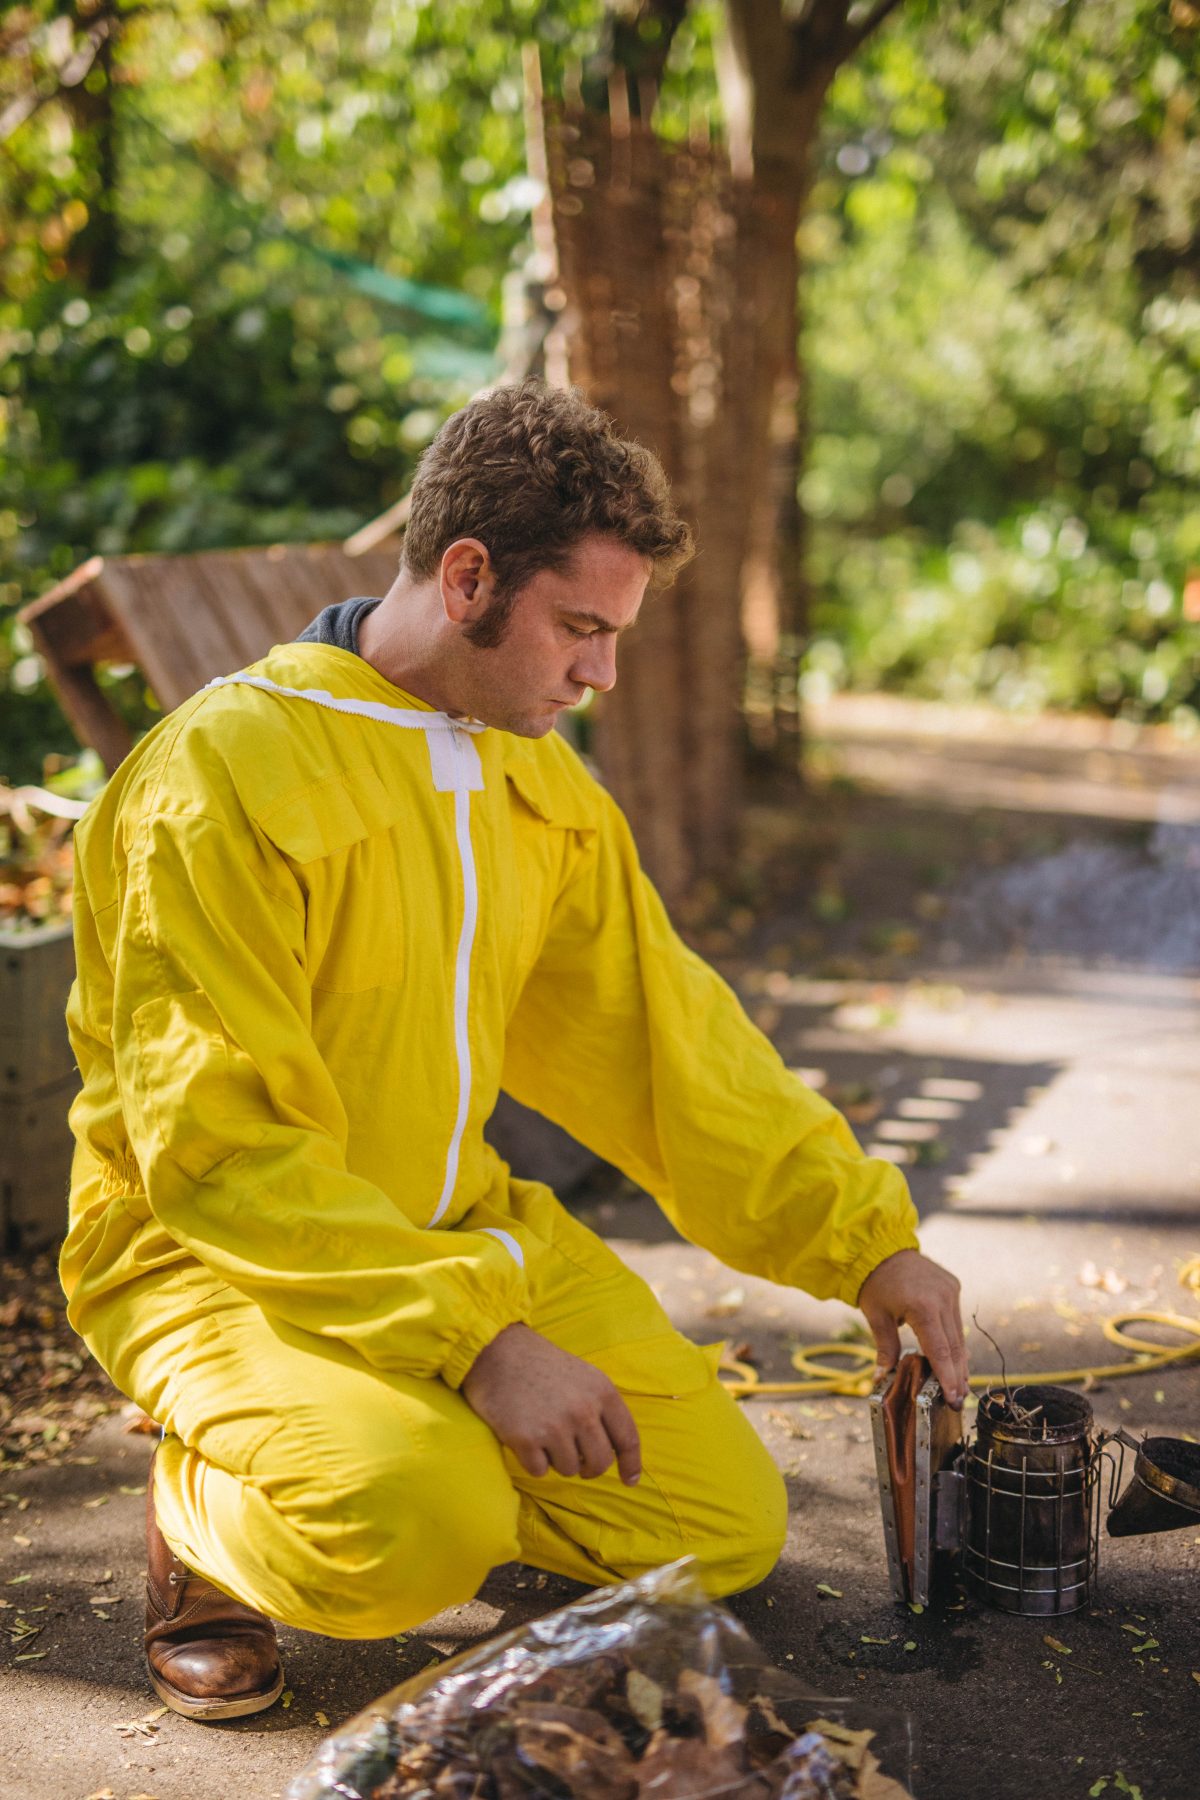
Overall, the video turned out better than I thought it would. I didn’t expect to get much from such a tight space, but all my messing around and experimentation over the past 18 months paid off. Placement is essential to a successful 360 image and 360 video. Lighting is even more important (if that is possible!?) than with the usual 2D video, in that you have a lot more to light, and it needs to be invisible, much like the camera operator. Here, not being seen was easy. Other times, you will need to hide behind a tree or put on a baseball cap, sunglasses and look the other way! If you thought drone pilot spotting was fun, 360 video operator spotting is even more fun.
I look forward to doing more 360 video and really trying out interesting and new things that get my creative juices flowing. It will never stop me filming traditionally in 2D, but it is a lot of fun! Hopefully this post was useful to you. Happy 360 shooting!
1 comment