


Please read my ethics statement here
This is the 3rd and final lighting blog by Eve, all about lighting for greenscreen!
If you want to support her and one of the most interesting kick-starter projects I have seen then please do. You only have until the 31st of December so hurry up and show your thanks!! I think it’s simply brilliant! They have now added a $50 reward which is a downloadable 1 hour lighting tutorial by Eve! Great stuff!
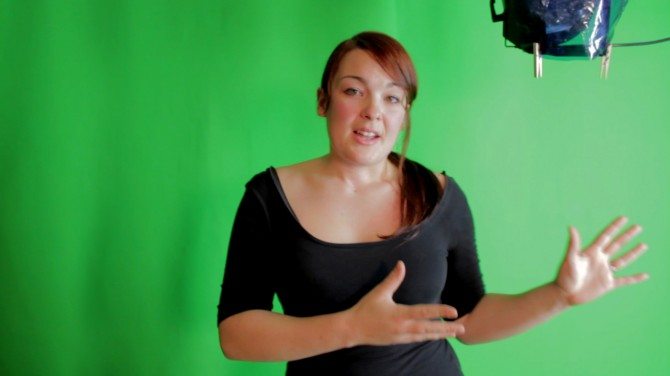
Ok – so for this one you really need to watch the video above, but I will outline the most important tips below:
1. Background Plate
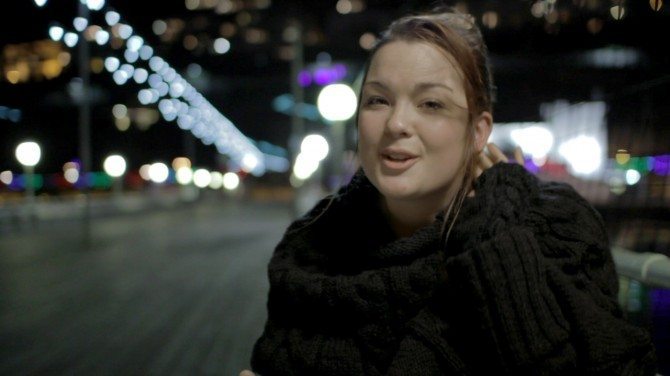
Find out as much about your background plate as possible – it’s the only way to get a convincing final result!
Where are the lights that will be affecting your subject?
What type of lights are they? Hard/Soft? Warm/Cool?
What lens was used?
What camera settings were used?
Where and how was the camera set up?
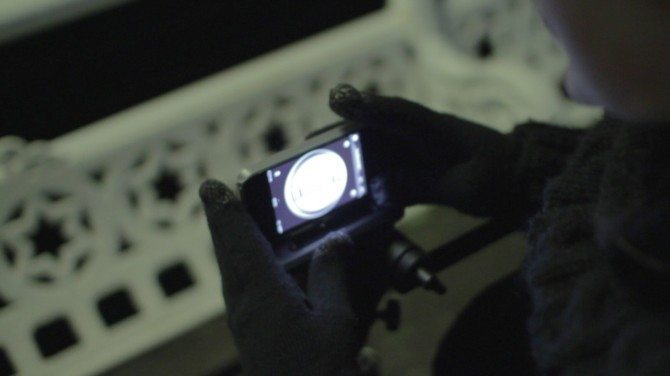
2. Use your fist!
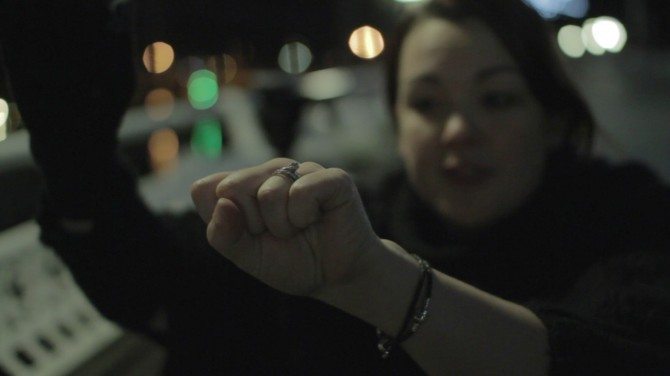
It’s a great way to look at the light in your scene. Remember to always look from the camera’s perspective – and cut out those lights to see the key without the fill, the backlight without the key etc.
3. Even Lighting
The most important think about lighting the screen is to keep it even!
Soft lights like CFLs, fluorescent tubes or our LED lights are superb for this as they don’t throw shadows or patterned light onto the screen.
Once you have the light nice and even, pop a still over into photoshop and crush the contrast, this will allow you to see hotspots and shadows and correct for them!
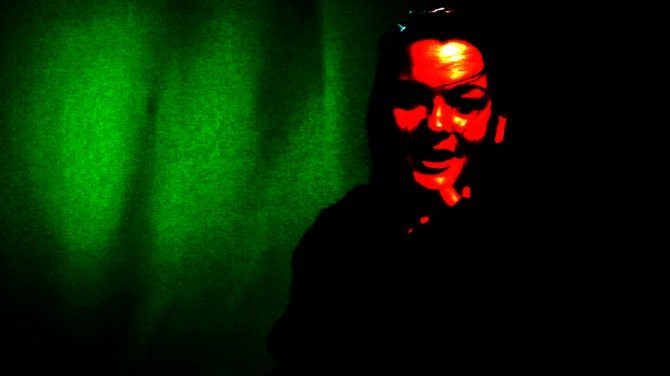
Ideally, your entire screen should be lit within a 10% window of your exposure – get everything between 50% and 60% and you will be set.
4. Light the Subject
Now for the tricky bit! Take all the light information from your background analysis and recreate that lighting as best you can to that your subject will match your plate.
5. Be gentle with your alpha matte!
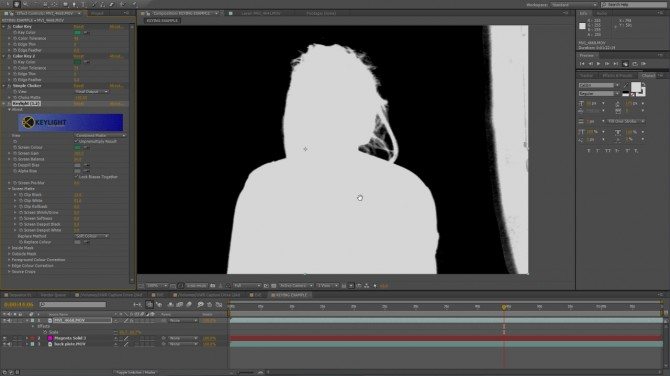
A correctly exposed screen will make your life much easier now – the lighter you can treat the alpha matte, the more fine detail you will preserve in the Key.
Seriously – if you haven’t watched the video yet DO! there is far too much to explain here!
We are in the last 48 hours of our kickstarter campaign – if you want to grab yourself my hour-long lighting masterclass just pop over and part with your $50!
What can I say, it’s been emotional! Thank you Philip for the opportunity to reach out to so many people, and thank you all for watching (and for the lovely comments ;))
Have a great new year!
E
xx





18 comments
Thank you Eve! Great stuff and I’ve enjoyed both tutorials!
thanks,
that really took it to another level. upgraded to get all 4 packs 😉
Eve really looked like she was outside. I really think the bokeh helped sold it.
That was awesome. Eve and crew is fantastic. Also great to see that you guys met your Kickstarter goal, congrats on that. She said “Redhead” ;]
Wonderful tutorial, thanks 🙂
These are GREAT Eve and Phillip! Keep ’em coming please!
Happy New Year Philip. 🙂
Great, very informative.
Excellent tutorial, much appreciated. However, when shooting green screen on a budget, might anyone be able to hazard a guess which might perform better out of the 5D Mark II, a hacked GH1 or GH2…?
Amazing tutorial. Easily my favourite of the 3 as I have done a lot of green screen work before and I can relate to the comping side of things here – keying a yellow green screen is not fun 🙁
Thanks a lot Eve for this tutorial. Very useful!
Happy new year for all of the readers, Eve and the team, and Philip of course!
A lot of greats projects for 2012…
Cheers
very useful and great to watch. thanks!
These were great tutorials. Thanks Eve.
Excellent work, even after Ive done hundreds of keys it’s always good to see a concise explanation of how to light and measure on set. Tripod angle and height have been overlooked too many times which we have to correct later by trial and error.
Well done!
Congratulations on reaching your mark! You are inspirational to young filmmakers everywhere. (And you light a great green screen).
This is a very nicely shot video, but there are some important things that Eva got wrong:
1. Halogen lights and tube florescent lights have different color temperatures and will cause the background to turn cyan instead of green. You can see this in the opening shot in the studio. Apply a gel to the halogen lights to align the color temperature or make sure all you lights have the same color temperature.
2. Using a waveform monitor and vectorscope is much more efficient to properly light your green screen. Over or under exposing the green screen will cause the edges or transparent parts of the hair to look wrong. It can be fixed in post, however this involves lots of extra work.
good stuff Eve! Pretty much everything i’ve learned about lights was by watching your tutorials.
I learn something solid every time this cutie starts talking! She’s amazing at delivering the script. I can’t put 10 words together without going into the ditch. Please keep this modules coming!